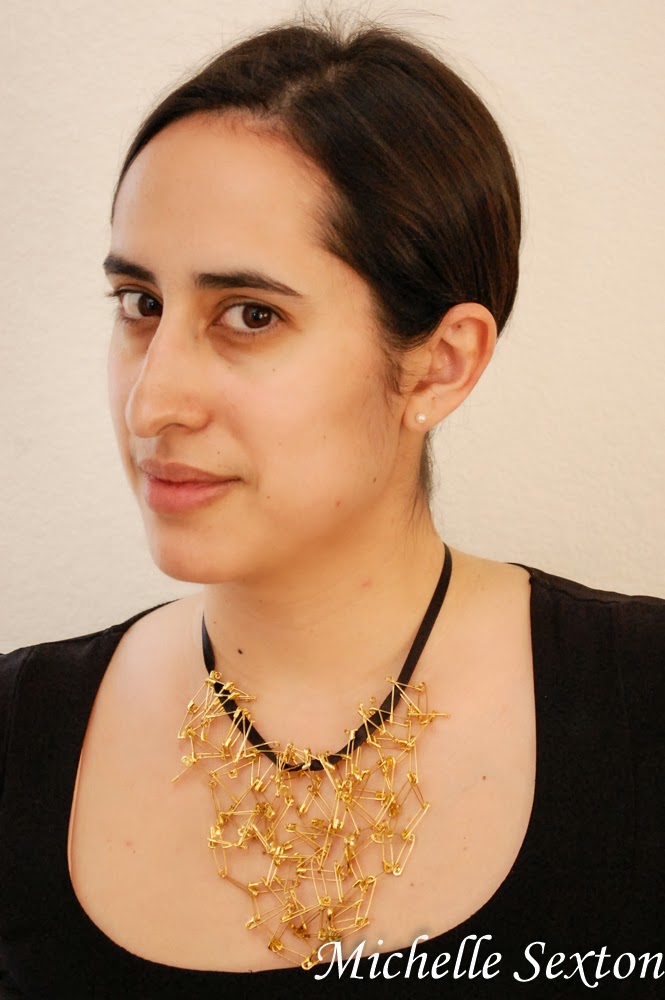
Ok, so back to the safety pin bib necklace. Here's what you're going to need:
Supplies:
- a box of safety pins, 100 count or more (I found gold ones in the craft section of Walmart)
- about 12 inches of black satin ribbon (1/4 wide)
- scissors
To start the necklace, create a safety pin "chain" by connecting several pins (about 15 - more or less) together. Link each pin together through the "eye" at the top of the pin or the "loop" at the bottom of the safety pin.
Next, thread the strand of ribbon through the middle of each safety pin link and center the "chain" on the ribbon strand. Be sure that the ribbon lays flat (not twisted) after threading through the chain. The threaded chain serves as the base of the necklace.
Tie a knot with the ribbon around both safety pins on the ends of the chain to keep the chain extended (not pictured).
 |
| starting to take shape... |
 |
| progression - still adding safety pins |
Fasten safety pins beneath the threaded chain until you have the desired shape. For the best results, each pin should be fastened either through the "eye" or the "loop" of the safety pin. This isn't required, but I've found that this is the easiest way to maintain the shape of the bib. Work towards an even and balanced bib shape.
I recommend tying off the ends of the necklace and draping the necklace over your knee as you fasten the pins in order to keep the necklace still.
There's a little bit of trial and error and removing and refastening pins that goes with this project as you determine the desired shape. This is an easy project, but it takes a small amount of patience (but just a small amount) as you construct the bib.
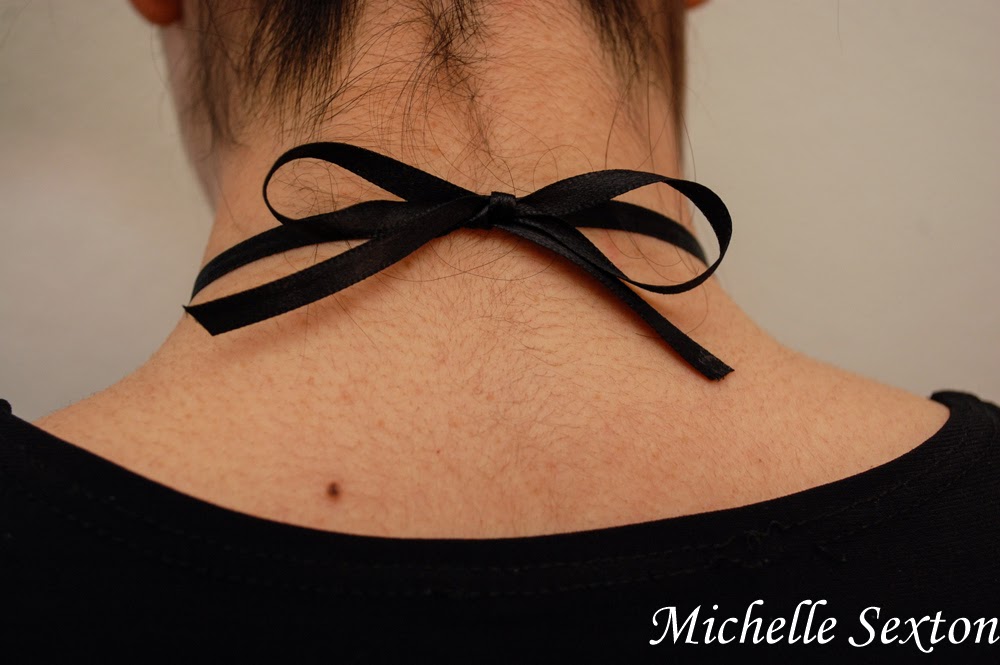
To wear this necklace, tie the ends of the ribbon into a bow in the back.
Once completed, wear this amazing necklace with pride. Each time you receive a compliment, reply, "Thanks, I made it." :)


3 comments:
I find this necklace quite interesting and pretty, the gold colored safety pins are shiny and bright. As I was looking at this I thought why not put beads on the pins to add little more bling? I have this thing I guess, when I see something like your necklace my mind goes one step further to add little things to it.
Just think of all the ways this could be modified, different color, size of pins for example. Tell me what you think about that. Your necklace is an awesome base to start with. It's certainly pretty enuf to let be as it is. You've sure inspired me to experiment with this. Glad you shared this post and I'll be pinning it/printing it out.
Have to finish a purging and organizing project in my craft room before I'll let myself work on anything else or I know myself, I'll never finish getting it done.
Happy days I found you thru City Farmhouse "The Inspiration Exchange party
looks amazing- unbelivable!
you are so creative!
hugs
@supprcrftr - beads on the safety pins would have been genius!!! Someone else mentioned that to me as well! Why didn't I think of that before??? You should try it and show it to me! :)
Post a Comment