So Here's My Life

The things we make,
the food we eat and
the shenanigans in between.

A blog about making things by
MICHELLE SEXTON

Thursday, February 27, 2014

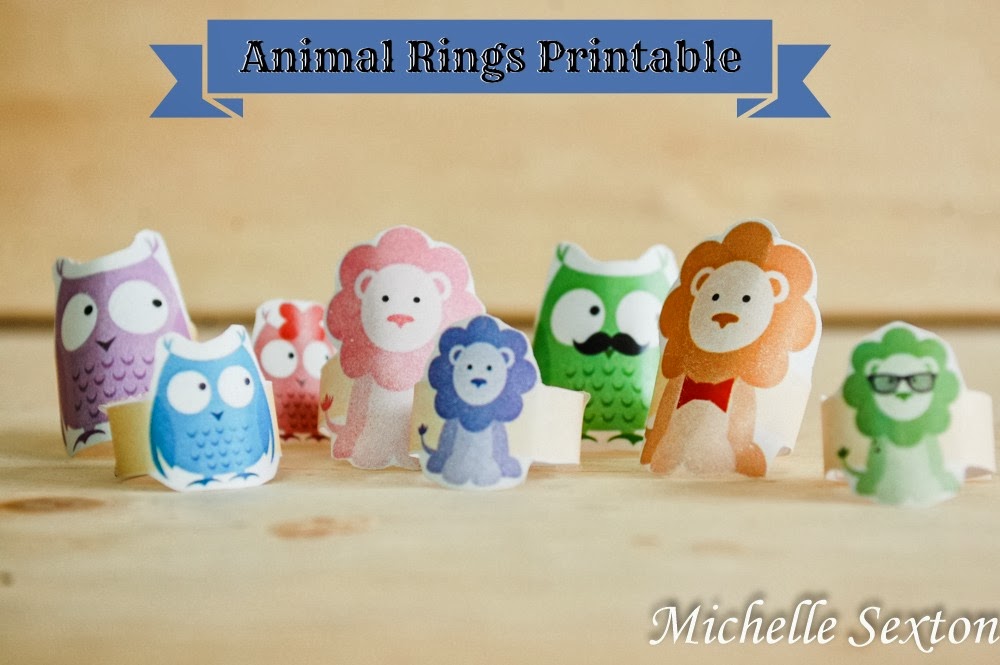
Free Paper Animal Rings Printable

Mini-confession here: I am slightly obsessed over printables, specifically kids' printable activities. Ok, not really obsessed-obsessed, but more like I-am-a-HUGE-fan-obsessed. You see, we've had a lot of sickness going on in our household over the past 3 months or so. (It's a really long story. I'll spare you the details, but we've been through lots of probiotics, Emergen-C, and other stuff. I'm pretty sure we're on the up-swing now.) Basically, what I'm saying is that we've had a rough season, as far as our health is concerned. (We're getting better, though). There have been so many days where I was sick or everybody was sick and I needed a quick activity to keep the boys entertained while I laid on the couch and blew my nose. I had days where Mac was quarantined in his room and was in need of a quiet activity to keep him entertained while he recovered from another cold. During these moments, I have realized that printable kids activities are a mom's best resource. It's been so nice to print out an activity on a sheet of paper and allow it to entertain my boys. Amazing...and oh-so-easy.

The best entertainment is free! Click through and get this free animal ring printable

So, today I bring you yet another printable kids' activity. I know...I've been making a lot of these lately, but there's just so much to like about them.  1. They're FREE.  2. The kids are enthusiastic about a new activity 3. When they're done, you can toss it in the recycling bin (easy clean up) and 4. It's EASY! Seriously, what is there not to like about printable kids' activities?

Print out these rings for awesome entertainment - Click through and get these ring printables

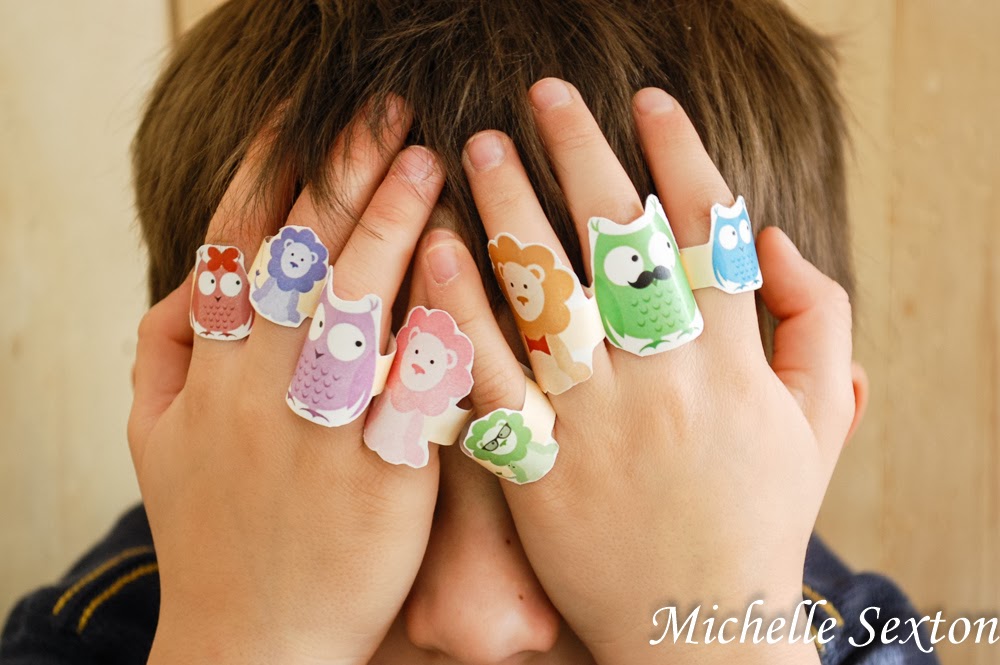
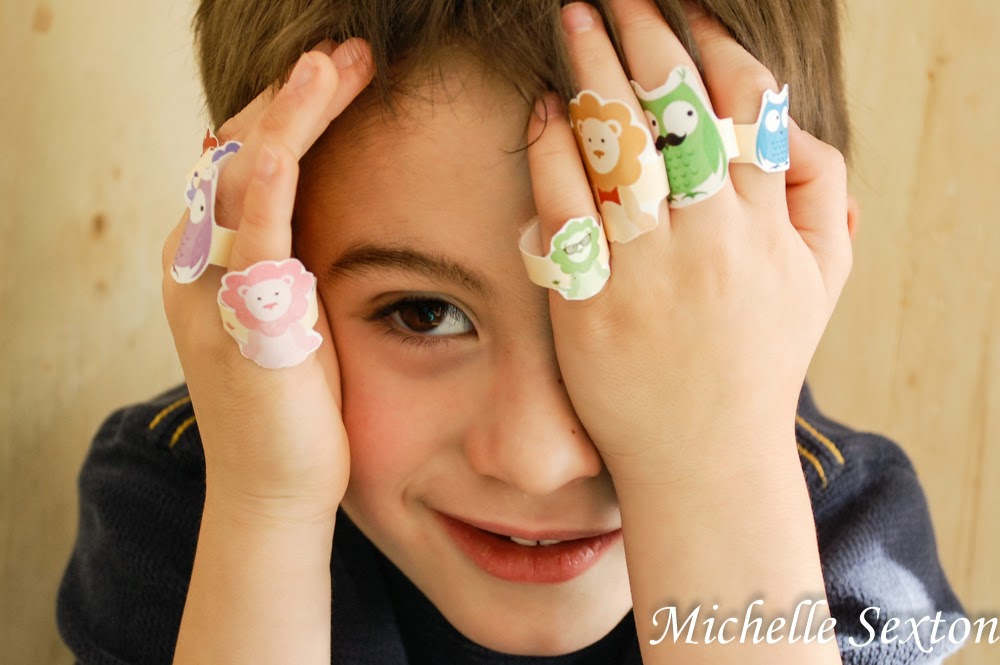
Yesterday, we printed and cut out these fun little animal rings and spent quite a while playing with them. Today, at lunch Cheese sat in his high chair and played with one of the rings while I made his lunch. (This is actually a pretty amazing accomplishment, due to the fact that he assumes he will immediately be fed once he is seated in the high chair. #foodie - oh wait...can you use hashtags on a blog? Just Kidding.) So anyway, these rings have been a big hit in our house and have been unintentionally dispersed throughout the rest of the house, because the boys have played with them continuously. If your kids are anything like mine, they will love them.

So, are you ready to print out your own set of animal rings? Here you go:

Super fun animal ring printables - click through and get them!!


I recommend printing these rings on card stock. After printing, cut the rings out and tape the ends together to make each ring.

Please keep in mind that you are always more than welcome to use these as much as you like for personal use. You are also free to feature and pin these too, but link to this page, instead of linking to the PDF. :)

upgrade their playtime with these animal rings - click through and get these free printables

Playtime is always more fun with imagination - click through and get these free printable animal rings


Interested in more printable kids' activities? Check out the Silly Shape Finger Puppets, Miniature Jack-in-the-box, Printable Roads, and the Printable Train Tracks.

Tuesday, February 25, 2014

Canadian Bacon and Egg Muffins Recipe

Recipe Alert! I have a good one for you guys today. In fact, the last time I made this everyone at the dinner table was completely silent - not because like my food poisoned them or anything, but because it was AWESOME. Oh, yes it was. All four of us were so consumed by the amazing flavor combinations of this dish, that nobody was willing to speak, not even for a moment (even Mac, which never happens, because he will do anything to get out of eating his food - usually by talking). None of us could bear the thought of sacrificing a even a moment for words. What is this recipe, you ask? Well, let me tell you, Canadian Bacon and Egg Muffins. Although, it's no much of a muffin, but maybe more like a cup. There is no bread in this recipe, we use hash browns instead...and they are awesome.

Canadian Bacon & Egg Muffins with Hash Browns Recipe - click through and get this recipe

Are you ready to make it? Here's how I did it -

Ingredients:
- 5 cups country style hash browns, thawed
- 1 1/2 cups frozen chopped spinach, thawed
- 3/4 cup part-skim ricotta cheese
- 3 large eggs, beaten
- 2 Tbsp green onions, chopped
- 6 slices uncooked Canadian-style bacon, quartered
- 1 cup of 2% shredded sharp cheddar cheese
- 2 sliced plum tomatoes, seeded

Canadian Bacon & Egg Muffins with hash browns - don't miss out on this recipe!

In a microwave safe bowl, combine thawed hash browns and green onions. Cover bowl with plastic wrap and microwave for 2 minutes or until potatoes are tender. Put in colander to drain. While potatoes are cooking, squeeze spinach dry. In a small bowl, combine ricotta cheese and eggs.

Spray a 12 muffin tin with cooking spray. Distribute potatoes evenly in the bottom of each tin (start with 1/4 cup per tin). Top with a quarter-slice of bacon, 1 heaping teaspoon of ricotta cheese mixture, 2 tablespoons of spinach, a table spoon of cheddar cheese, another bacon quarter, and another heaping teaspoon of ricotta mixture. Sprinkle tops with a few remaining shreds of cheese and 2 tablespoons of the seeded, sliced tomatoes.

Bake muffins until fully set and ricotta is cooked through, about 25-30 minutes. Cool in muffin tins for about 10 to 15 minutes before removing. Makes 12 muffins.

Serve, eat, and enjoy the silence while your family consumes this tasty meal.

Canadian Bacon & Egg Muffins with Hash Browns - get this recipe!

Can't get enough hash browns? Try these Baked Hash Brown Patties too!

I came across this recipe at Shrinking on a Budget. If you haven't checked out this site, I highly recommend it.

Thursday, February 20, 2014

Pearl Embellished Beanie

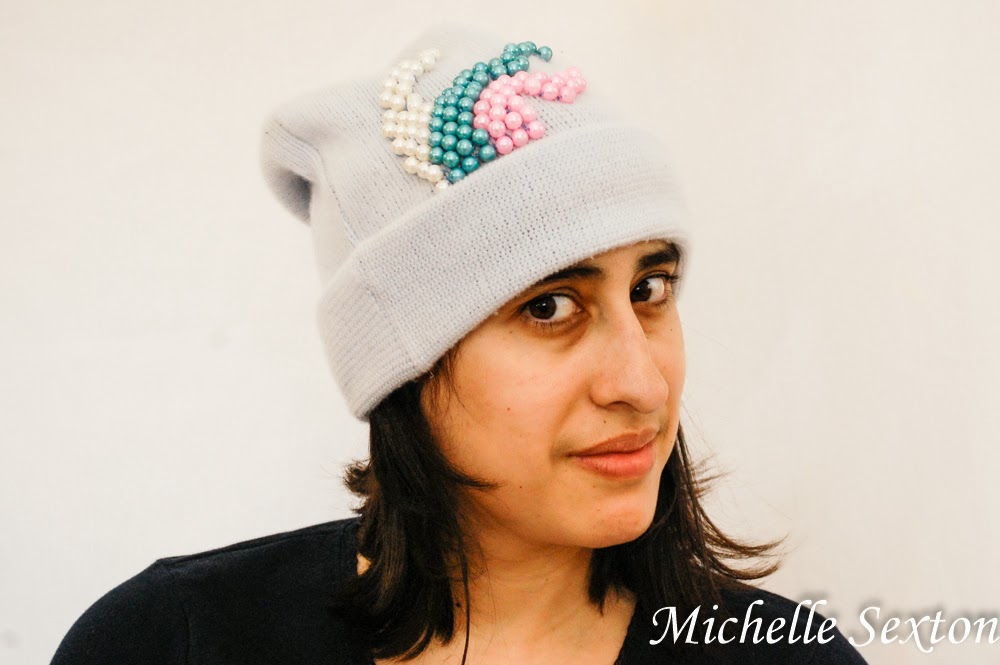
One final winter project to keep you occupied as you await Spring's arrival. I made another beanie. Ok. Actually,make this one, I embellished it. I've had this terrific, baby blue beanie in my closet for years. It was a gift from my mom several years ago and wore it often when I first received it. However, over the years I lost interest in it, mainly because it was so plain, and I've acquired so many additional fun hats. So what do you do with old clothing items that have lost their appeal? Upcycle them, of course! The beauty of this project is the fact that this can be done at your own leisure. It's the perfect activity to work on as you sit on the couch and watch a movie once the kids have gone to bed...or not, provided that your kids can abstain from interrupting you every 3 and half minutes. We have yet to achieve this status in our house. ;)

Upcycle a beanie by embellishing with beads - click through and find out more.

supplies needed

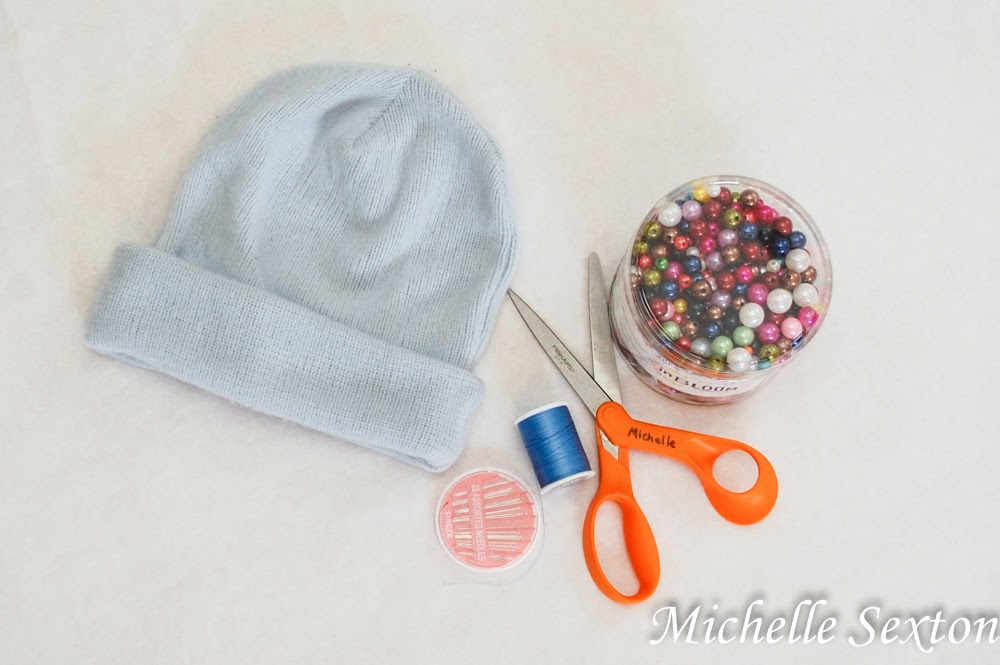
You will need:
- an assortment of faux pearl beads
- a beanie
- needle
- thread
-scissors
Bam that's it! Don't you love it when there's only a couple of items needed for a project? I do.

So here's how I made this awesome beanie:

capture arrangement with cell phone
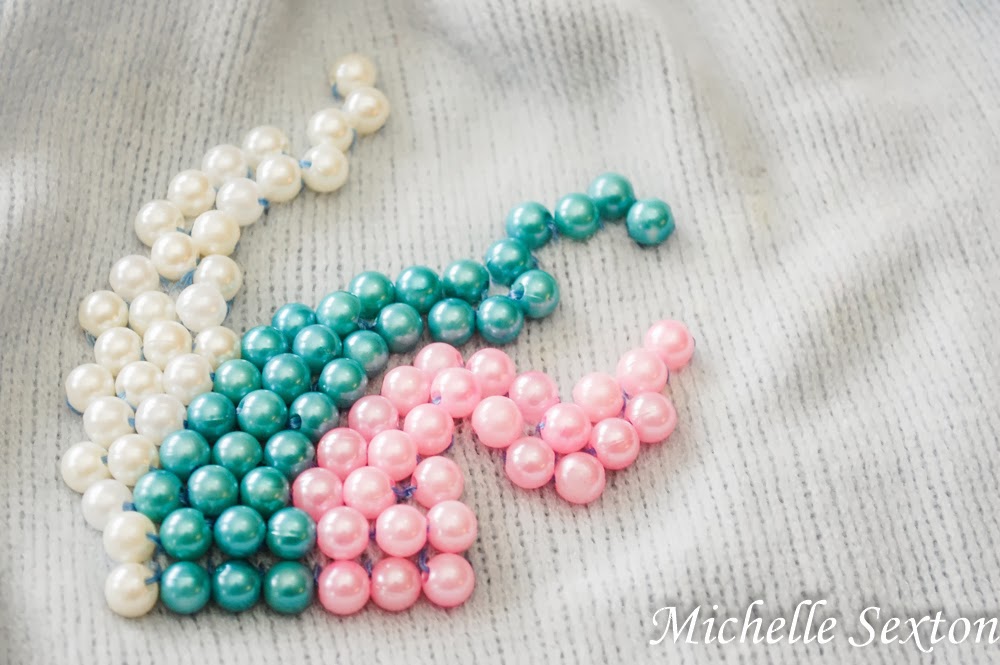
Original arrangement taken with cell phone photo to use as a reference

Arrange the beads until you find a design that you like. Take a picture of it to use as a reference guide. (I snapped a photo using my cell phone.)

A couple of recommendations for the stitching beads:
- Double thread the needle, just to keep each bead extra secure.
- Stitch each bead to the hat three times before tying it off and moving onto the next.
- Knot each individual bead to the hat separately, even if  you don't cut the thread after each bead. This will keep you bead loss to a minimum if the beads get caught on something.

stitch entire bottom row to begin

Start out by stitching the entire bottom row of beads (all three colors), just above the brim. I recommend marking each spot with chalk where each bead is to be sewn. (I didn't do this, but only because I didn't think about it until afterwards. Duh.) The bottom row will give you a foundation to work off of.

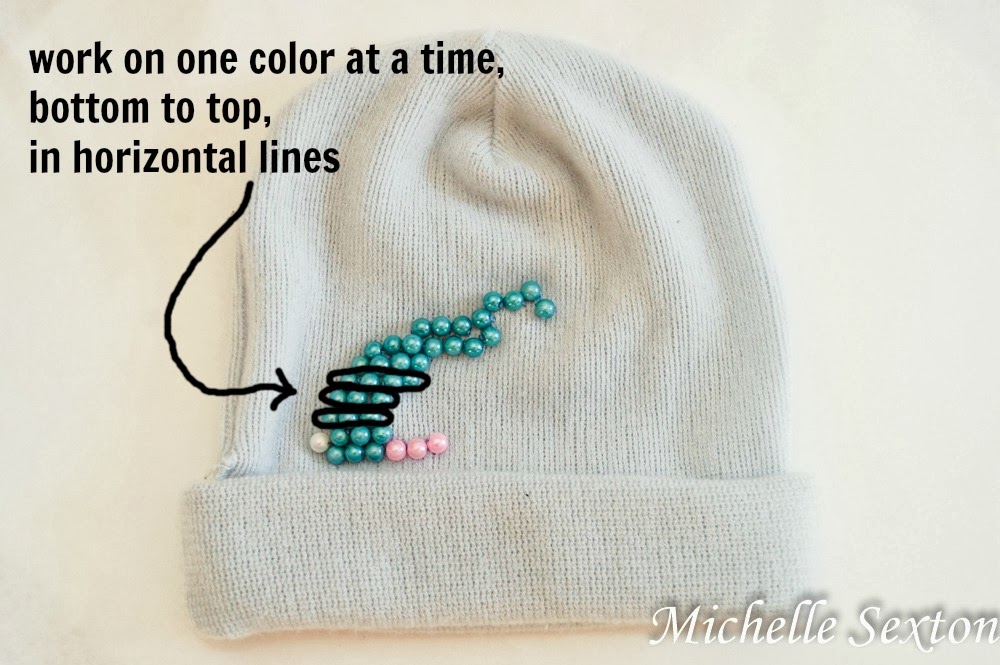
work on one color at a time, bottom to top, in horizontal rows

knot each bead individually

Once the bottom row has been completed, continue by stitching the center color (mine was blue), working your way from bottom to top, horizontal row by horizontal row, until the entire color section has been completed. Be sure to reference your "prearranged" picture every so often to keep track of the progress.

After completing the center color, continue with the next color (either side is fine). Again, work your way up to the top, completing one horizontal row at a time.

Repeat again with the final color.

Upcycle a beanie by adding beads - click through and find out more

Embellish a beanie with beads - click through and learn more

Upcycle a beanie by adding beads - click through and learn more

Simple? Definitely. The hardest part of this project was finding uninterrupted time to sit down and work on it, which rarely occurs before 7:30 PM. Life of a mom, right?


Tuesday, February 18, 2014

How to Make a Beanie from a Sweater Sleeve

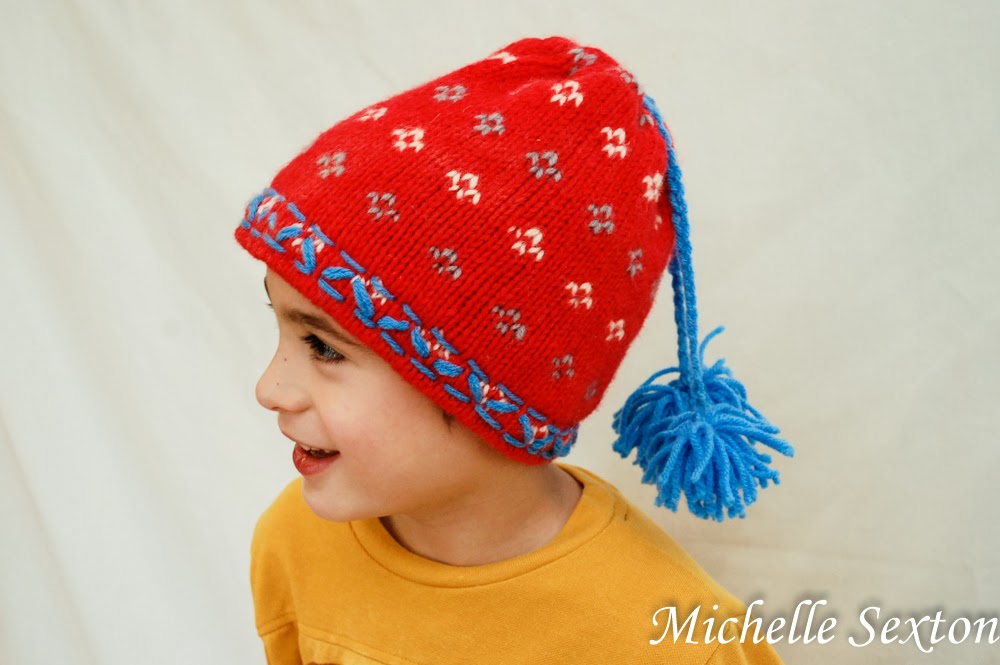
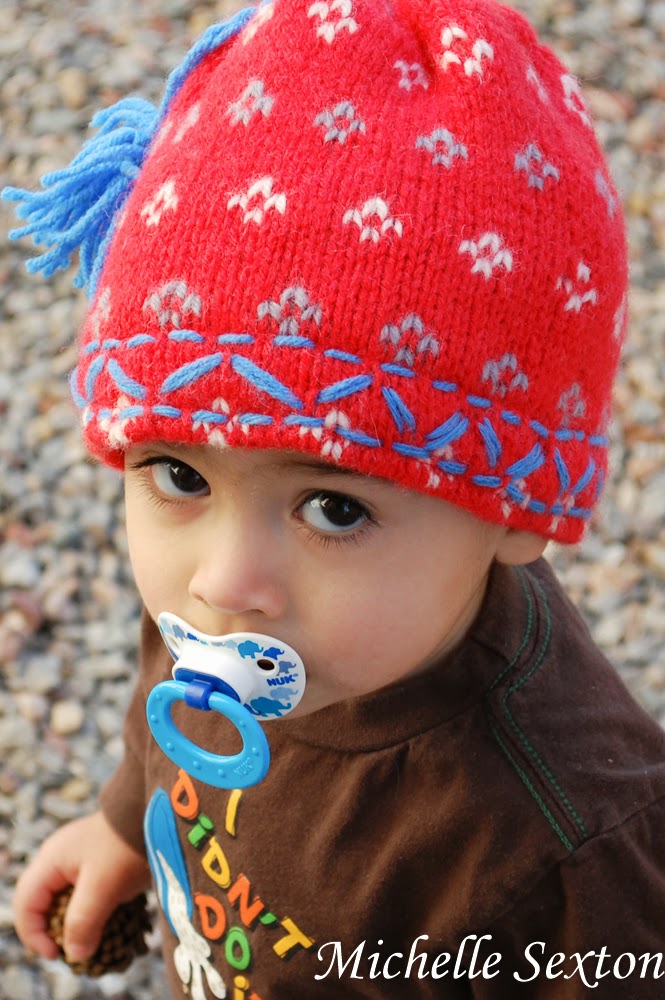
Have you had your fill of winter yet? Has Snowmageddon depleted your creative energy? Well, guess what? Here's an unexpected and easy sewing project to make for your little ones in one evening. This easy little project may just make these last days of winter a little more bearable, once you see your little ones wearing these cute little beanies on their heads.

Learn how to make a beanie from a sweater sleeve with only a minimal amount of sewing! Click through and find out how.

Make this easy beanie with only a minimal amount of sewing - click through and find out how.

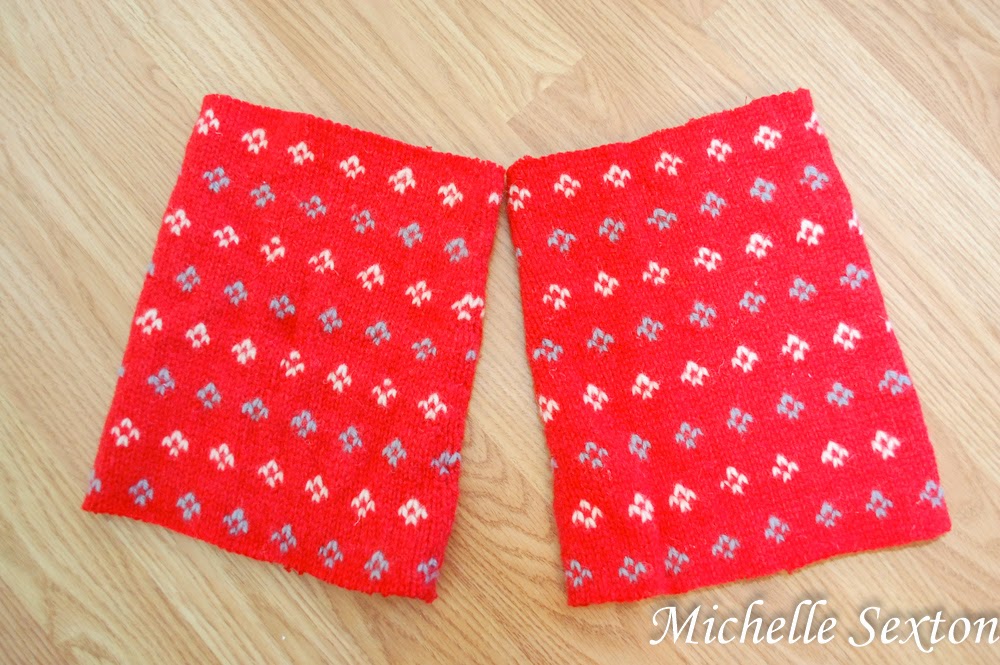
These beanies were made with the leftover material from an upcycled sweater project that I shared a couple of weeks ago. The sweater originally had gigantic baggy sleeves that proclaimed, "I'm so outdated!" They just had to go. So, I cut them off and made a cute pair of boot cuffs, and still had a bit of leftover sleeve material. Instead of tossing them, I thought, "Why not make hats for the boys?"

so many uses for one sweater!

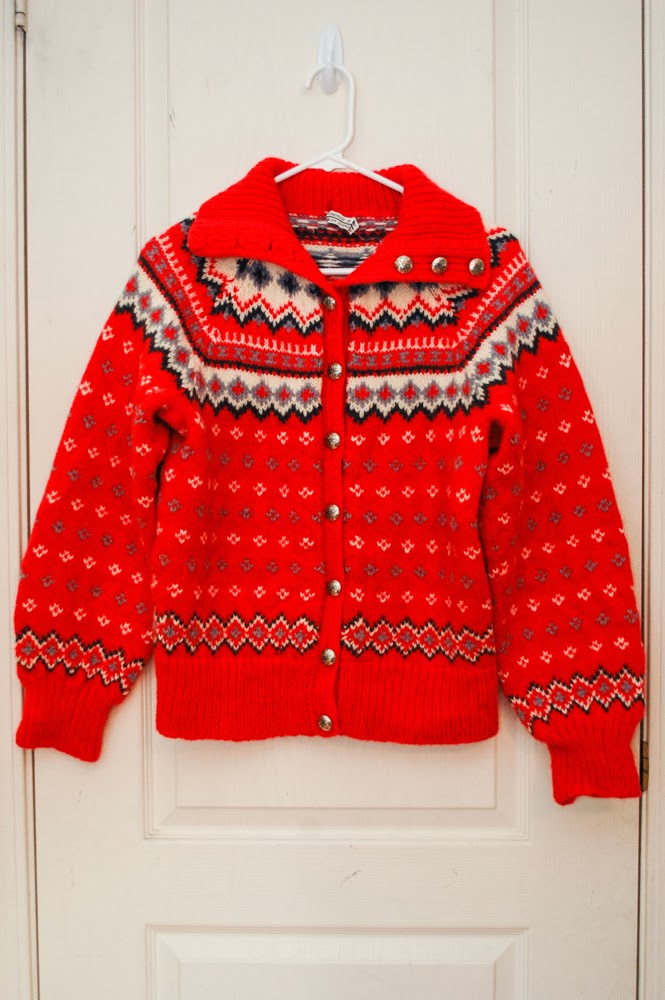
Here's the original sweater. It's a hand-knit wool sweater and a bit on the heavy side. This project is totally doable with the heavy wool sweater, but would probably work out even better on a medium-weight sweater. You'll need need at least 12 inches of a sleeve to work with (per hat).

Here's how I made these cute little beanies:

start out with two sweater sleeves

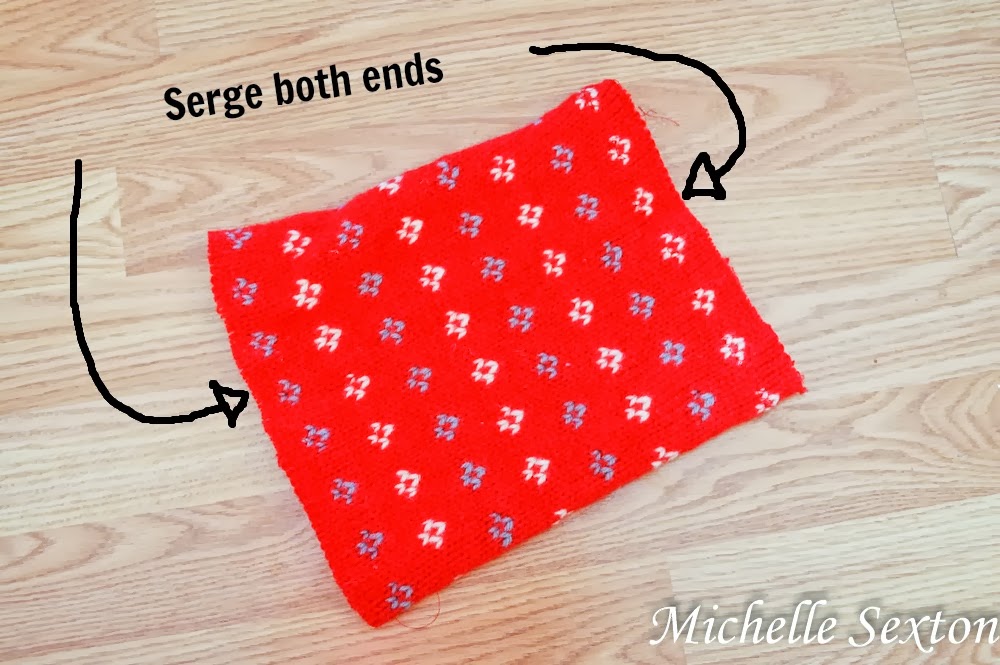
Start out by serging each trimmed end of the sleeve to prevent the sweater from unraveling as you work on it.

serge both ends of the sweater

pin the ends

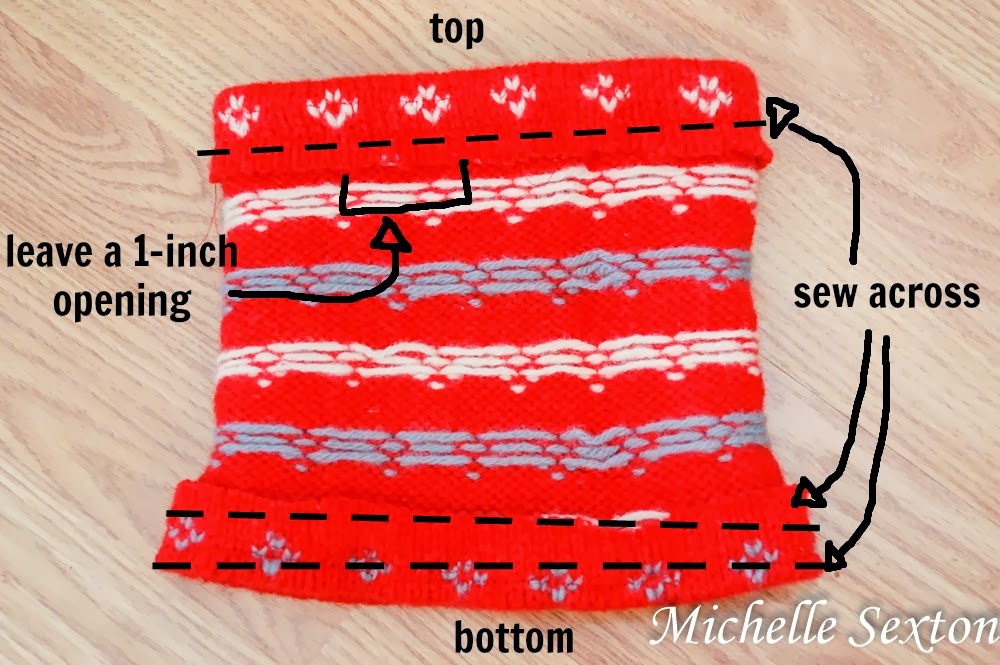
Turn the sleeve inside out, fold one end, and pin it. (This is the top portion of the hat. So, if the sleeve has a smaller end, it would be ideal to use the smaller end here.) Side note: the photo shows both ends pinned, but you can pin each end and work on them one at a time.

sew across each opening

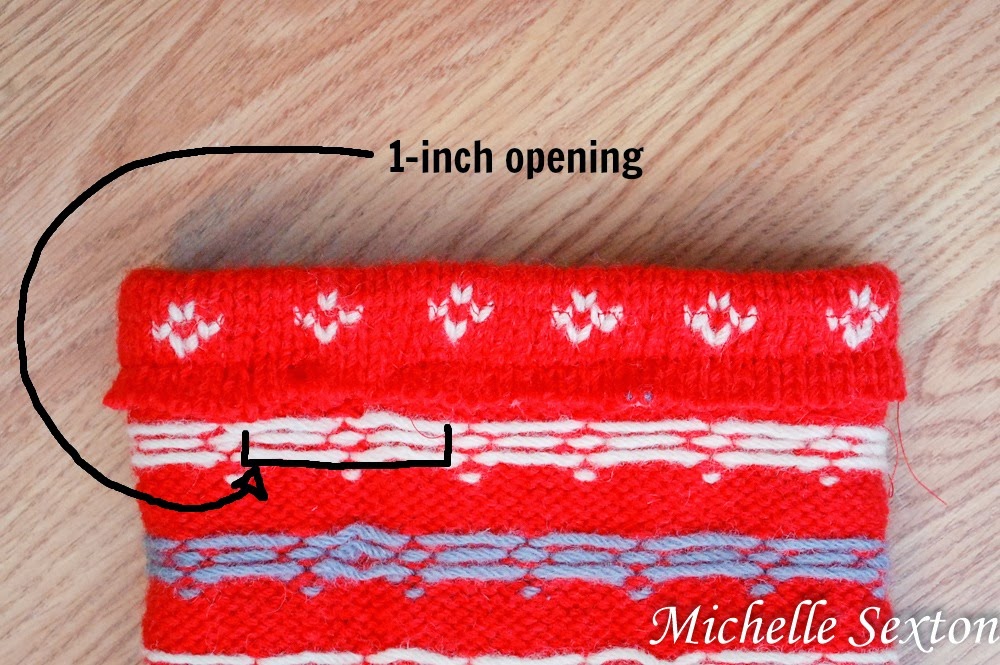
leave a 1 inch opening

Sew a line about 1 inch above the fold of the sleeve, leaving a 1 inch opening between the starting and ending points. Be sure to run the sewing machine forward and backward a couple of times to prevent the stitch from unraveling (at the starting and ending points), especially since the ends are not connected. (I used a serged stitch here, but a straight stitch would be fine too.)

While the sleeve is still inside out, fold the opposite end of the sleeve over, pin, and sew two separate lines over the folded portion.  Make one about 1/4 inch above the fold and one about 1 inch above the fold to create a faux brim. This time, make sure to connect the beginning and ending points.

Guess what? That's all the sewing needed! For. Real. Gasp!

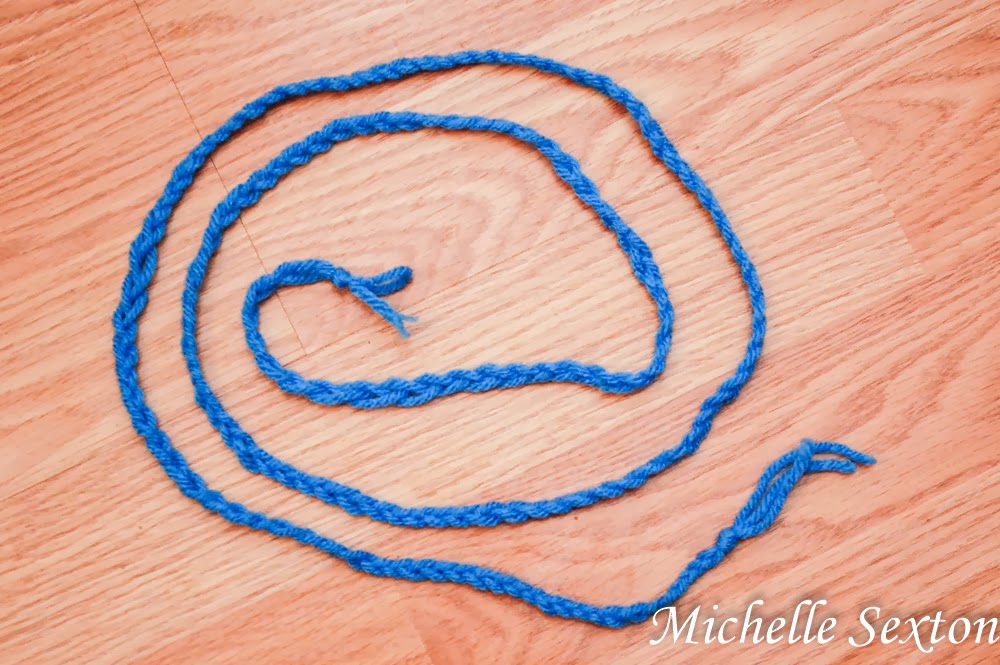
braid 3 strands of yarn together

Set aside the sleeve/hat. Braid three strands of yarn into approximately the length of 2 feet.

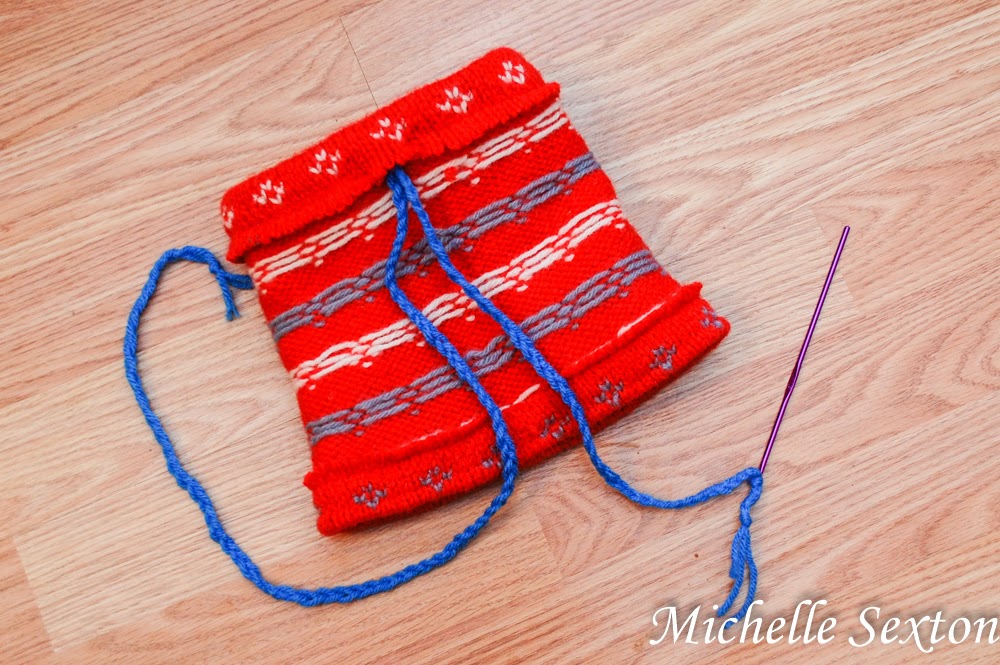
thread yarn through the top opening

use a crochet hook to thread yarn through top opening

Tie one end of the braided yarn onto a small crochet needle.  Thread the yarn through the top opening of the hat (the end with the 1 inch opening) and out the other end to create a "drawstring".

pull tight and tie a square knot

turn hat right side out and pull yarn strands through

Pull the yarn tight and tie square knot. Turn the hat right side out and pull drawstrings through the small opening at the top of the hat.

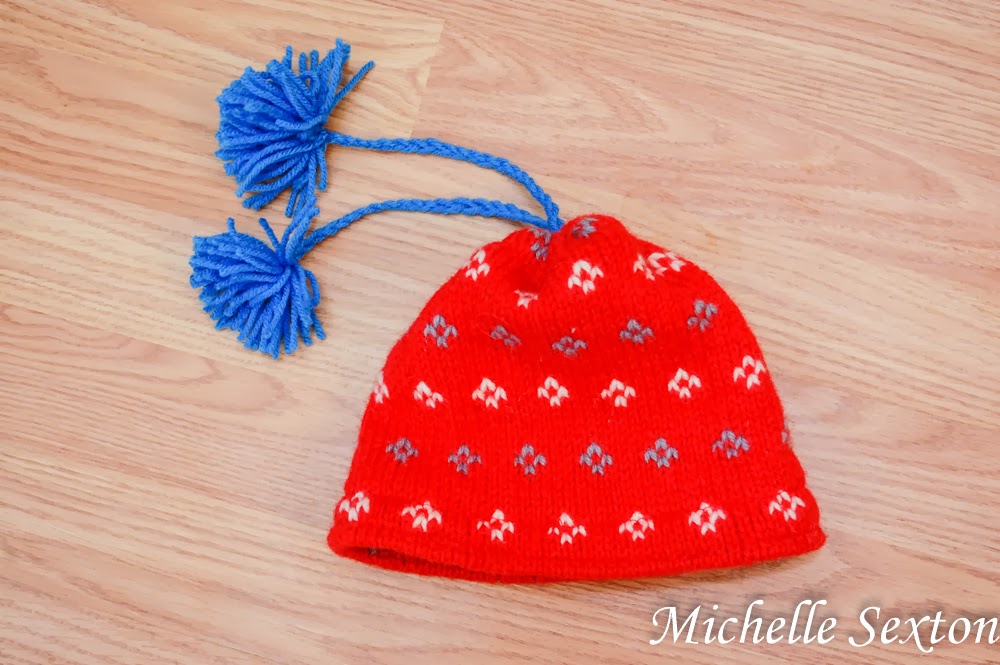
trim ends and add pom poms

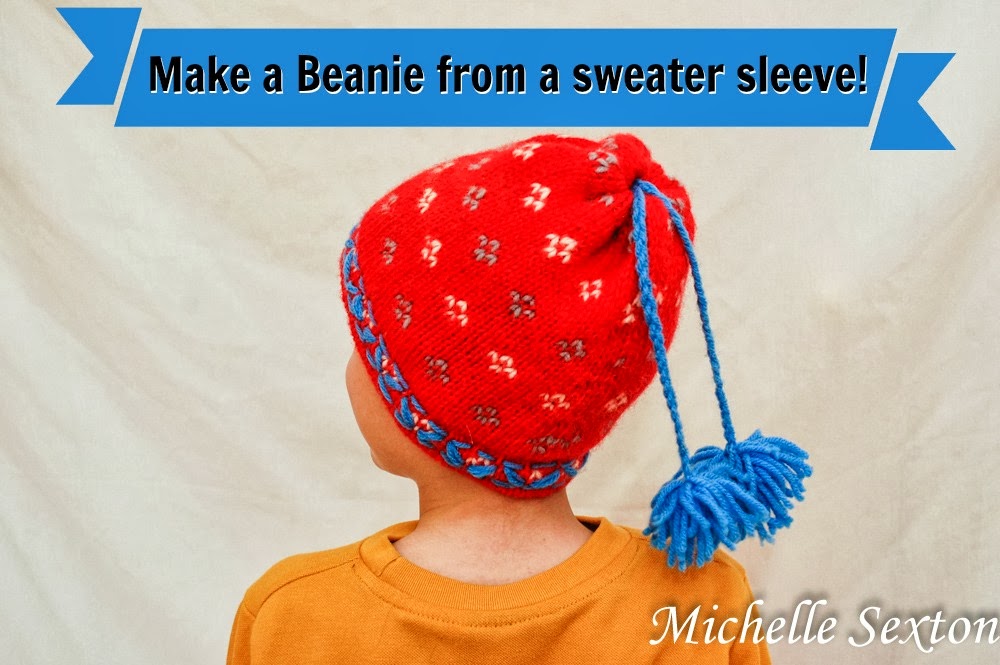
Trim the ends of the drawstrings, leaving approximately 8 inches (or more if you like), and tie off the ends. Make two pom poms and attach them to each end of the drawstring.

embroider a pattern on the brim

Double threaded a plastic needle with yarn, then "embroider" a cute pattern onto the "brim" of the hat.

Make a beanie from a sweater sleeve with a minimal amount of sewing - click through and learn how

Easy way to convert a sweater sleeve into a beanie - click through and learn how

Wa-La! That's it! Easy-Peasy. Who would have ever thought to make a hat out of a sweater sleeve??
:)


Thursday, February 13, 2014

Spring Flower Wallpaper for Android and iPad Tablets

Over the past couple of weeks, I have taken note of several comments, spanning multiple social media platforms, about the anticipation of Spring. Now that the Holidays are over, it seems the whimsical winter wonderland desires have faded, and everybody is ready for Spring. Are you with me? Is anybody else ready for Spring?

I am definitely ready for Spring. In fact, to be quite honest, I dread this time of year. It's so uninspiring, cold, and well...boring. Lately, I've found myself day dreaming about the Spring Season - the activities, the weather, the clothes, so much so that I've even been doodling about it. So, if you're in the same Post-Holiday/Pre-Spring Funk that I've been in, perhaps this will cheer you up and maybe even give you a little inspiration.

I have a fun, Spring-inspired wallpaper for iPads, iPad minis, and yes, even Android tablets. (We don't discriminate in this household. We use both Android and Mac devices.) Download this wallpaper and remind yourself: Don't despair! Spring is coming. It's just around the corner.

Tuesday, February 11, 2014

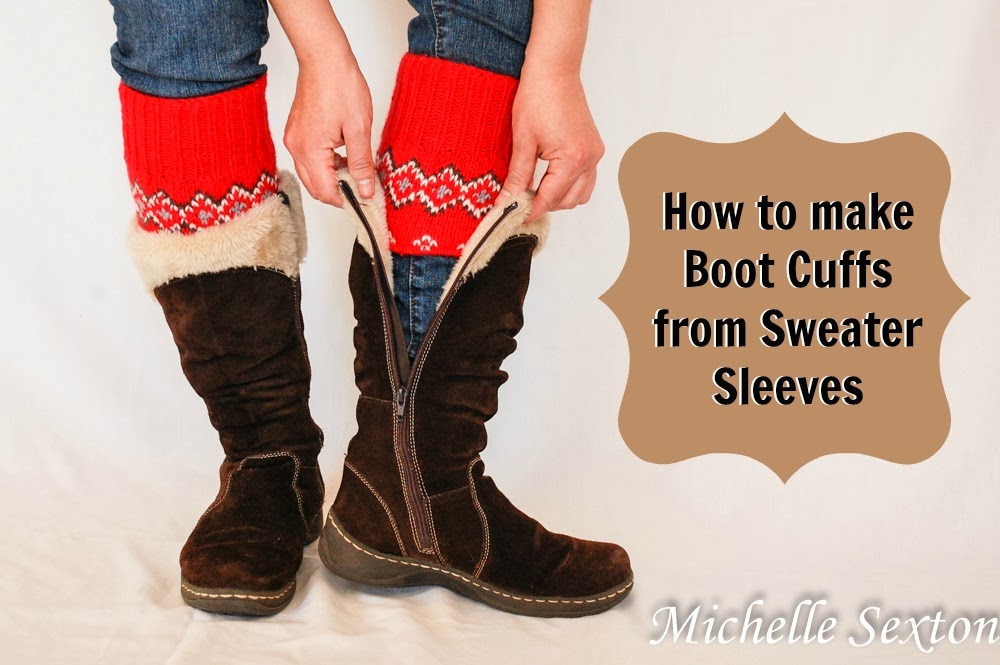
Sweater Boot Cuffs from Sleeves DIY in 15 minutes or less

I have a "thing" for upcycling clothes. I've mentioned it before, so I apologize if I sound like a broken record, but I LOVE it. I find it incredibly gratifying to change up an unused article of clothing into something better. I also find it fun to save the unused and discarded pieces for future projects. It's kind of like a game for me...or more like a challenge - "How many different things can I make from this ugly sweater?" The answer? Lots of things! Last week, I shared about how I converted an ugly sweater into an awesome, non-dorky vest...well, at least I think so. Anyway, I saved the sleeves from the sweater and decided to use them for something else - Boot Cuffs.

I know what you are thinking - "Wait a minute...didn't you make boot cuffs a couple of years ago?" Nope. It was leg warmers and mock boot socks. Here's the thing - the legwarmers and boot cuffs are awesome (and yes, I still wear them and still get compliments), BUT some of my boots fit so snugly, I'm not able to wear the leg warmers and zip up boots. Oh, the tragedy! (First world problems right here.)

Enter the boot cuffs - the perfect solution for snug fitting boots. Isn't the whole point of wearing leg warmers to show off the cute "socks" by allowing them to peek over the top of your boot anyway? (Well, aside from the fact that they provide extra warmth). Duh! Why didn't I think of this sooner? I'm going to blame it on the Mom Brain. Yeah. By the way, I forgot to mention this earlier, but this project was so easy, it only took 15 minutes to make. Sssssssssssscore!

How to turn sweater sleeves into boot cuffs - 15 minute tutorial - click through and learn how.

So, it all started with the sweater. Sweet, wonderful, loud, hand-crafted sweater from Norway. It spoke to me that day in the second-hand store and said, "You know I'm wonderful. I just need a little work. Please buy me so I can reach my full potential." So, of course, I had to oblige.

upcycle an old sweater into new articles of clothing

Here's how I made the boot cuffs:

how to turn sweater sleeves into boot socks

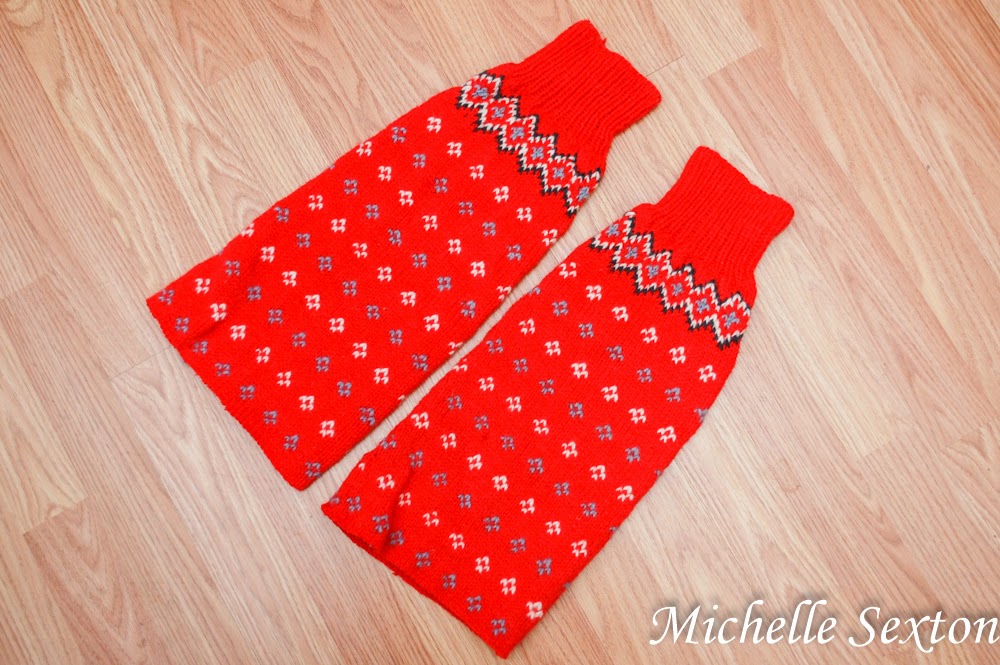
I started out with two leftover sweater sleeves.

turn sweater sleeves into boot cuffs - start 8 inches below cuff.

make sweater sleeves into boot cuffs

serge at the bottom

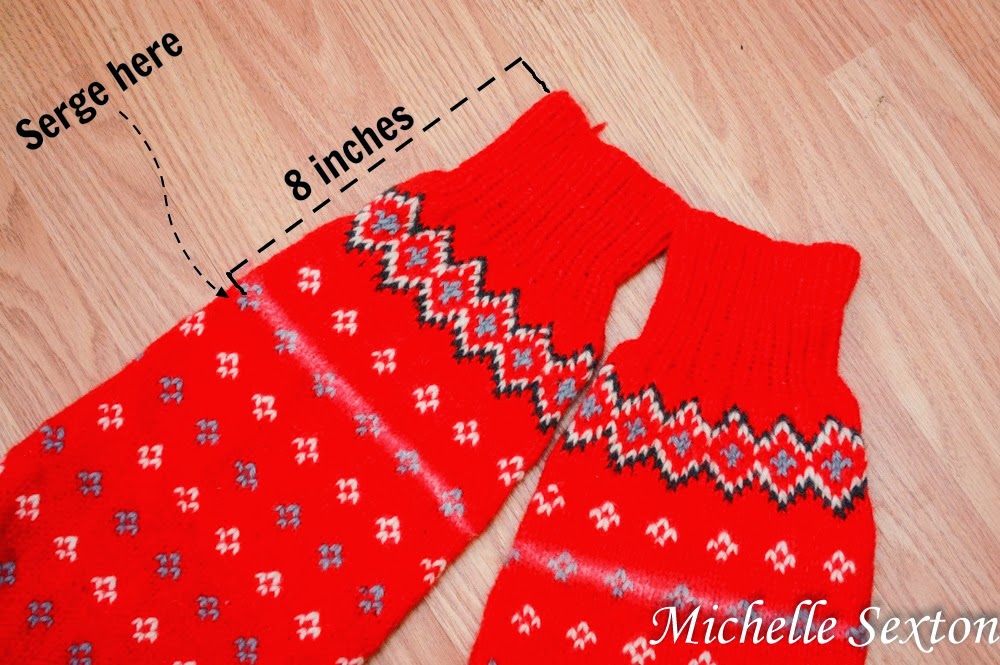
Starting at the cuff (the portion of the sleeve that sits on your wrist), measure approximately 8 inches down and serge a line completely around the sleeve. Trim off the excess fabric below the serge.

turn inside out, fold over, and pin

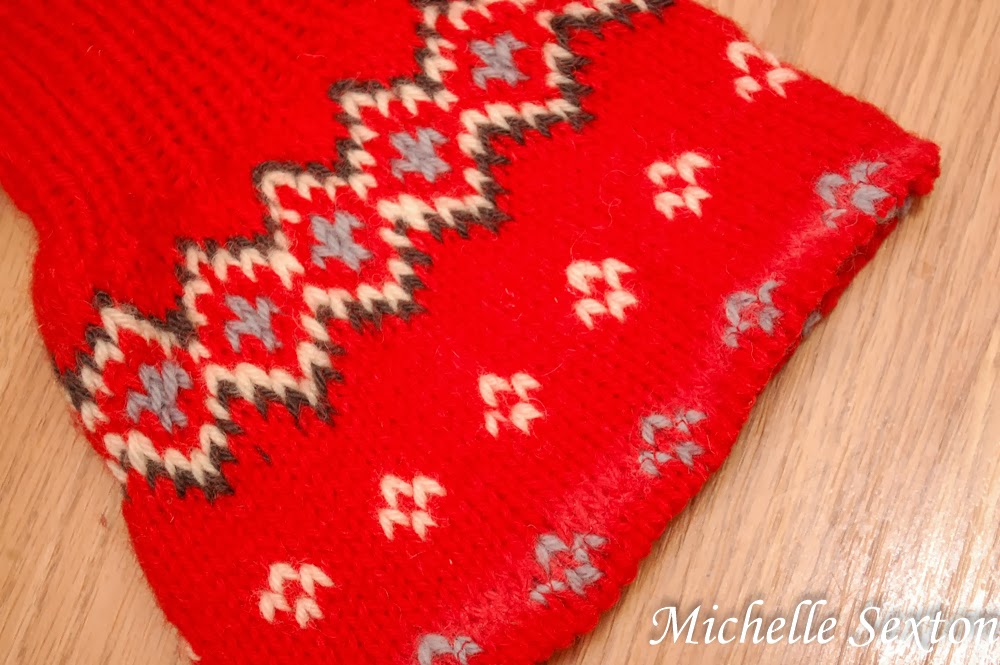
Turn the serged sleeve cuff inside out, fold the fabric, and pin. Serge (or use a straight stitch on) the pinned portion of the fabric.

measure excess, mark, sew, and trim

serge along marked path

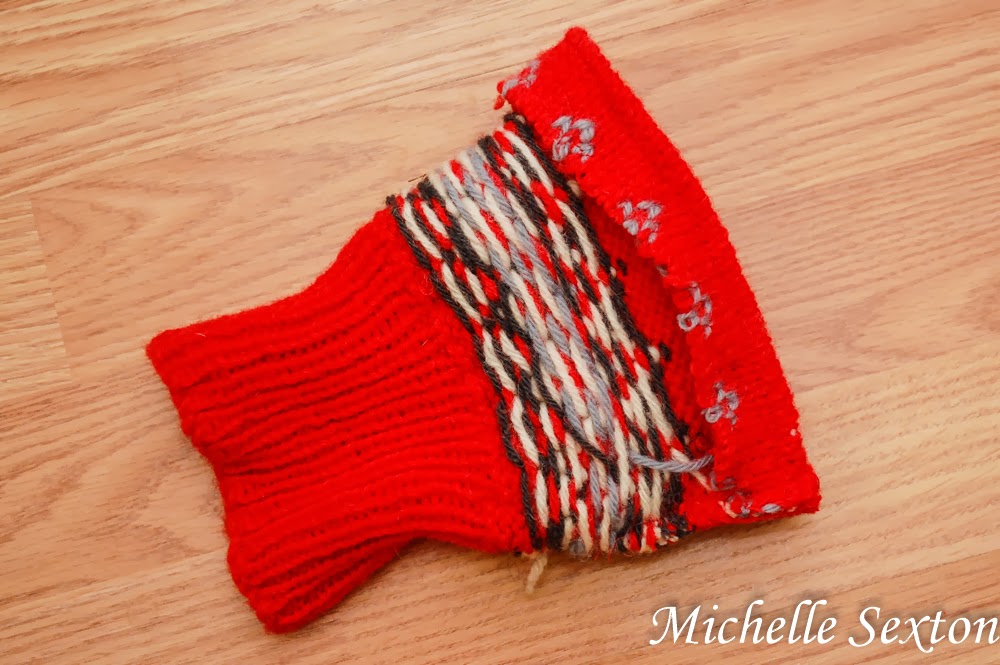
Almost done (believe it or not)! Turn the sewn cuff right-side out and slip it onto your leg, just below your knee. If the cuff fits snugly, breathe a sigh of relief and relish in the fact that you have completed this simple project with very little effort. However, if the cuff came with really baggy sleeves, like mine did, you have one more adjustment to make. Since the baggy sleeves fit loose around my calves, I had to taper the sleeve portion to create a snug fit. While wearing the cuff, get an approximate idea of how much fabric needs to be removed to achieve the desired fit around your calf. Turn the cuff inside-out again and mark the fabric. If you like to be precise, you can use a measuring tape and mark off the excess fabric. I'm impatient, so I estimated and marked about a "pinch" of fabric. Sew a line down the marked path and trim off excess fabric.

finished product, inside out

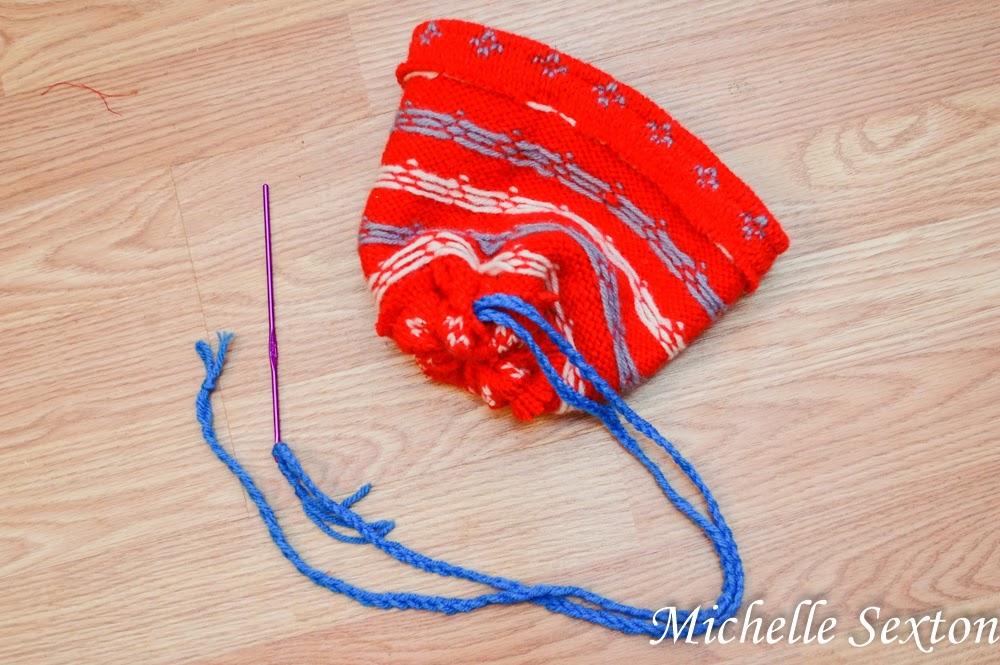
Turn right-side-out and wear! That's it, friends! Super quick and easy!

Make boot cuffs from a pair of sweater sleeves - simple 15 minute tutorial

Hey, guess what? Did you like this little mini-upcycled project I did with the leftover scraps from last week's project? I made something else, too. Come back next week and see what it is. :)
Thursday, February 6, 2014

Baked Hash Brown Patties

If I were to ask you what your favorite breakfast side is, would the answer be hash browns? Yes? I knew it! Hash browns are pretty high on my list of favorite breakfast sides...in fact, I'm pretty sure they ARE my favorite side to eat for breakfast. Yes, yes they are, and now I know that you like them, too. So, do you want to make some? (Pshhh...like I really have to ask! I KNOW you do.) I found an awesome upgraded recipe for hash browns to share with you. These aren't your typical hash browns. Instead of frying the life out of those grated potatoes (and adding waaay too much grease), we bake them! They're not as crispy as the fried version, but these hash browns are still firm, non-soggy, and extremely satisfying, you won't even miss the crispies.  They have several bonus ingredients in them: onions, garlic, cheddar cheese, and even eggs! What? Oh, yes they do. But wait, there's more - the coup d'etat of this dish is a hint of sour cream and bacon to top off these baked hash brown patties. What more could you ask for? Nothing, really.


Ready to make them? Great! Let's get started:

Ingredients:
- 2 pre-cooked hickory-smoked bacon slices
- 2 teaspoons of olive oil, divided
- 3 cups of chopped frozen (thawed) onion
- 3 garlic cloves, minced or put through a garlic press
- 1 1/2 pounds of shredded peeled baking potato (about 2 large ones)
- 1/3 (1 1/2 ounces) reduced fat shredded sharp cheddar cheese
- 3/4 teaspoon salt
- 1/2 teaspoon freshly ground black pepper
- 2 large eggs
- cooking spray
- 1/2 cup reduced-fat sour cream


Make it like this:
Preheat oven to 425 degrees. Peel and grate potatoes. Then, put potatoes in a clean dish towel and gently squeeze out the excess moisture. (super important step to avoid soggy hash browns)

Heat olive oil in a medium non-stick skillet. Add onion and cook over medium high heat for 5 minutes, stirring occasionally. Add garlic and cook for 2 minutes, stirring frequently. Remove from heat and allow onion mixture to cool for 5 minutes. Combine onion mixture, grated potato, cheddar cheese, salt, black pepper, and eggs in a medium bowl, stirring well. Put pre-cooked bacon on a plate lined with paper towels and heat for 40 seconds or until crisp (assuming the bacon needs to be reheated). Set aside.

Divide the potato mixture into 8 equal portions and shape each portion into a 1/2 inch thick patty. Place the patties on a baking sheet coated with cooking spray. Coat tops of patties lightly with cooking spray. Bake at 425 degrees for 15 minutes. Flip and cook another 10-15 minutes on the other side (or until patties are dark golden and set). Top with crumbled bacon and sour cream.


Eat and enjoy these baked hash brown patties and then repeat again the next day. :)

By the way, I found this recipe on the Shrinking On a Budget website.