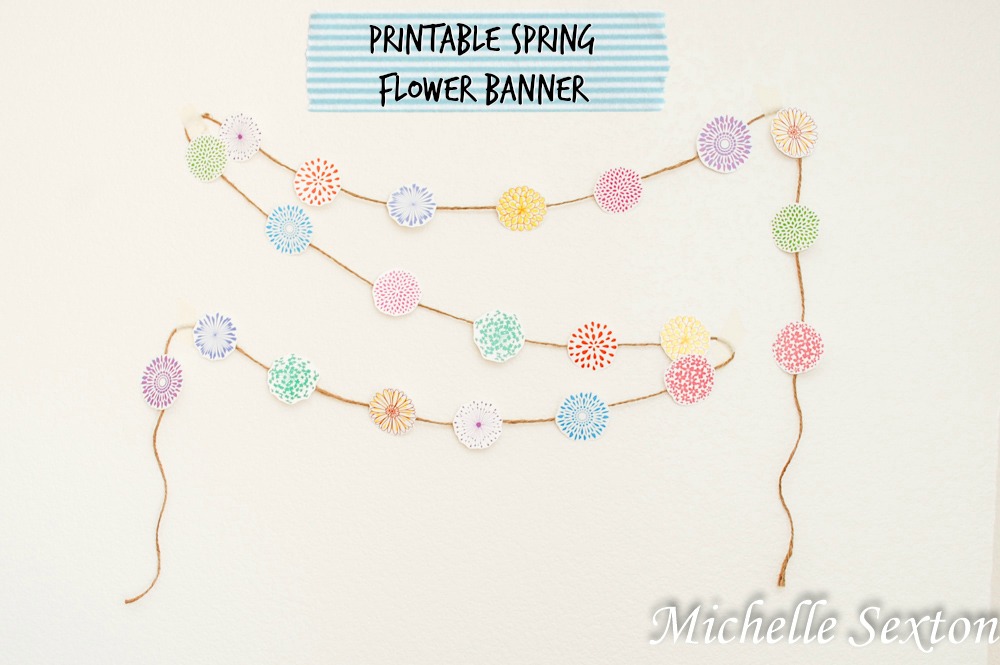
Can I just tell you guys that I've had a hectic week? Over the weekend, Joel and I ran a 5k and I managed to resprain my ankle...you guys probably didn't know that I sprained my ankle in February, did you? I did. I forgot to mention that previously. Yeah, well apparently I ran a little too much, a little too soon...and it's resprained. There's no walking going on here. Only crutches. Bleh. A couple days later I managed to get the cold that Cheese had. So then I had to take care of two kids in the midst of my sickness and sprained ankle. This week has been trialing, to say the least. Bah! However, I get my camera back! Hooray! (A Small beautiful moment in the midst of many chaotic ones this week.) So to celebrate, I have a fun Printable Spring Flower Banner to share with you guys! (And also because I'm dying to do creative things). Here's a sweet, colorful and festive way to celebrate the arrival of Spring!
This banner is easy to make. Simply print out the Spring Flower Banner onto card stock, cut out the flowers, and tape the backs to a string of twine. Use this banner and decorate to your heart's desire.
Pretty, pretty, pretty.
Bonus idea: These flowers would also make an adorable flower crown. (I chose not to go this route, simply because I have boys, not girls.) :)
Banners are so much fun, don't you agree? This banner was beyond fun to make. Why? Because it uses glitter and glue! This is the perfect opportunity to unleash your creativity and fuel your glitter obsession. I mean, how often do you get to do a project where you can doodle with an excessive amount of glue AND glitter at the same time? That's right. Not that often. The beauty of this project is that it can be as easy or as involved as you would like it to be. Either way though, the most time consuming part of this project is they drying time. And if you're not so fond of the banner idea, you can always skip the twine step and use the glitter-glue ornaments on your tree. By the way, I made the chalkboard talk bubble that you see pictured below. You can find the tutorial here.
Supplies needed:
- glitter
- school glue (I used the clear kind, but the white kind works just as well)
- twine
- wax paper
- acrylic spray
- toothpick
- ornament hooks or paper clips
Start by laying out a sheet of wax paper.
Using the glue, draw various shapes onto the wax paper. Squeeze the glue bottle firmly and pour slowly to create thick lines of glue. (Avoid bubbles in the glue as much as possible).
Avoid separations in the glue (like the one pictured)
Use toothpick to connect separated sections of glue
Make sure that each glue shape connects from beginning to end of shape. If the glue separates into sections, use a toothpick to connect the separated sections or add more glue to those areas.
Cover thoroughly with glitter. Allow to dry on a flat and level surface, preferably overnight. Once glitter and glue shapes have dried, spray with a coat acrylic spray. (This significantly reduces the glitter mess when handling shapes)
Gently peel the dried shapes off the wax paper. (Make sure glue is completely dry before peeling off the wax paper, otherwise the shapes tend to curl)
Originally I hung this on our piano.
Hang (tape, tie, whatever way you choose) the twine in the desired spot to display the banner.
Using the ornament hooks (or paperclips) hook each glitter-glue shape and hang on various parts of the twine. If you have trouble with the ornaments staying in place, try hooking through the twine threads.
Easy, right?
Liked the post? Let me notify you of new posts. Don't worry, I hate SPAM and won't abuse your email address. :)