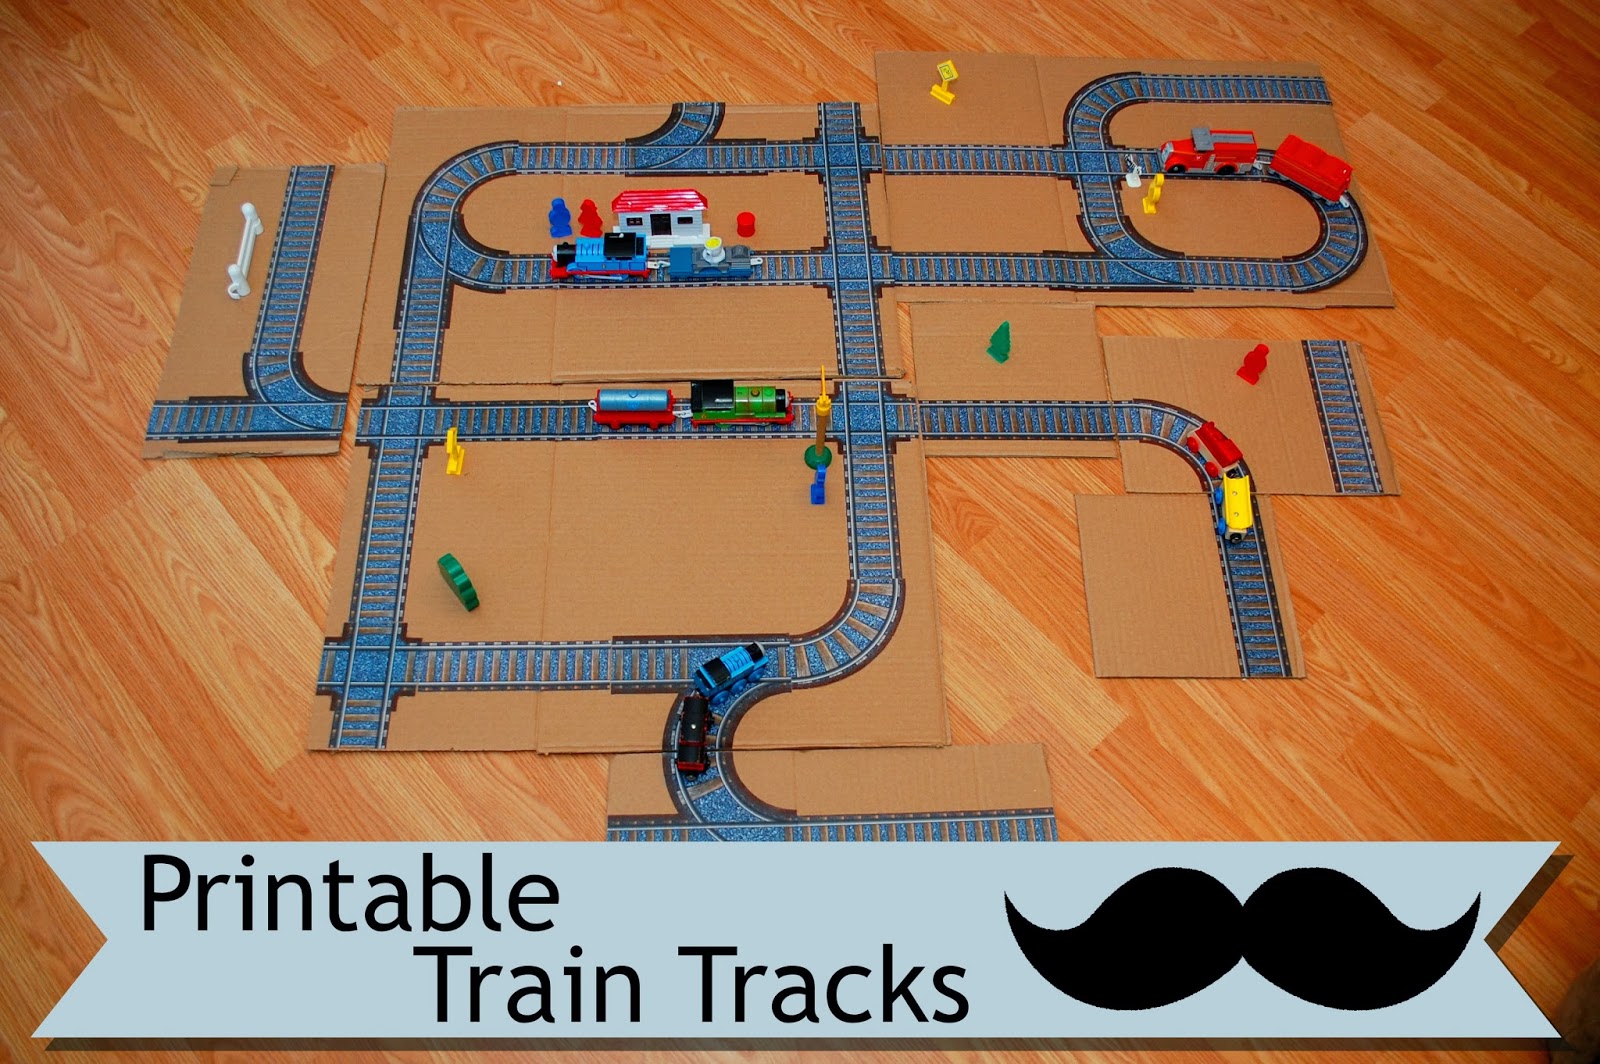
Today, my husband Joel has a fun activity to share with you for your kids. A while back, he made the Printable Road Maps for Toy Cars craft and it became a reader favorite for several weeks. Because the printable roads were so popular, he created a printable train tracks project. He also has an additional project in the works to add to these. It should make an appearance within the next month or two. Sign up for email notifications on the right side of the page to make sure that you don't miss out on the next printable project!
Toy trains are really fun. I've always enjoyed playing with them, but the sets can be really pricey. Not only that, but different sets are often incompatible and don't offer much variation in the ways that you can set them up. Enter printable train tracks...
With this set, you can create each panel in whatever way seems the most interesting to you and your kiddo. Then, you can arrange the panels in infinitely different arrangements. All it will cost you is a little ink, paper and time. So, here we go!
First, print out
this PDF.
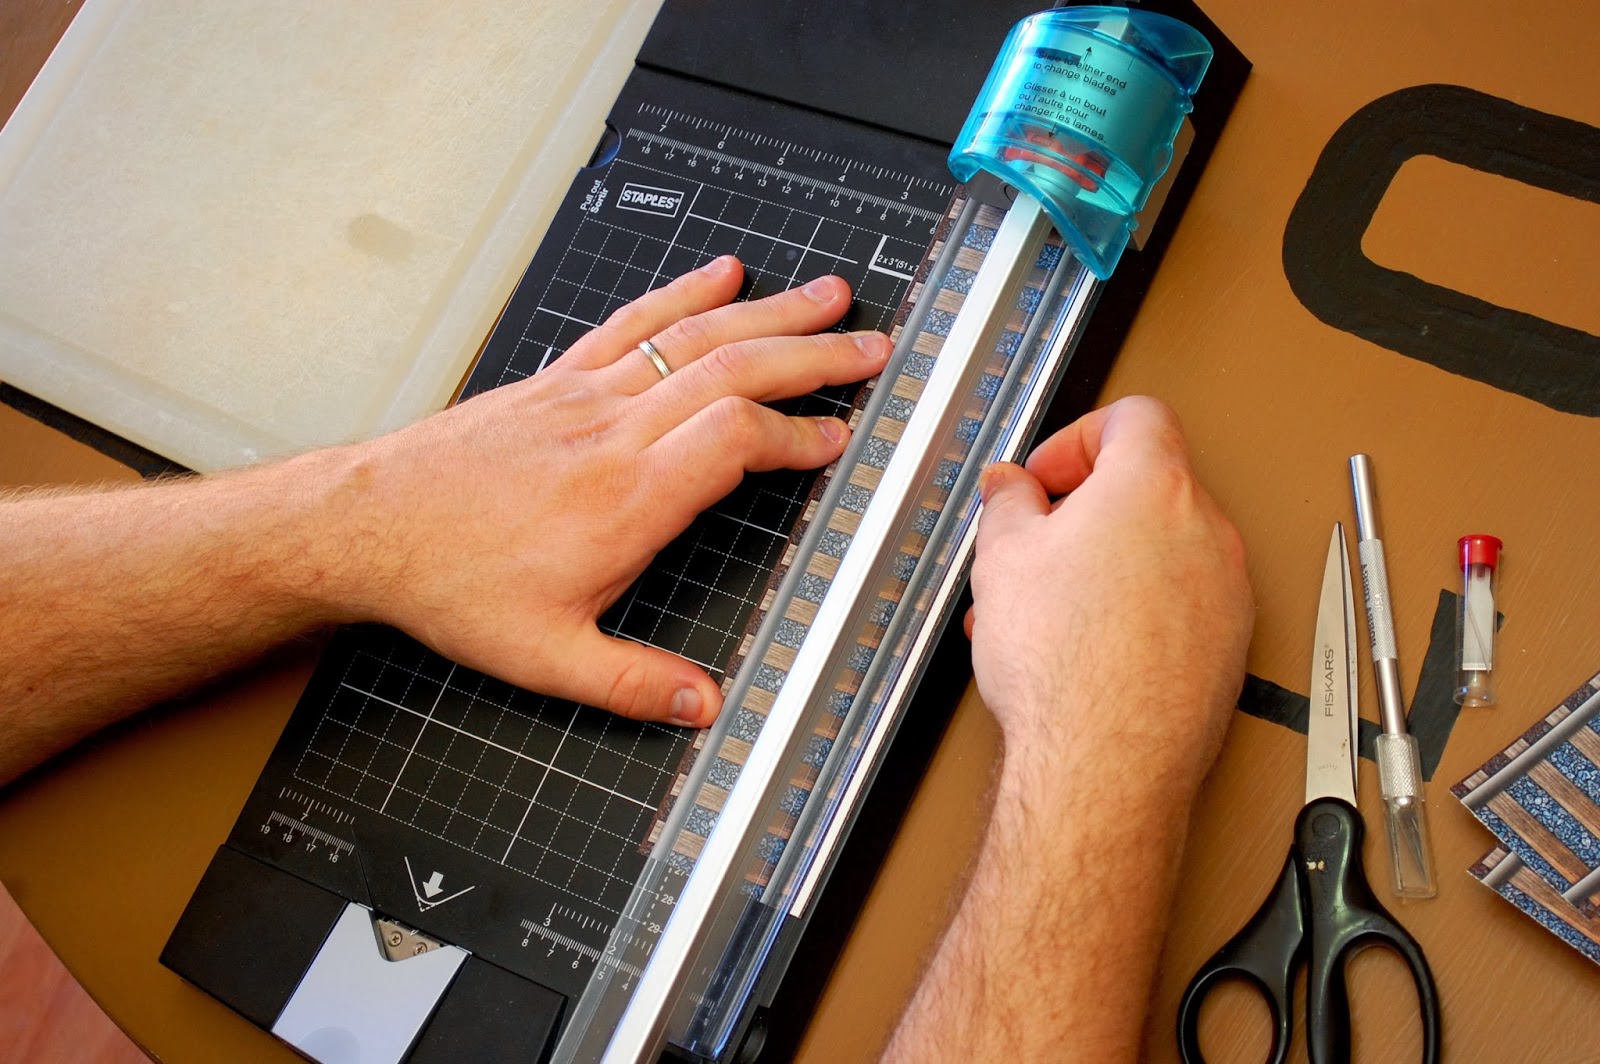
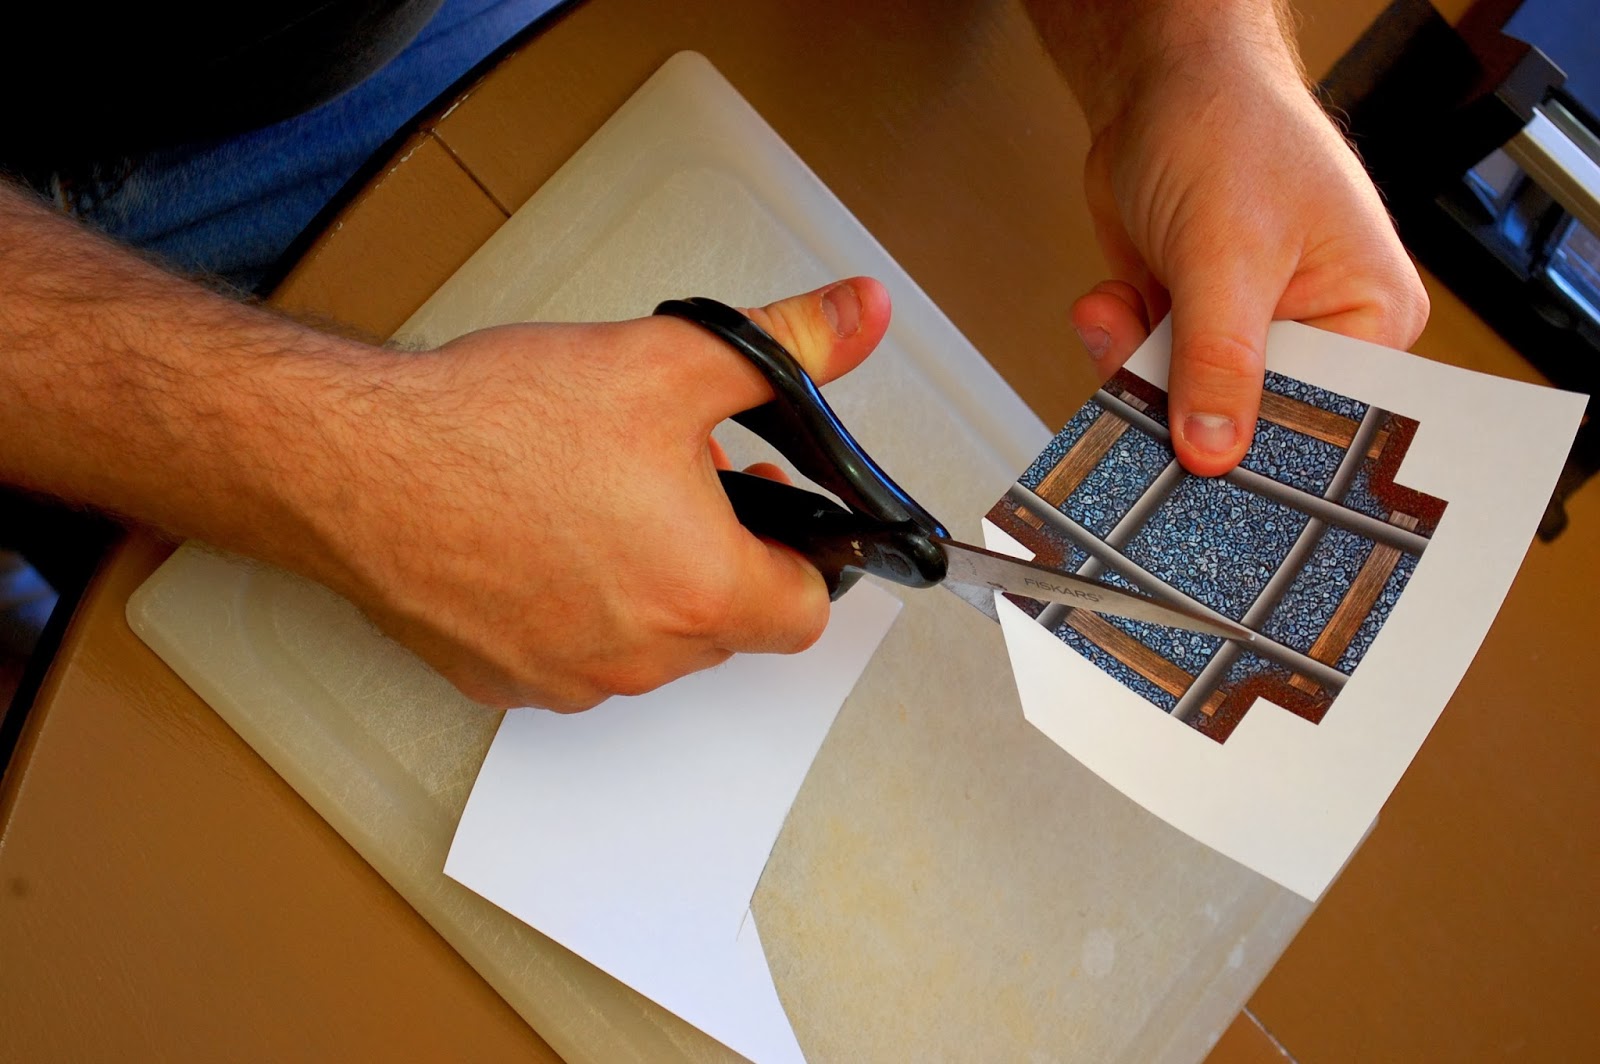
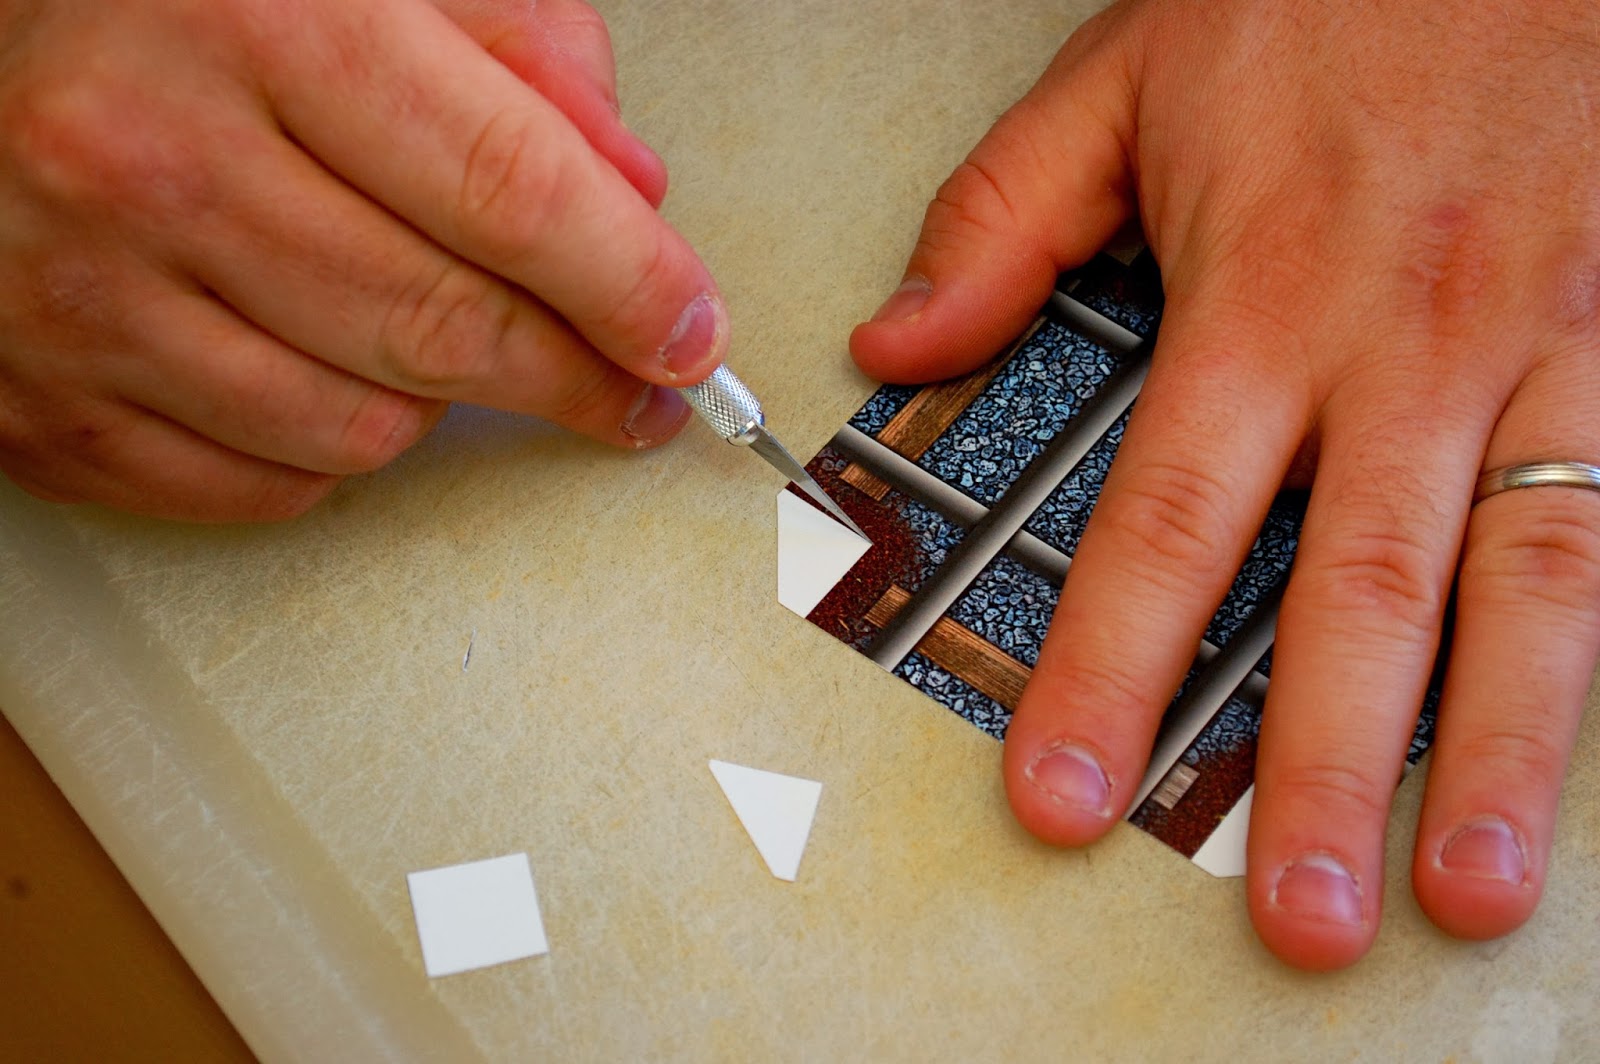
Next, cut each piece out of the printout by trimming around the edges of each piece. You can use any cutting method that works for you. I chose a paper trimmer for the straight cuts, scissors for the long curves and an Exacto knife for the smaller pieces.
After that, take a medium-sized cardboard box and cut it so that you have some large panels and some small panels. I chose to make 4 large and 4 small by leaving the top flap on each side of the box. If a portion of one of the panels is damaged, you can trim that part off. They don't all need to be standard sizes.
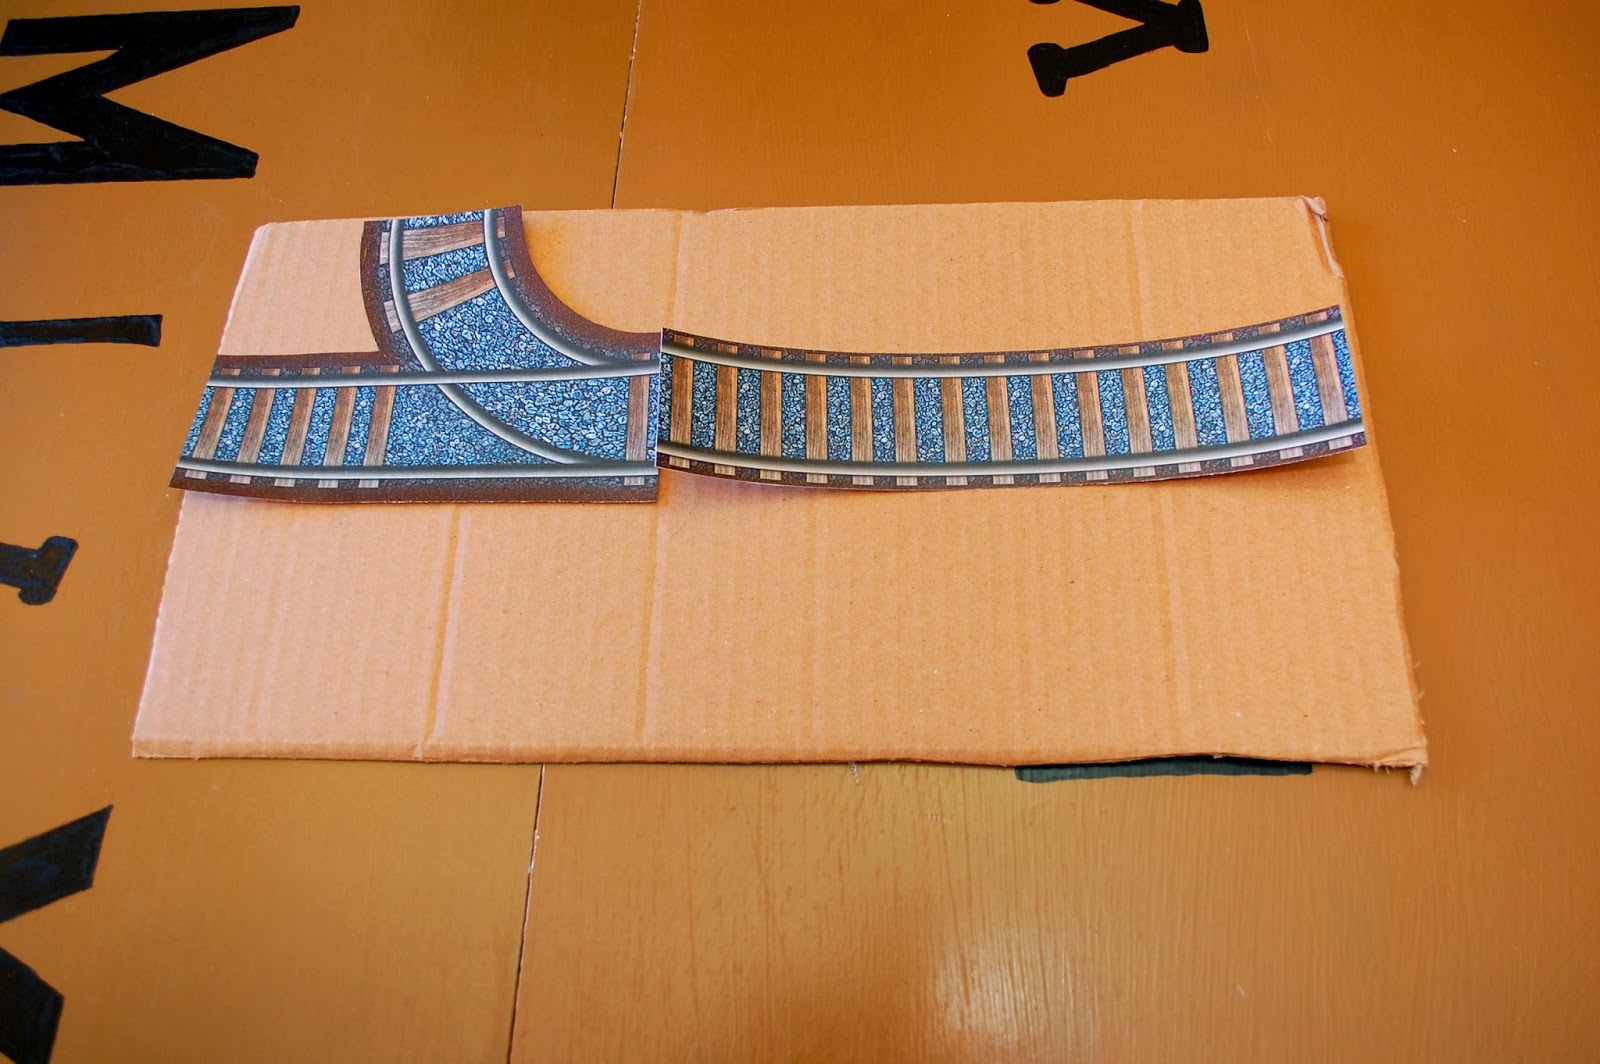
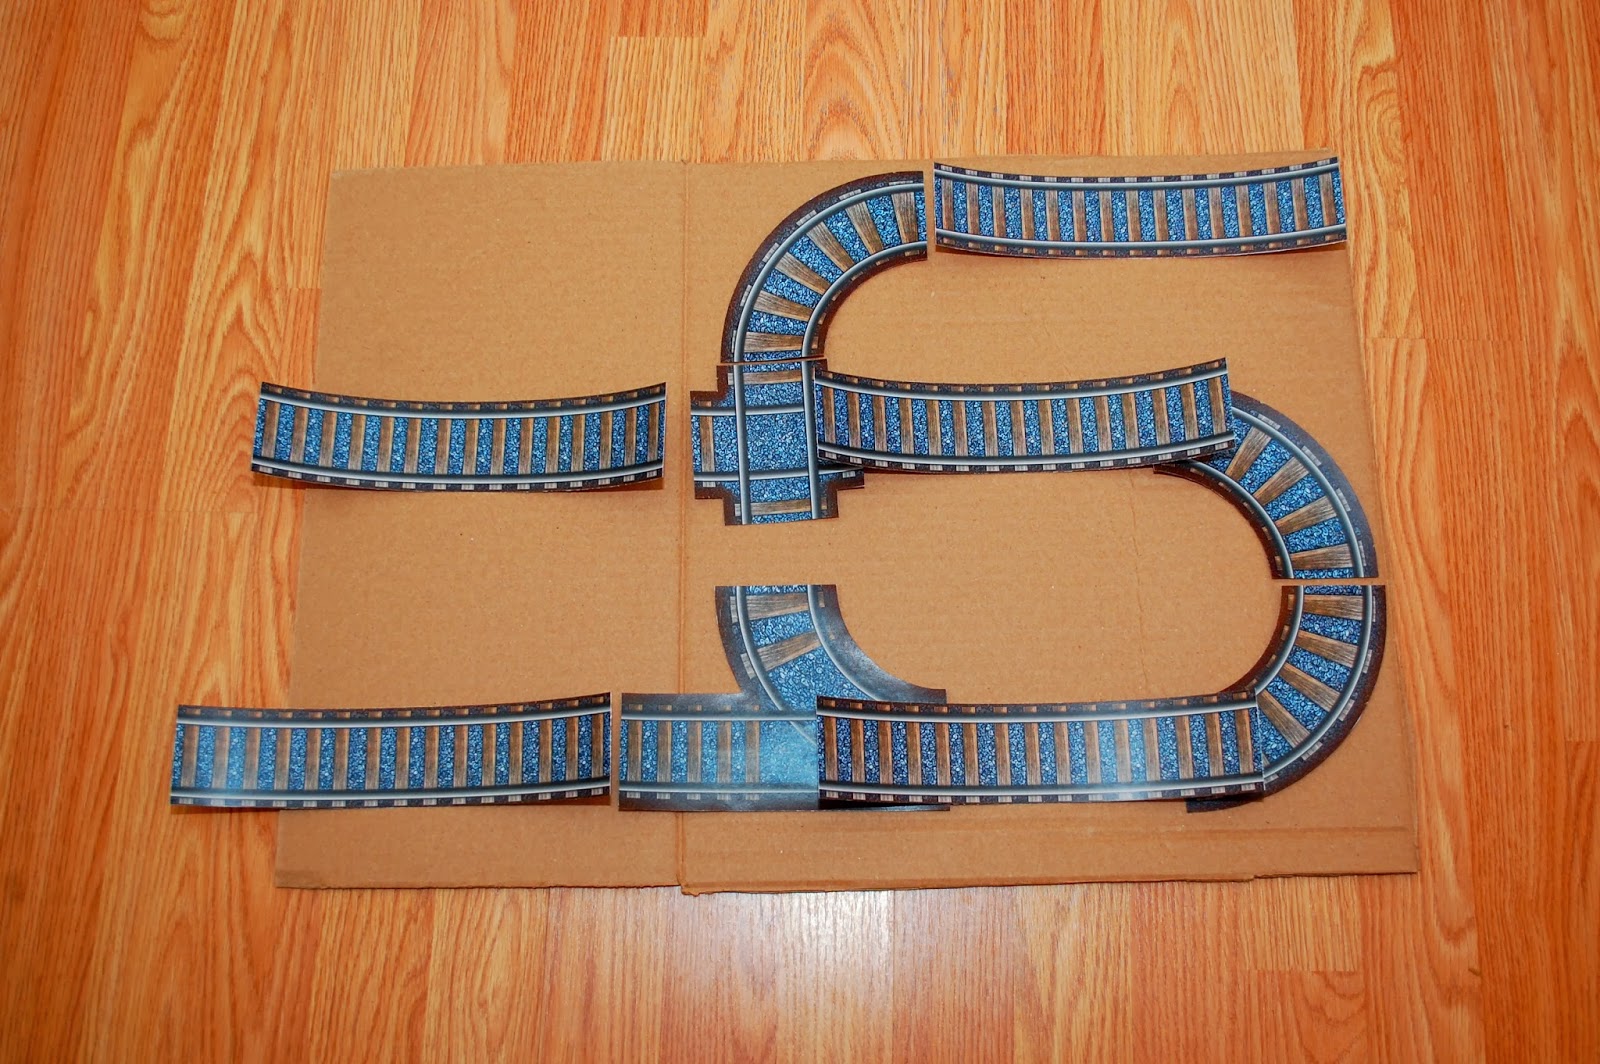
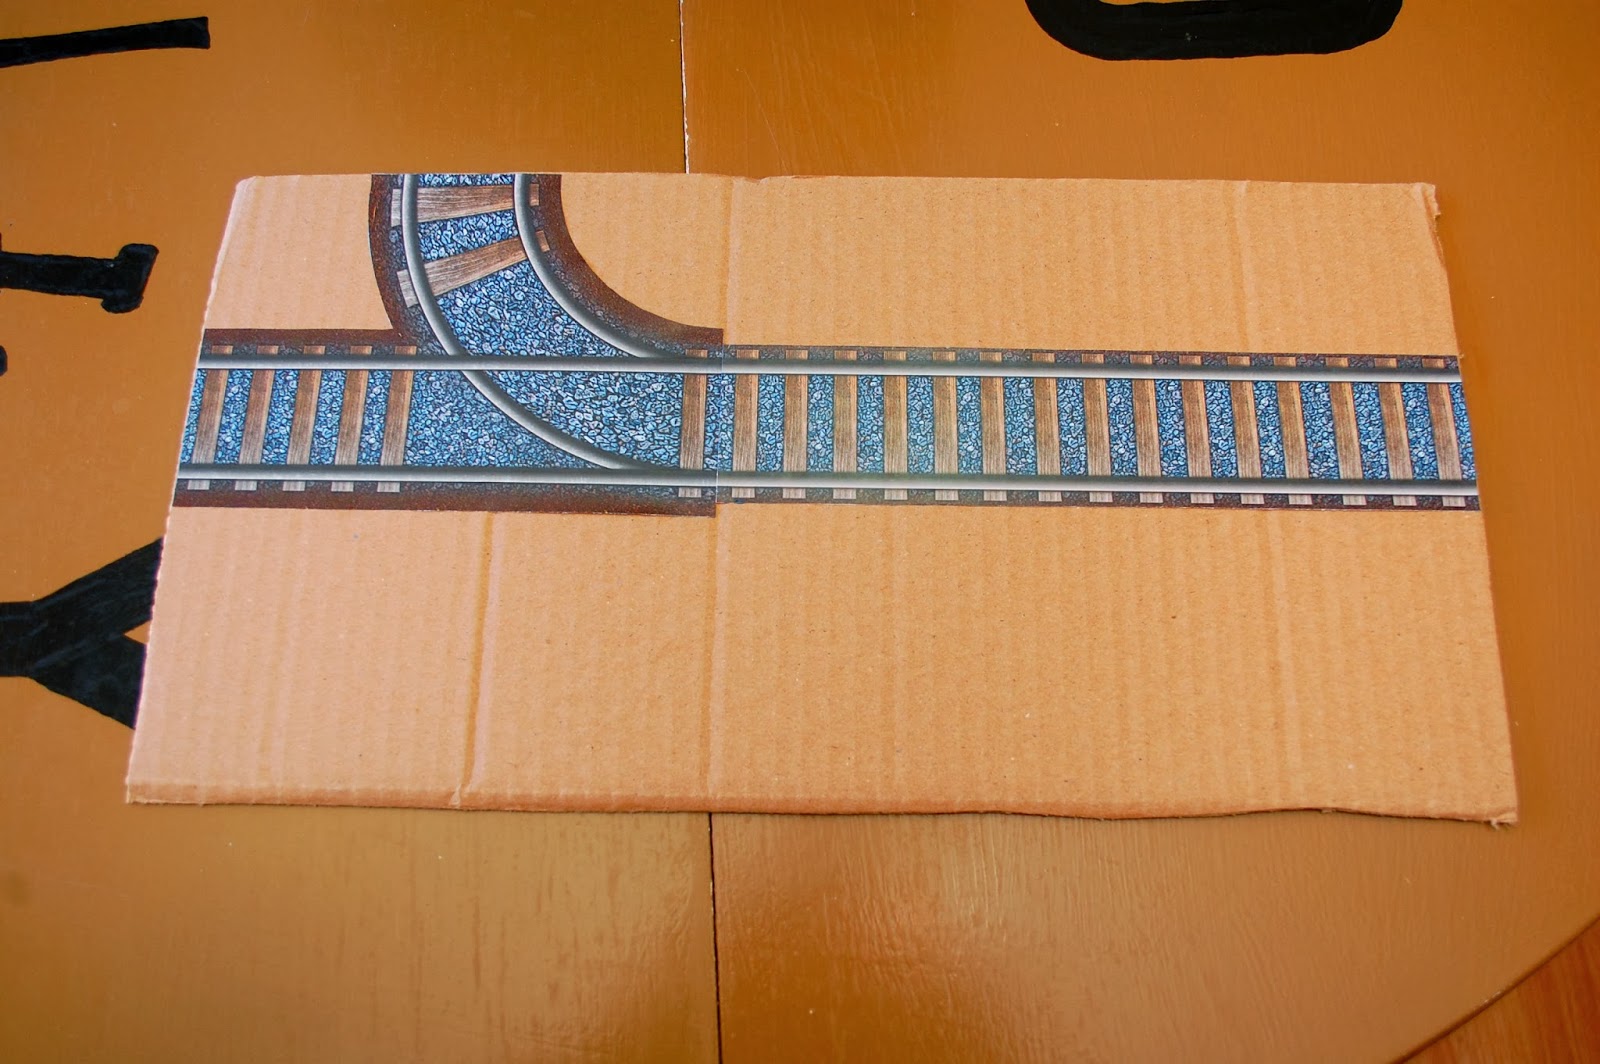
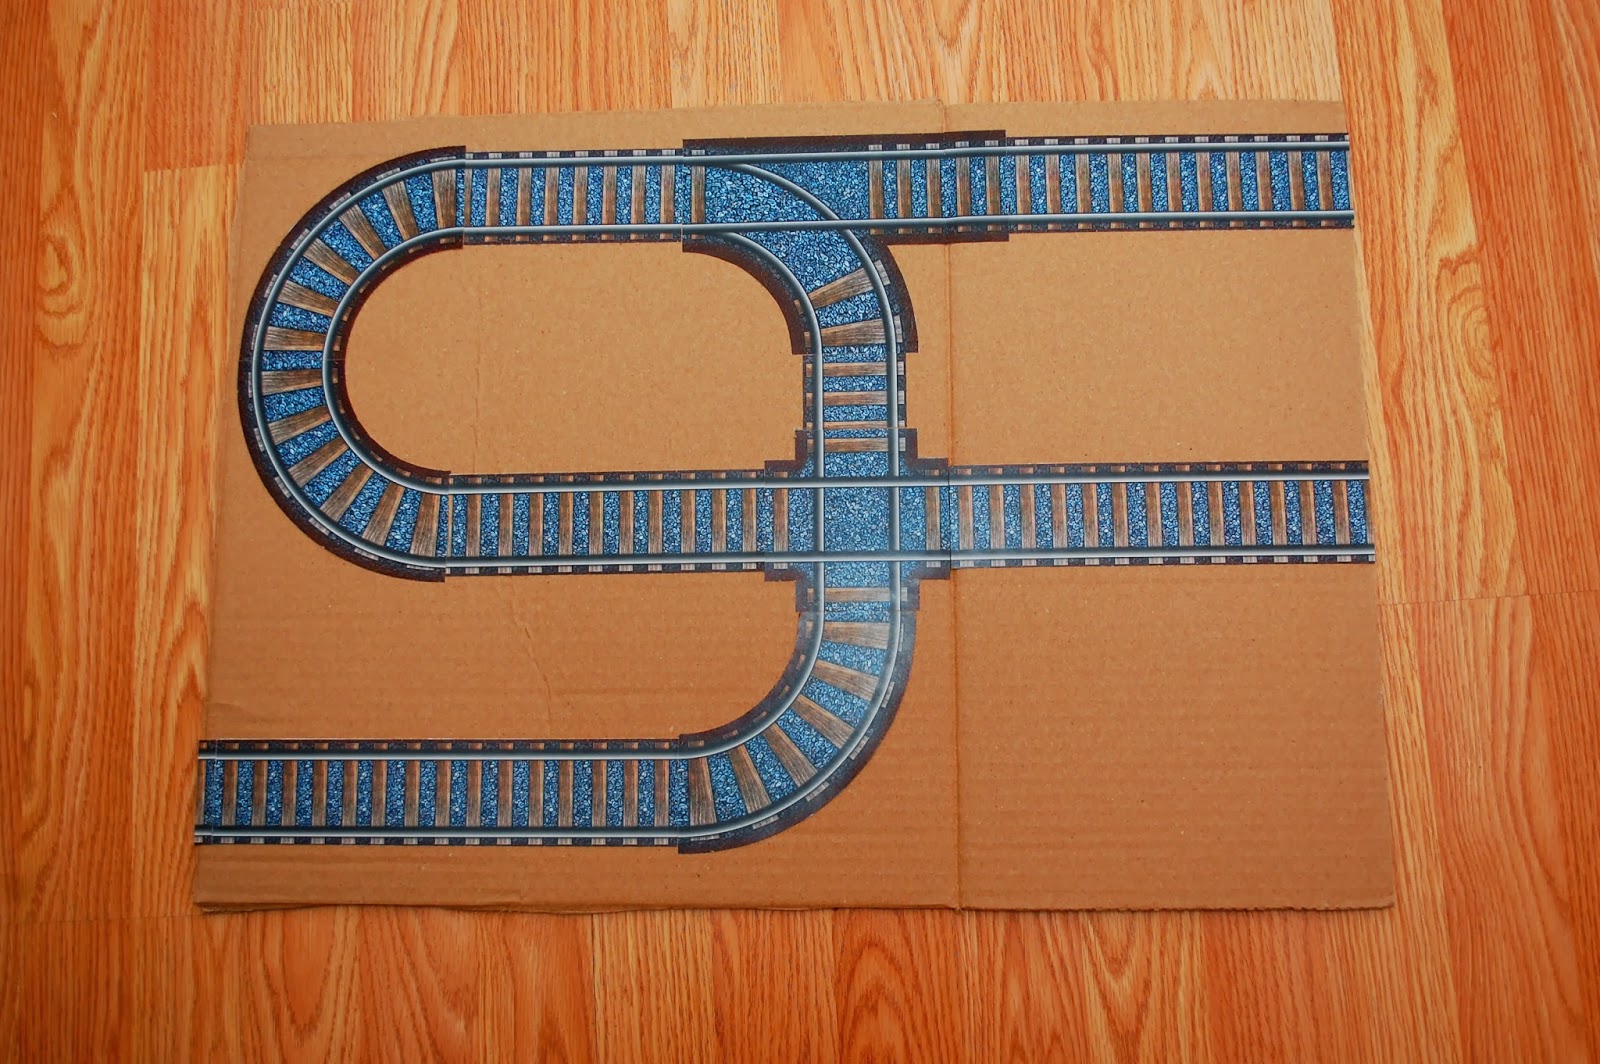
Now, you begin the coolest part. Arrange the pieces on the panels in whatever arrangement looks the most fun. You can always trim the long, straight pieces to whatever length you need.
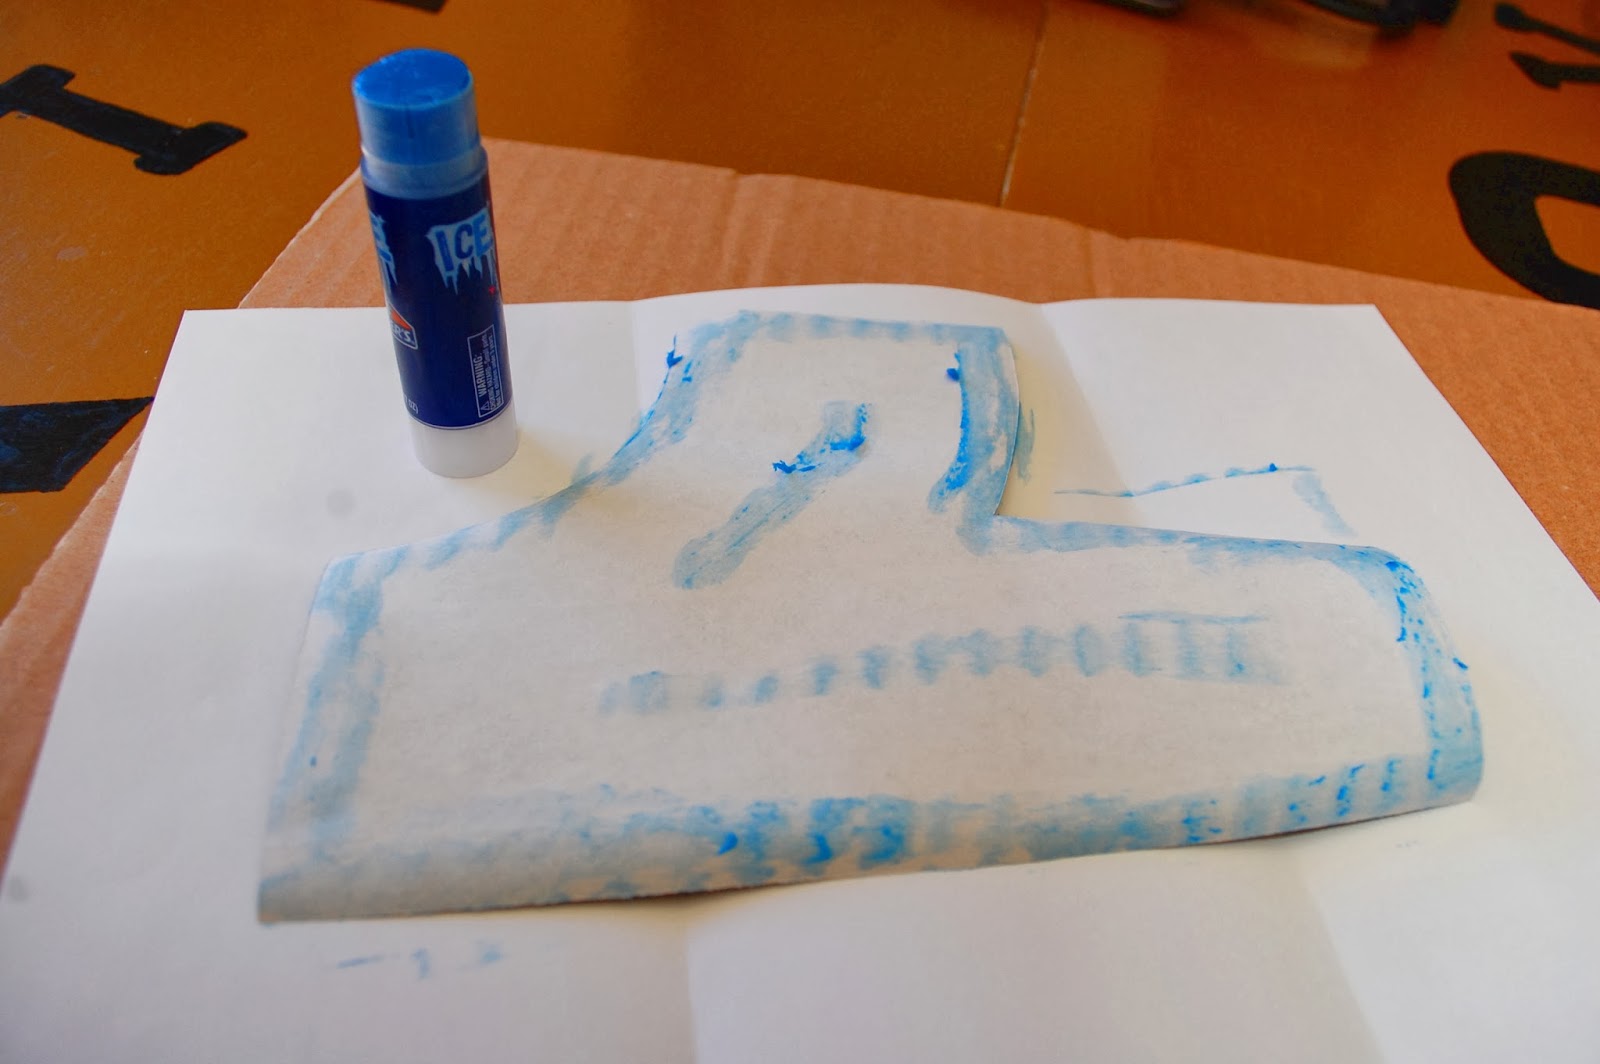
When you have the arrangement you like, glue it down. You can use a glue stick or brushed school glue, if needed, but spray adhesive is the quickest and cleanest method. I started off with a glue stick, but switched to spray adhesive on the second panel.
Once you have all of the panels created, begin arranging them and start playing. After a while, rearrange and you have a whole new track!
Tip: After I create one panel, I line up the edge pieces on the next panel so that they line up perfectly when placed next to each other. This is especially useful on the large panels.
Another tip: Checking out Printable Road Maps for Toy Cars before you dig into this project will be helpful, as the idea was first developed there. The 2 projects complement each other well and many of my (Joel's) future projects will expand on these ideas. Make sure you sign up for email notifications so that you don't miss them.








.jpg "12 Free Printable Toys - click through and find them!")