So Here's My Life

The things we make,
the food we eat and
the shenanigans in between.

A blog about making things by
MICHELLE SEXTON

Showing posts with label stencil. Show all posts

Tuesday, March 25, 2014

Swallow Stenciled Denim Jacket

This post is sponsored by Plaid Crafts via Blueprint Social. I received materials for this project and compensation for my time - all opinions are my own!

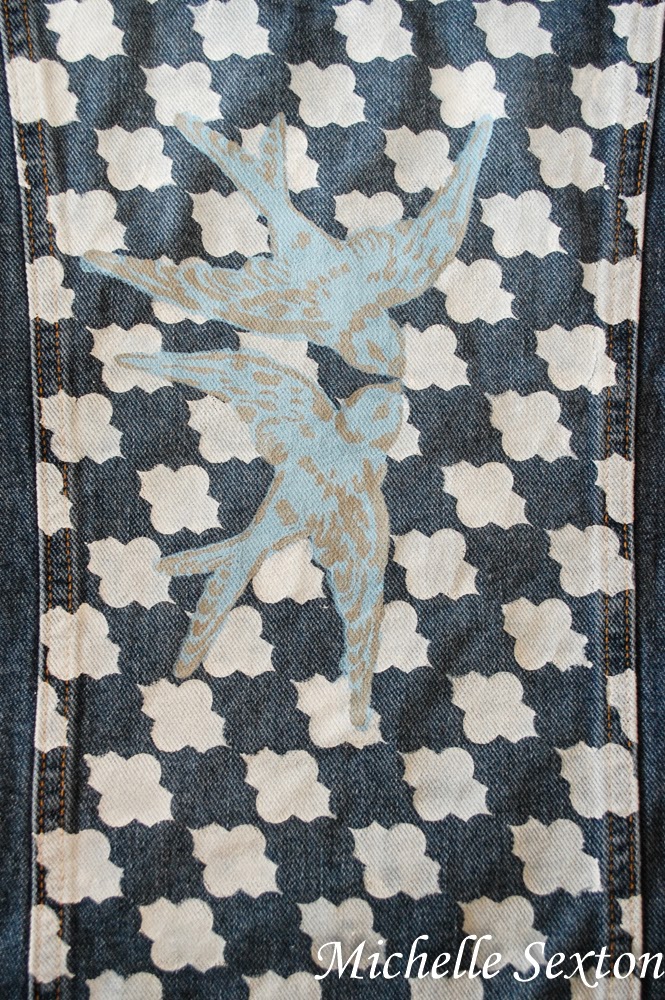
Hey! So, did you see last week's Hooded Denim Jacket DIY? If you missed it, you can find it here. I came up with an amazingly easy way to create a hooded denim jacket, without taking apart the hoodie or denim jacket and restitching it back together. Quick, go and see it. You do not want to miss out! Anyway, at the end of that post I told you I had one more amazing upgrade. Remember that? Have you been on edge for the last five days, waiting in great anticipation to see the awesome upgrade? I'm going to pretend like you said yes. So, today the icing on the cake is revealed with help from Stencil1 and FolkArt Multi-Surface Paints. I used a fantastic set of layered swallow stencils to create the finishing touches for my hooded denim jacket project. Are you ready to see it? (Because I'm dying to show you!)

Stencil the back of a denim jacket and create a unique look - click through and learn how at SoHeresMyLife.com

Amazing Layered Swallow Set Stencils from Stencil1 available at Jo-Ann's Fabric & Craft Store

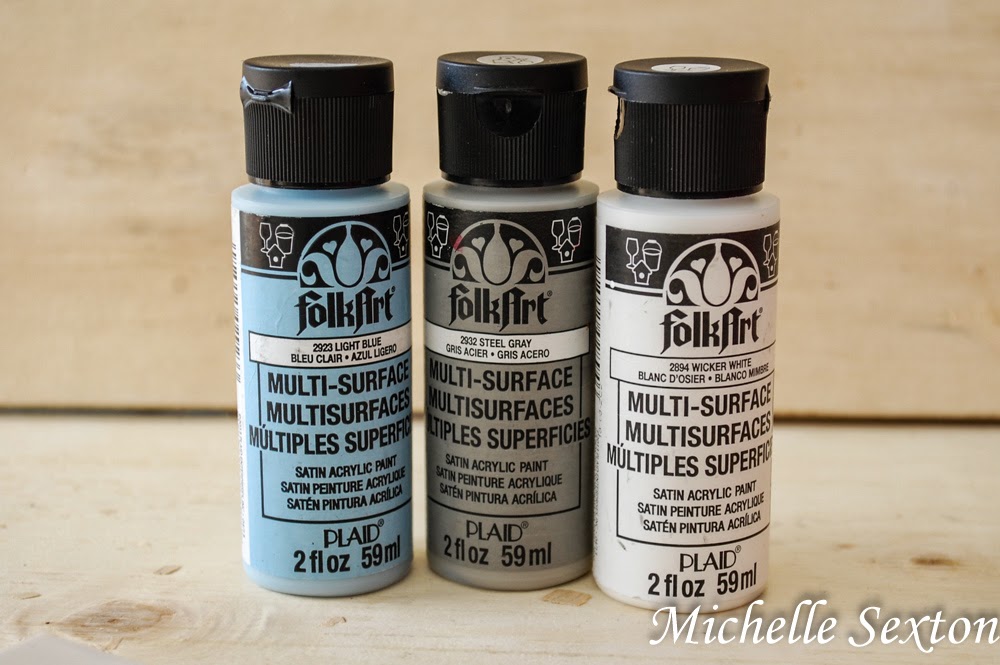
FolkArt Multi-Surface Paint - perfect for a variety of different surfaces. It's even dishwasher safe!

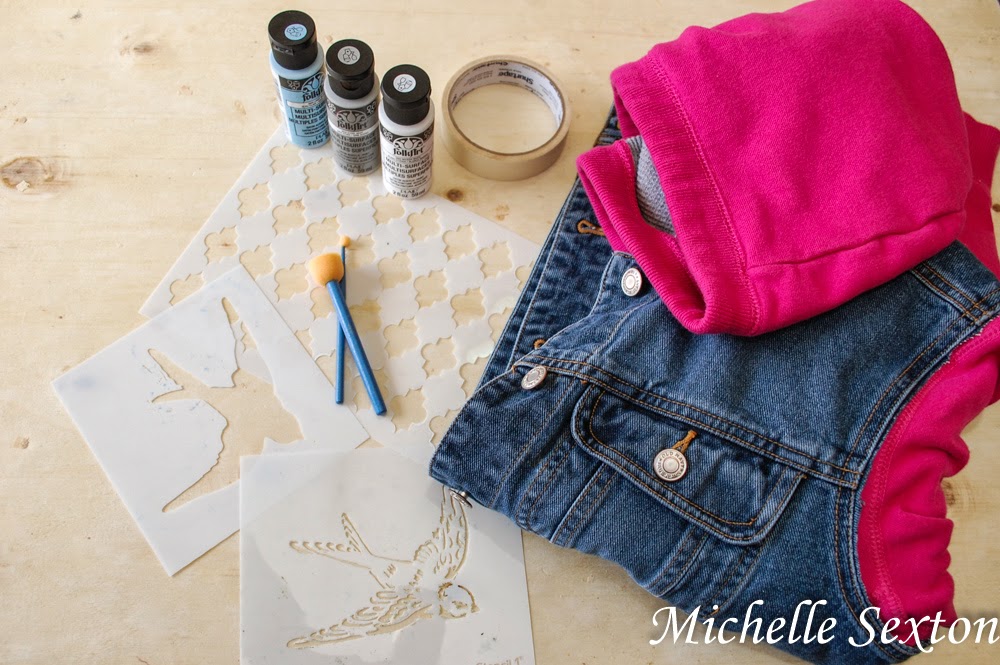
Supplies needed for stenciling

Here's what you need:
- Awesome Hooded Denim Jacket
- Multi-Surface Paint like FolkArt
- Sponge Brushes
- Swallow Set Sencils
- Masking Tape

Here's how I made it:

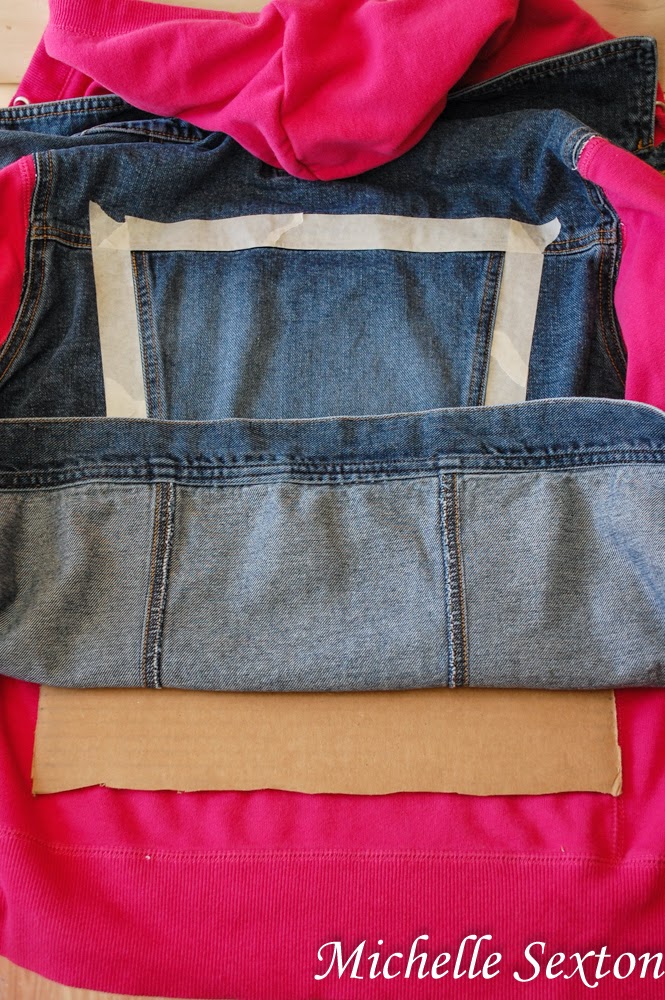
Tape off rectangular section be painted

Slide a piece of unfolded cardboard underneath the denim

Before starting, make sure the surface of the jacket is clean and wrinkle-free. Open up the jacket so it lays on a flat surface. I recommend sliping an unfolded piece of cardboard underneath the denim. It provides a flat surface to work on and also prevents any chance of paint bleeding onto the fabric underneath the denim. Tape around the edges of the rectangle on the back of the jacket.

position stencil and tape it to hold in place

Stencil inside the taped off area

Dab in an up and down motion

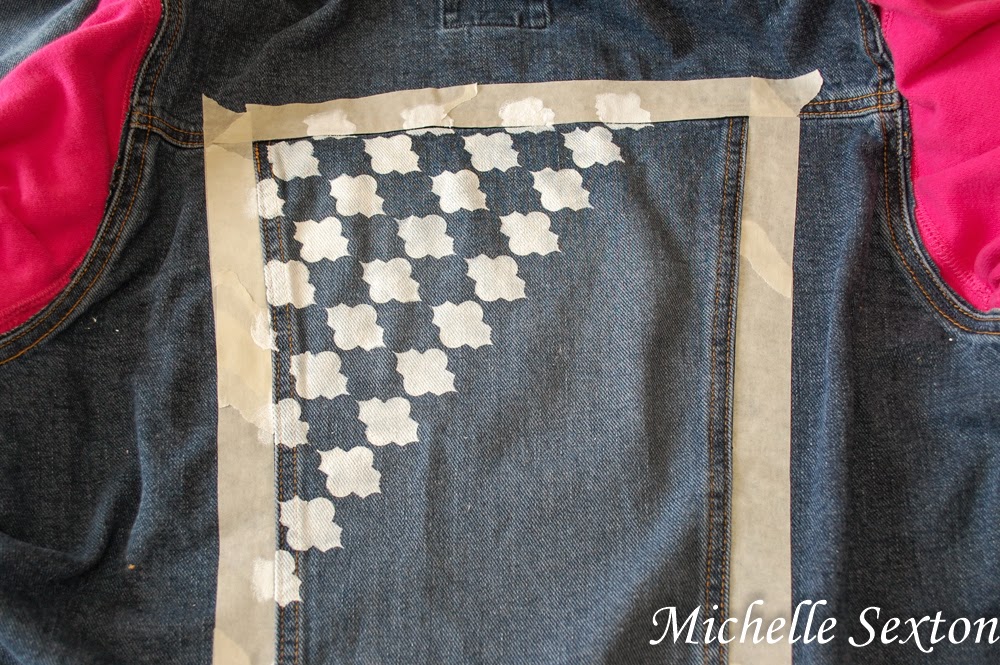
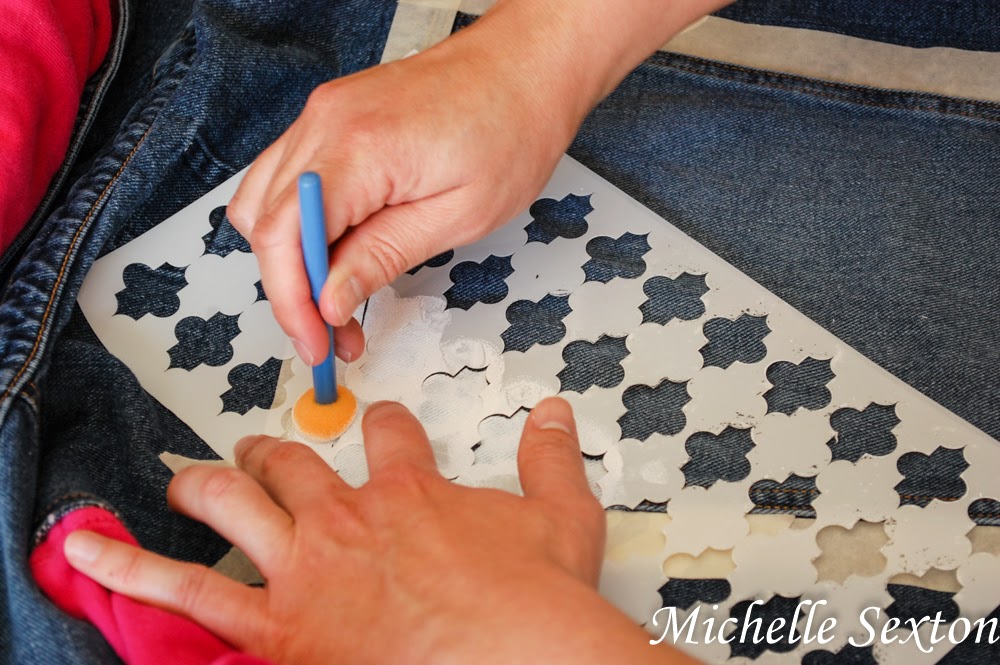
Place the patterned stencil at a 45 degree angle, making sure the shape starts at the top left corner of the rectangle. Place one small strip of masking tape on the edge of the stencil, just to keep it in place as you work. Using a sponge brush, gently dab the fabric overlaid by the stencil in an up and down motion. 
Line up the patterned stencil with the shapes

Continue filling in the taped off area with the pattern

Allow to dry completely before moving to the next layer

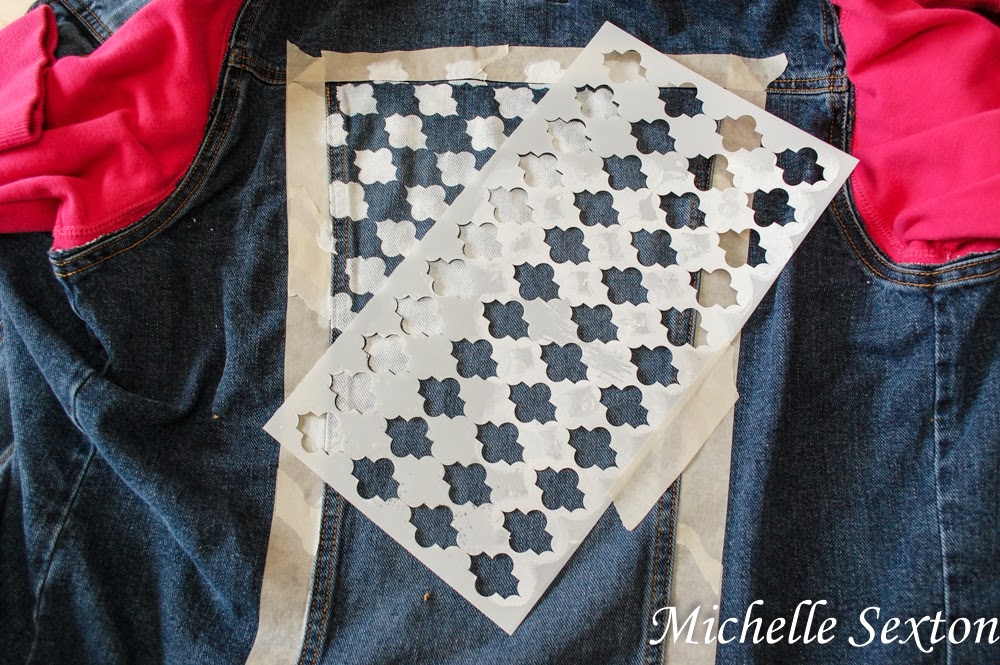
Once all shapes inside the patterned section of the stencil have been used, peel the stencil in a gentle, upward motion. Allow paint to dry for at least 15 minutes, depending on how much paint was applied. Once painted fabric is dry, line up the patterned stencil with the a portion of the dried section, and apply paint, creating additional shapes and extending the pattern coverage. Repeat this process until the entire rectangle section is covered in the stencil pattern. (Don't forget to wash off the stencils afterward so you can re-use them later. These mylar stencils are durable and easy to clean.)

position the bird silhouette and blot paint in an up and down motion

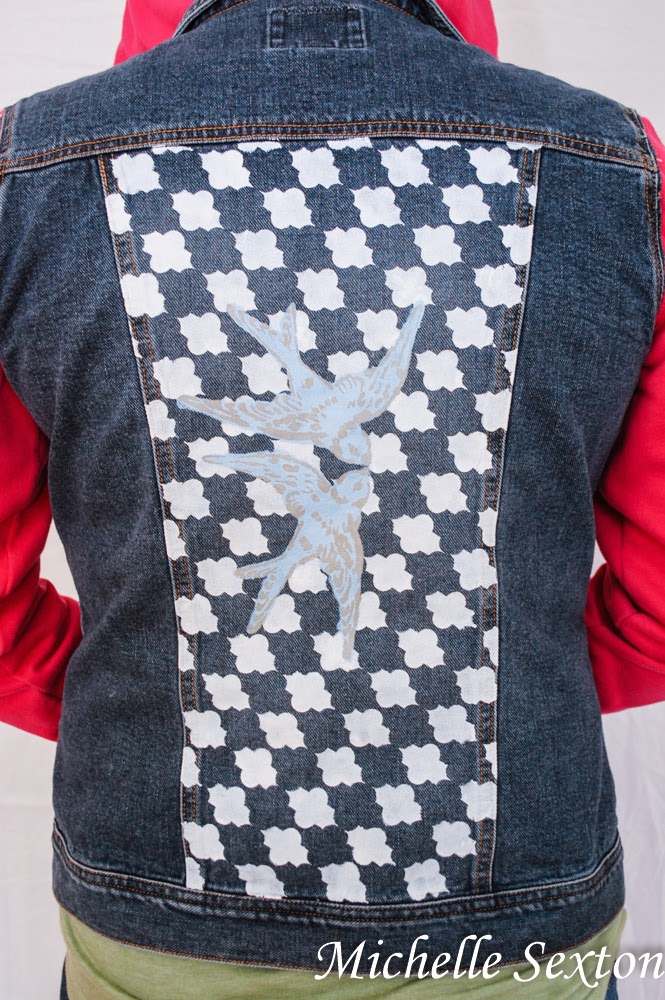
Once the patterned section is completely dry, position the bird silhouette stencil over the painted pattern section, and dab paint. Allow to dry completely. (I found that the bird silhouette needed an additional coat of paint. However, make sure to allow paint to dry completely before applying an additional coat.)

Add the next bird silhouette stencil

Once the silhouette has dried, paint an additional silhouette below the first bird. 

Once the silhouette is completely dry, position the bird's detail stencil over and paint

Upgrade a denim jacket with a layered set of swallow stencils from Stencil1

Finally place the bird detail stencil over the silhouette and dab. Allow to fully dry before adorning. (It's hard to wait, I know!)
Stencils are the perfect way to add character to a denim jacket - click through and learn more at SoHeresMyLife.com

Add flair to your denim jacket with a set of layered swallow stencils from Stencil1 - click through and learn more at SoHeresMyLife.com

Are you feeling the inspiration yet? Go make one for yourself! This stencil set and the rest of the collection can be found at Jo-Ann Fabric & Craft stores. 

P.S. The FolkArt Multi-Surface Paint can be used on just about anything AND are even dishwasher safe! (gasp) I seriously love this paint.

Like what you see? Find more awesome stuff from Plaid Crafts here:

Tuesday, March 11, 2014

Onesie Decorating with a Stencil - There's A Nap For That

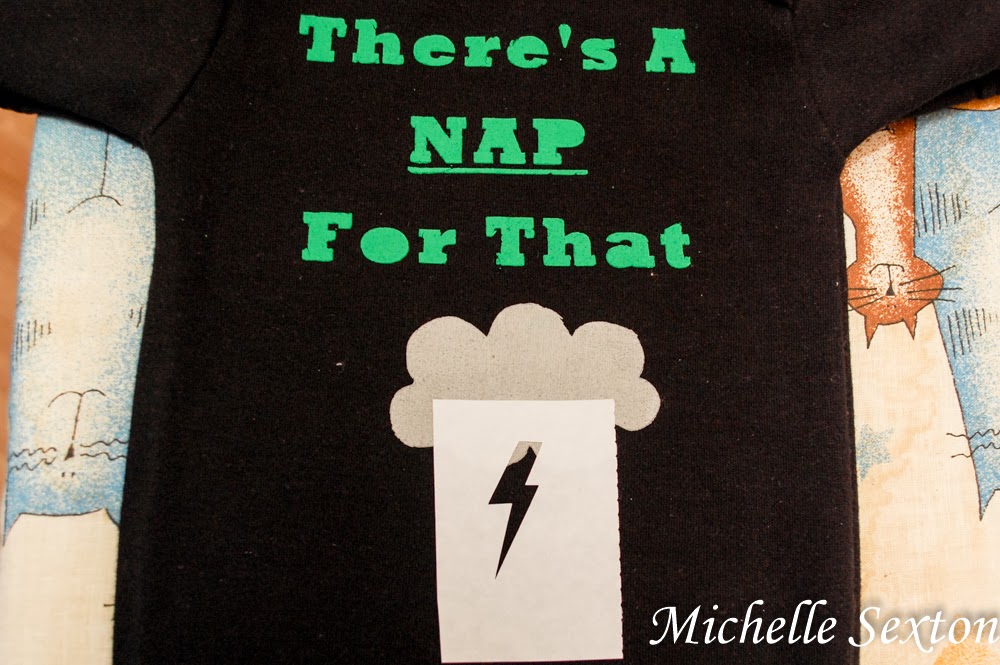
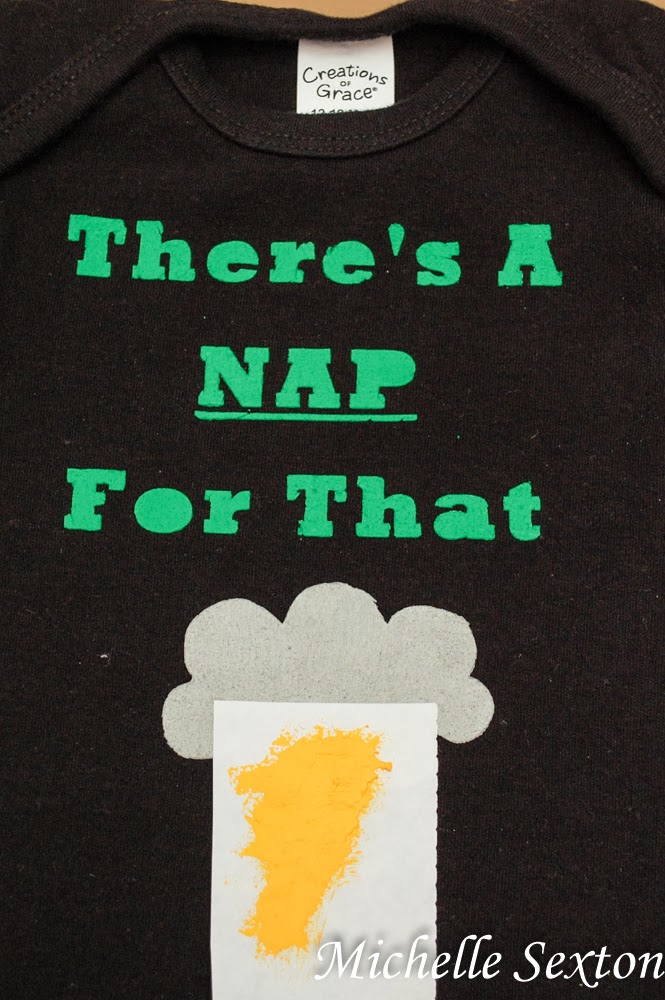
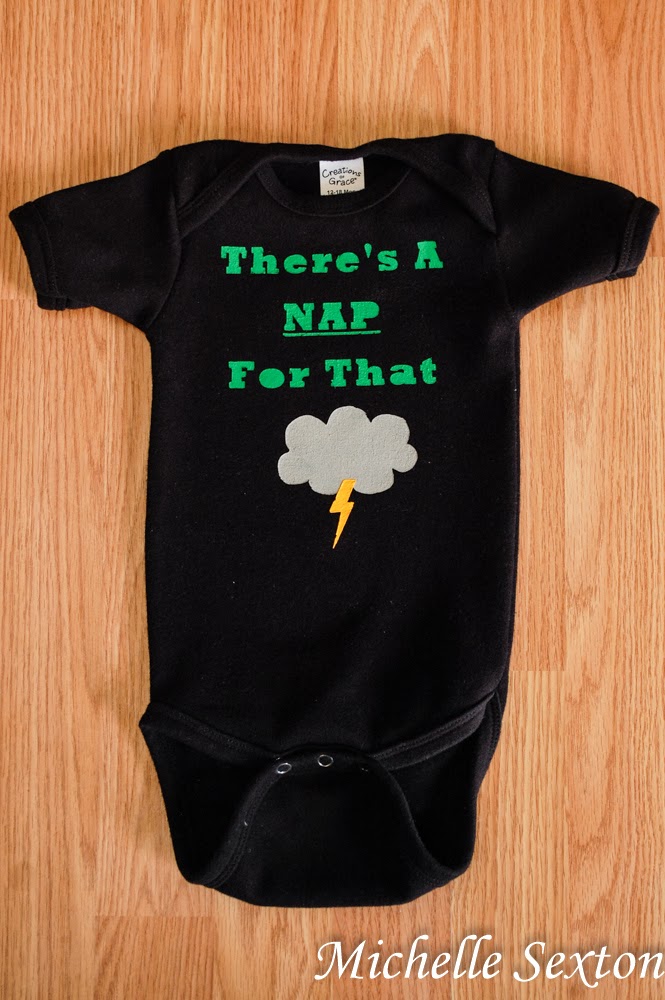
If you follow me on Instagram, you may have seen this photo pop up recently. We painted onesies for the mother-to-be at a friend's baby shower recently. Yeah, I know: genius! Why didn't we think of doing this sooner??? So anyway, after scrolling through Pinterest to gain a little inspiration, I came across the phrase, "There's A Nap For That." "How perfect is that?" I thought. And so, I painted a onesie with that phrase, and added a thunder cloud and a lightning bolt. I loved it so much, I decided that I REALLY needed one of these for my own munchkin. So, I put together a stencil pattern in Silhouette Studio (the program that came with my Silhouette Cameo) and had the Cameo cut it out using freezer paper. Super easy. Do you want to make one too? Awesome. I knew you did. Wait, you don't own a Silhouette? No worries. I've also included a way to make this hysterical onsie without a Silhouette, too. See? I've got you covered.

Decorate a onsie with a freezer paper stencil using a Silhouette, or cut it out by hand. This tutorial provides the file to download this stencil as well as instructions on using freezer paper. Click through and learn how.

Oh wait, did you guys even know that I have a Silhouette? I do! You want to hear the terrible part? We bought it about two and half years ago, but I haven't used until a couple of weeks ago. Gasp! I know! The reason I hadn't used it until recently was due to the fact that it was purchased about a month prior to the day Cheese was born. I had serious pregnancy brain back then and there was no way I could think about anything creative. Yeah, so my husband used it a couple of times to create a couple geeky role playing games and it got set aside until recently. Such a sad story, but the good part is we are back in Silhouette business now! Woo hoo!

Supplies needed:
- onesie
- fabric paint or acrylic paint (I used acrylic)
- sponge brush
- freezer paper (one 8" x 8" square)
- Silhouette (or printer, exacto knife, and cutting mat/board)
- iron

Ok, friends, you have two ways to make this: with a Silhouette or with just a Printer. Obviously, if you don't have a Silhoutte, you should go for the printer option.

If using a Silhouette, download this file. Place the sheet of freezer paper onto the cutting mat, shiny side up. Cut the freezer paper using the Silhouette. Carefully peel the freezer paper stencil off the cutting mat, making sure not to tear the freezer paper.

If using a printer, download this PDF and print it. Tape the printed template onto a cutting mat, place the freezer paper (shiny side down) over the printed template and tape it down as well. Using an exacto knife, cut around the printed letters and shapes to create a freezer paper stencil.

Use a freezer paper stencil to decorate a onsie - click through and get to download this stencil

Use freezer paper to paint a shirt - click through and learn how

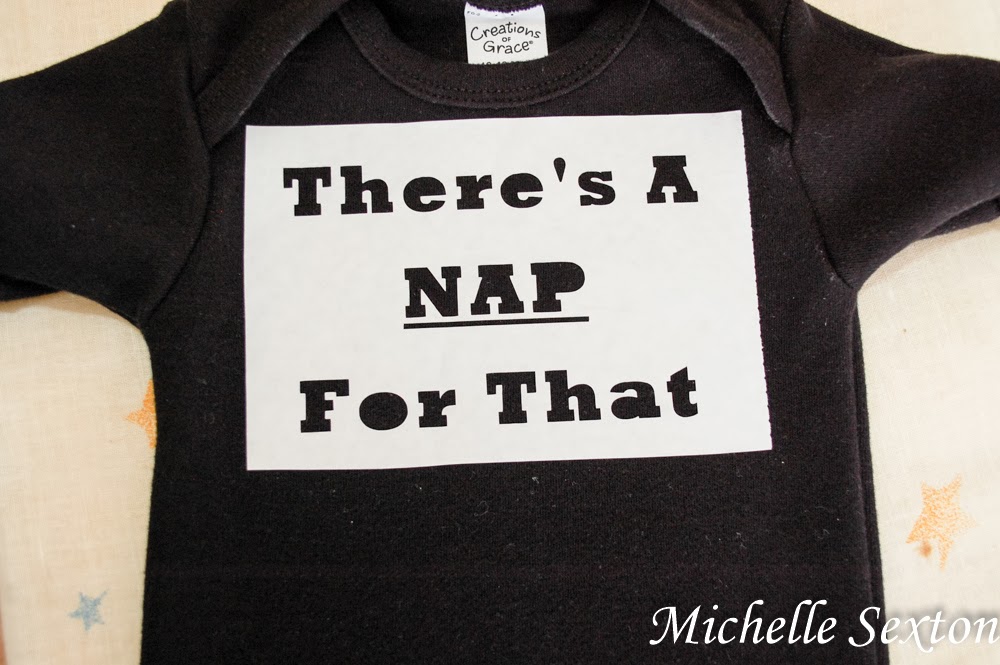
Ok. So, at this point, you should have a super awesome freezer paper stencil that was either cut with the Silhouette or by hand. It should look like the one in the photo above. Cut the cloud, lightning, and letters into three separate sections.

use an iron to adhere a freezer paper stencil to fabric

How to iron a freezer paper stencil on to fabric

Arrange the letters and cloud freezer paper stencils (shiny side down) on top of the onesie and iron with dry medium heat until the freezer paper adheres to the fabric. Be sure to iron over all the corners and small cuts. (Side note: I hate small intricate details, so I chose not to use the center cut outs for letters the R, A, P, and O. However, if you prefer to use the center cut outs for the letters, go for it and iron those on! P.S. I admire your patience!!)

Place a piece of cardboard inside the onesie, underneath the stencil area, to prevent the paint from bleeding through onto the backside. (I didn't actually do this, because I forgot. I totally lucked out because the onesie fabric was thick enough to not allow paint to bleed through.)

Decorate a onesie with a freezer paper stencil

Using the foam brush, paint a thin and even layer over the letters and cloud in an up-down motion. (Side-to-side motions tend to make the paint seep underneath the stencil.) Avoid painting a thick layer of paint over the stenciled areas. Leave the stencil on the fabric and allow to dry. Add additional coats, if needed.

Once the paint is completely dry, gently and slowly peel the stencil  freezer paper off the fabric. Press your fingers on the the painted shapes and letters as you peel the stencil from the fabric to prevent the paint from peeling up, also.

How to decorate a onesie with freezer paper - easy tutorial

There's A Nap For That Onsie Tutorial

Gently iron the lightning bolt freezer paper stencil to overlap at the bottom of the cloud. Paint the lightning bolt and allow to dry completely before removing the stencil from the fabric.

So much fun, right? I had a ridiculous amount of fun making this onesie. I could hardly wait until the next day to put it on Cheese!

There's A NAP For That - decorate a onesie. This tutorial also provides the Free file to download to create this with a Silhouette as well as a PDF to create it by hand!

There's A NAP For That - Learn how to decorate a onesie like this with Freezer Paper - tutorial also includes a Silhouette file as well as a PDF to create this stencil by hand

P.S. If you don't have a Silhouette Cameo, but you'd like to get in on the stencil-creating fun, Amazon has a great deal on a Starter Kit Bundle for under $300!  This awesome tool can be used to create custom vinyl wall clings, cool printables for the kids and you can even swap the blade out for really awesome glitter pens and stuff to make super-creative crafts.

Please remember that you're free to use the ideas and materials in this blog for your personal use, but not for commercial use.