So Here's My Life

The things we make,
the food we eat and
the shenanigans in between.

A blog about making things by
MICHELLE SEXTON

Showing posts with label board. Show all posts

Wednesday, April 16, 2014

DIY Coffee Table Tic Tac Toe Board

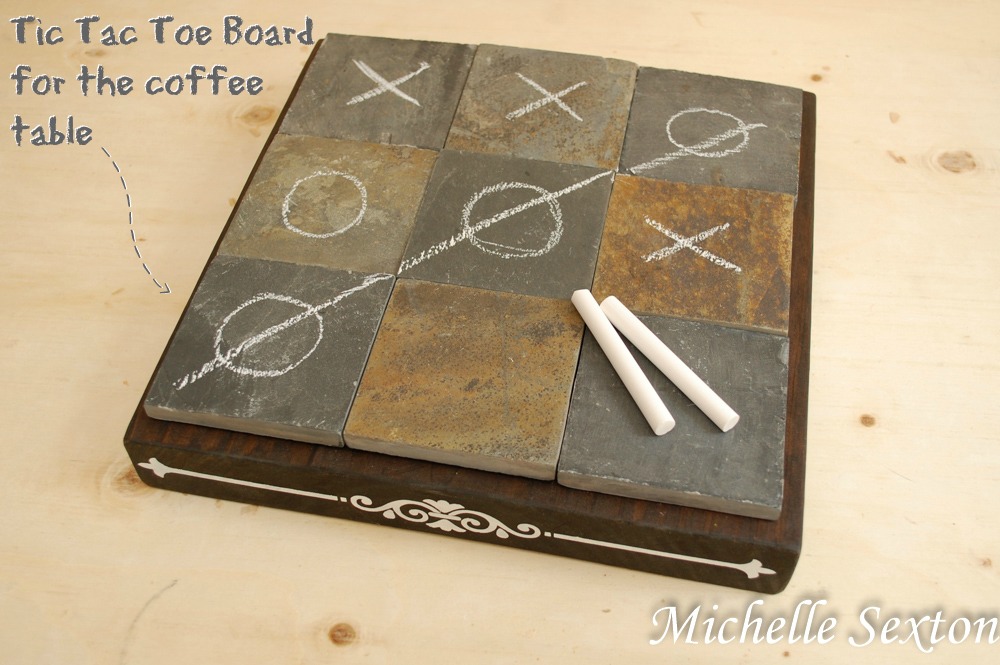
Ready to make something for your home? Yes? Good. A couple weeks ago, I mentioned that we went Geocaching in this post. While we were driving through the desert near our house, we spotted a pile of discarded slate tiles. (Yeah, people dump their junk in the desert sometimes. Beyond aggravating.) So we stopped, I sifted through them, and brought several of them home for a project - A Tic Tac Toe Board to be exact. Not just any old Tic Tac Toe board, but a Coffee Table Tic Tac Toe Board. So much fun, right? Why didn't we think to do this sooner??

DIY Coffee Table Tic Tac Toe Board @ SoHeresMyLife.com

Here's what you need:
- 9 slate tiles 3 1/2 x 3 1/2 inches
- 11 1/2 x 11 1/2 x 1 1/2 board  (we used a 2x12x8 ft board. planks are always 1/2 inch smaller than advertised)
- liquid nails (we used Loctite Pro Line)
- dark walnut wood stain
- sand paper
- 1 sheet of adhesive vinyl
- white acrylic paint
- craft sponge brush
- this Silhouette file (optional)
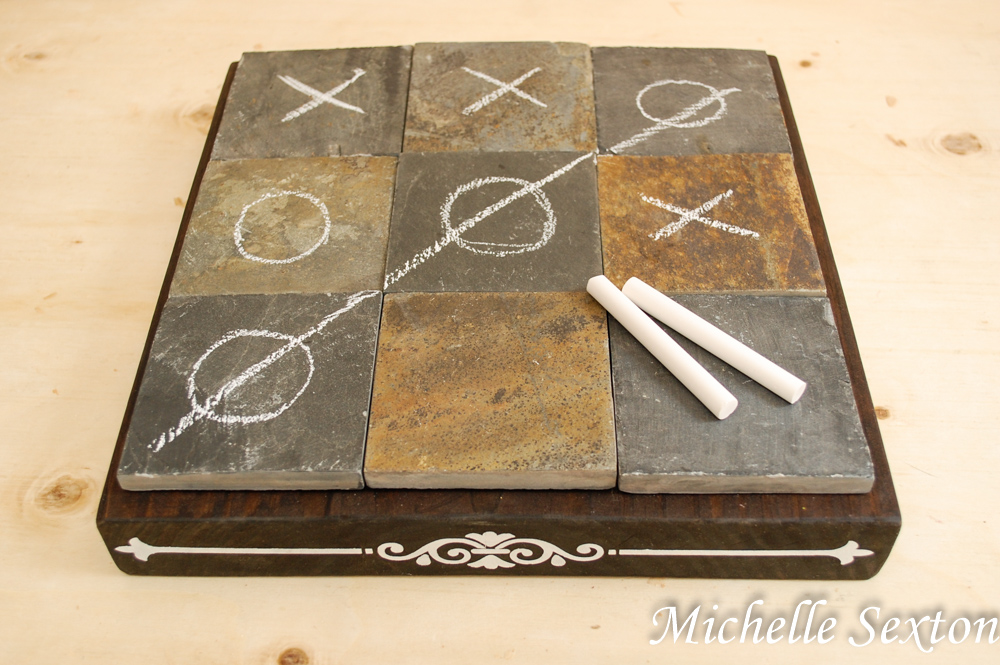
DIY Coffee Table Tic Tac Toe Board - click through and learn how to make this

Here's how to make this Tic Tac Toe Board:
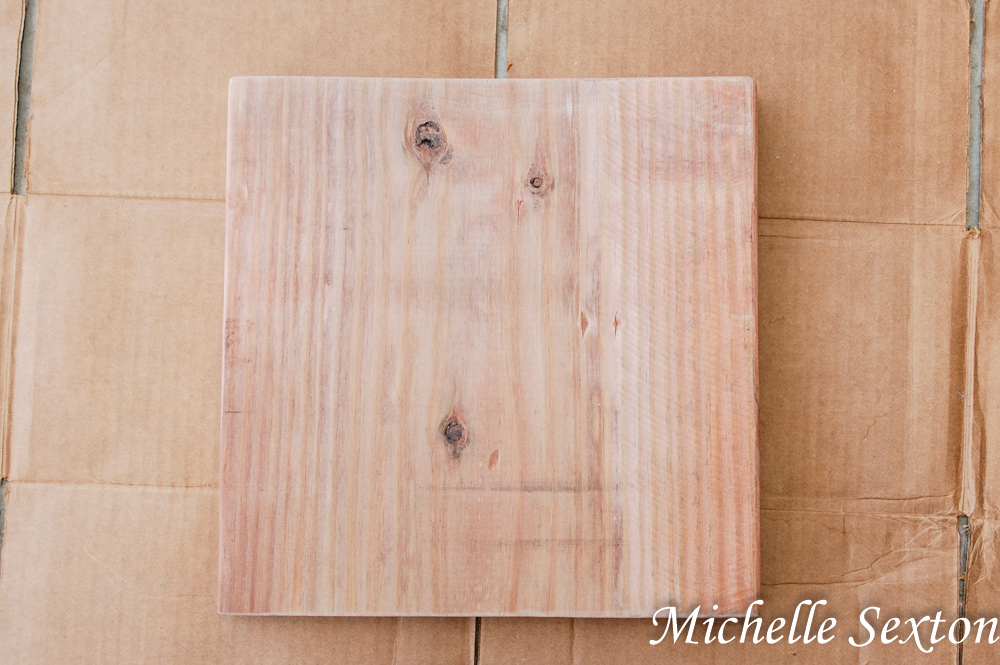
wood board

Use the sandpaper to smooth down all the corners, and any rough spots.

stained wood board

Seal the wood using the wood stain. Be sure to follow the directions on the wood stain and allow for the proper drying time.
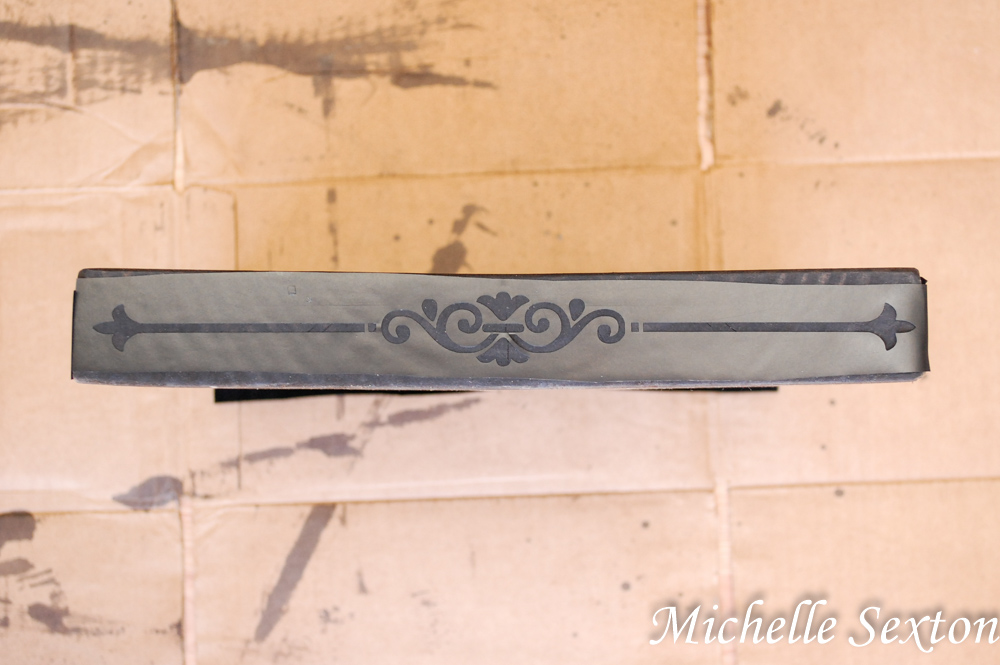
cut out a vinyl stencil and place on board

Use the Silhoutte to cut out this file onto adhesive vinyl to create a stencil. (If you don't have a Silhoutte, then skip this step or decorate the sides in your own way.)

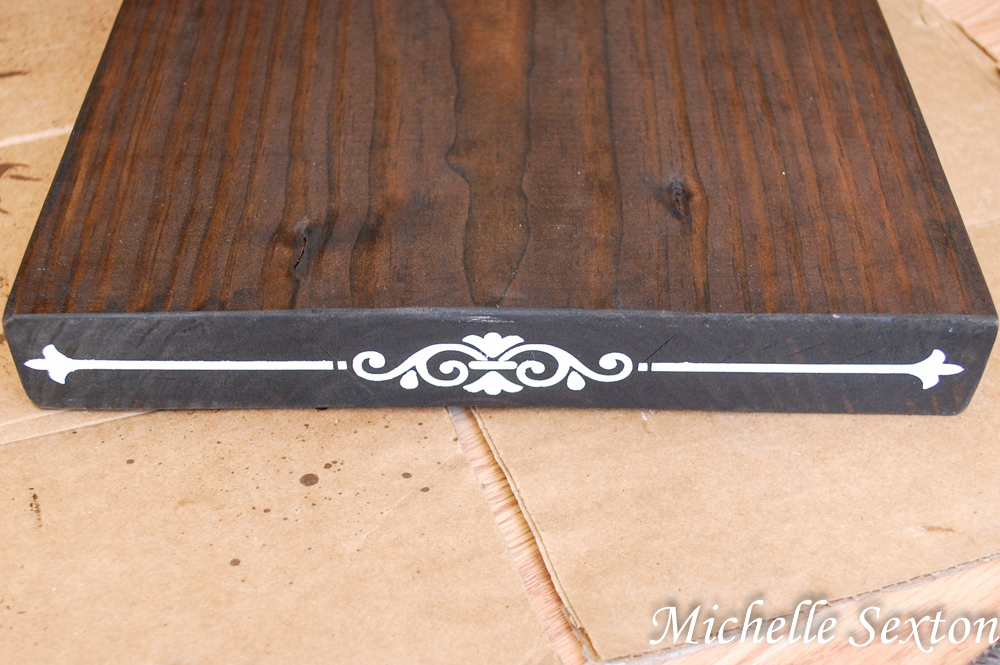
paint over stecil

Peel off stencil

Place each stencil on the sides of the board. Paint each side using the craft sponge brush. Gently peel the stencil off the wood.
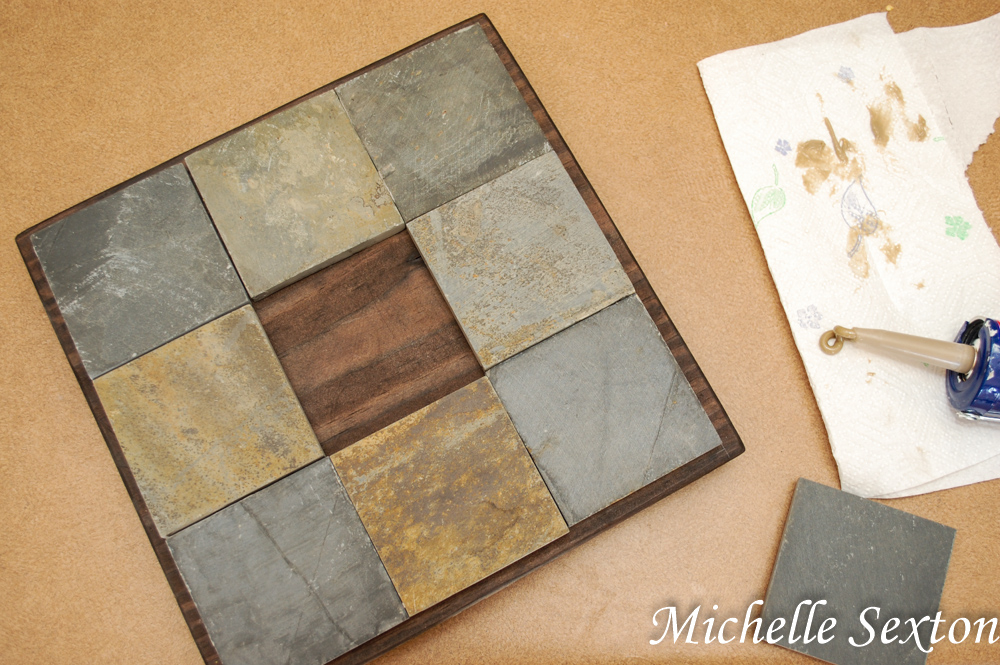
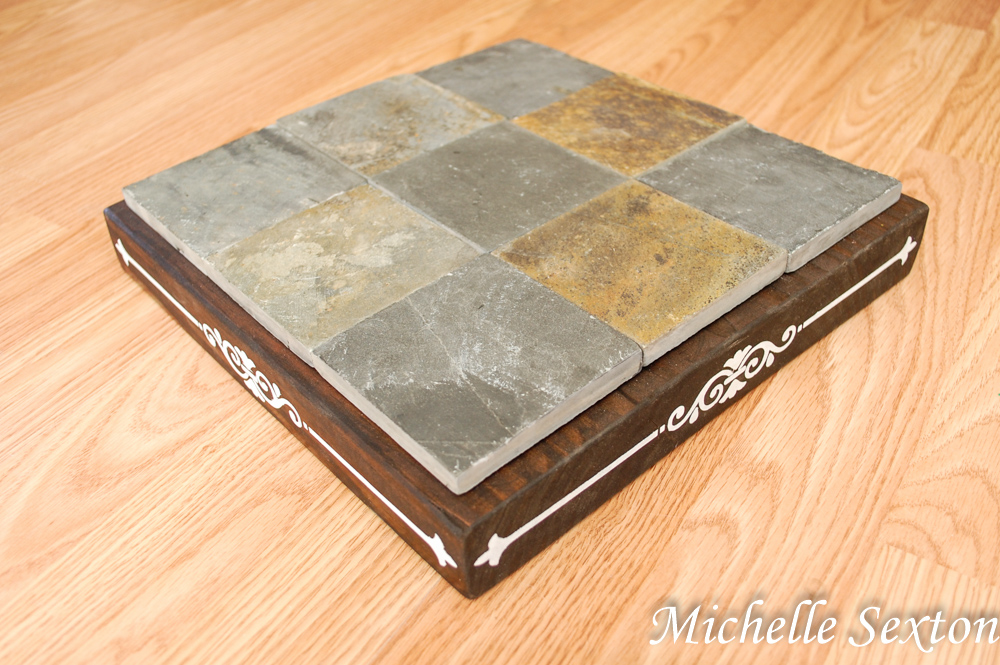
arrange tiles and adhere with liquid nails

allow to dry before use

Once the paint has dried, arrange the tiles until you are satisfied. Glue one tile on at a time, making sure to place each tile in the exact position as previously arranged. Allow to dry over night before use.
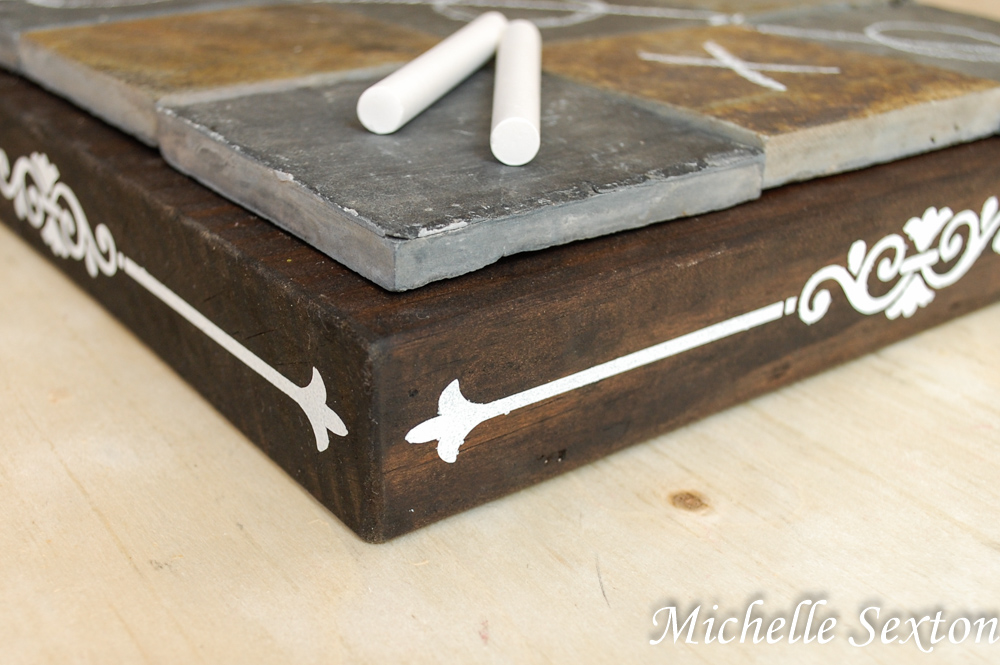
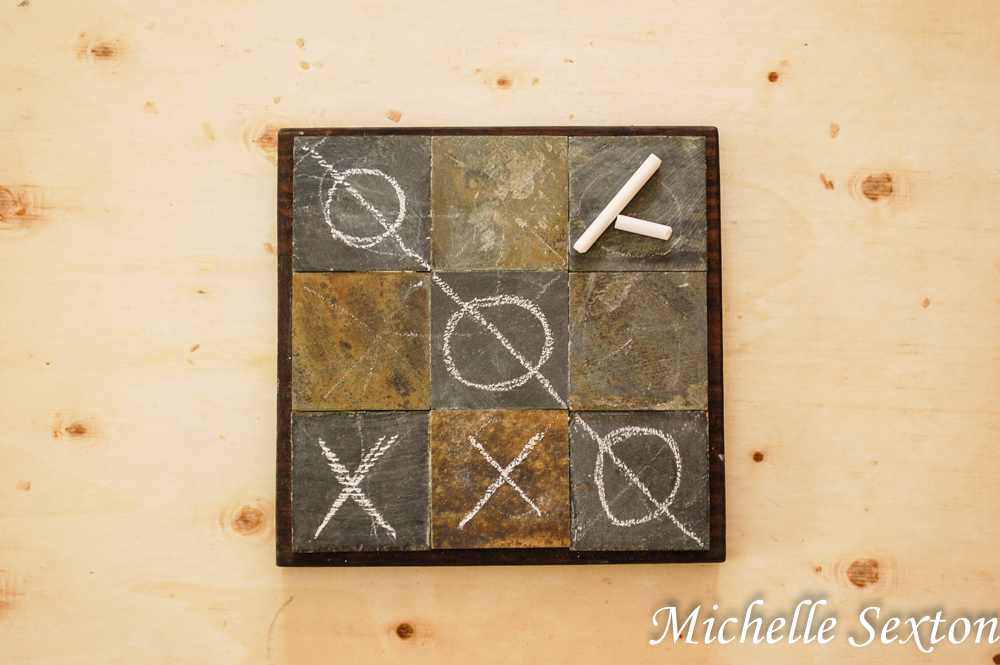
Coffee Table Tic Tac Toe Board - learn how at SoHeresMyLife.com


That's it. It's definitely not a difficult project, but you do you have to allow drying time...always a little challenging for us impatient people! ;) Totally worth the wait, though.

Enjoy!


Monday, December 5, 2011

10 Favorite DIY Fashion Pins

It's snowing here today. My border collie is outside in the backyard, running in circles and barking his heart out. (My neighbors probably hate us...or at least our dog). My son is sick, but sitting at the kitchen table, playing with play-doh and hotwheels, and I am sitting on the couch with my sprained ankle elevated. It's been almost 6 weeks since I sprained my ankle at the pumpkin patch. I have an appointment with a podiatrist today to see how my ankle is doing. I'm a little nervous - hoping to hear good news.

Are you guys on Pinterest? I am. I have to admit, I LOVE Pinterest. Have you ever read something online, and thought, "Wow! That's a great idea. I need to remember this" and then promptly forgot about it? Yeah, I have. Enter Pinterest - a website where you can "pin" ideas that you like onto virtual boards. Now you can categorize and refer back to all those awesome ideas you've come across online.You can also network with others and see what they pin as well as repin their ideas too. Genius! I've received so much inspiration for projects from this website.

Here are my top 10 favorite pins from my DIY Fashion board - which are clothing and accessories that I want to make and wear!

cluster safety pin shirt
Cluster safety pins on the collar of your shirt! What a fun idea! Why didn't I think of that??
DIY sweater boots
How to make sweater boots - easier than you think!

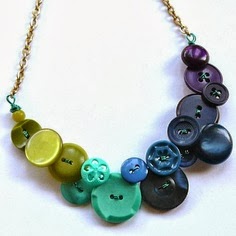
button necklace
Button Necklace. Fun.

mens' dress shirt skirt
A skirt made from a men's dress shirt. I think this is different, but I still love the idea. I have a shirt or two already set aside for this project.

fishtail skirt
Fish tail skirt - made from a thrifted skirt. I would chose a skirt with a different fabric, and not cut the skirt so short in the front.

upcycled sweater skirt
 Skirt made from an old sweater. How cool is this?
*EDIT* I ended up making a couple of my own sweater skirts from some old sweaters. It was so much fun and two years later, I still love to wear them. Be sure to read about this project!

sweater sleeves into leg warmers
Upcycled sweater sleeves made into leg warmers. 
*EDIT* I also made three sets of these leg warmers from old sweaters as well. Read about them here.

fingerless gloves
Old sweater sleeves made into fingerless gloves!
*EDIT* See how I made my own pair with a little something special!

no sew pancho
Easy no-sew poncho made from wool fabric. 

upcycled hoodie
Upcycled oversized sweatshirt into an awesome fitted hoodie.

Don't you think these are great ideas? I am so excited to try these projects...as soon as I am no longer confined to the couch with an elevated foot. You can find all of these pins and more on my DIY Fashion Board.

Are you on Pinterst? What are your favorite pins from Pinterest?