So Here's My Life

The things we make,
the food we eat and
the shenanigans in between.

A blog about making things by
MICHELLE SEXTON

Showing posts with label infinity scarf. Show all posts

Thursday, March 13, 2014

How to Make an Infinity Scarf

Have you ever seen The Sound of Music? Remember the part when Maria von Trapp sewed play clothes for the children out of the drapes?  The idea of turning window dressings into clothes, has always amused me. One day, while rummaging through some fabric scraps, I found a forgotten set of curtains that were given to me several years ago. The problem was that they didn't match anything, so I never hung them up. So guess what I did with them? Did you guess, "Make play clothes for your children?"  Ha! Fooled you! Well, I didn't make clothes play clothes for my boys out of drapes (that would be weird), but I did upcycle an infinity scarf from a curtain.

how to make an infinity scarf - click through and learn how - www.sohersmylife.com

After I came up with this idea, I planned out each step in my head and then proceeded with the project. Little did I know that my plan was unbelievably flawed! Really and truly this shouldn't have been a difficult project, but somehow I managed to over-complicate this project by leaps and bounds. So, after ripping out the seam (probably about 10 times), several phone calls and Skype sessions with my mom (I had to ask her for help. She's like the Sewing Master), I finally figured out how to make an infinity scarf. Now, I have good news for you - it's not hard, but I had to make 934,283 mistakes before I realized this. So, now that I know the right way as well as the easy way to make this, I'll show you how to make an infinity scarf.

You will need:
- fabric (mine was 24 inches x 70 inches)
- sewing machine
- matching thread
- scissors

make an infinity scarf with a curtain - sohersmylife.com

If you plan to use a curtain like I did, make sure to remove the back panel of the curtain.

fold lengthwise and pin - make an infinity scarft

Fold the fabric in half lengthwise (the longer side) so that the backside of the fabric faces outwards. Pin and sew the long sides closed using a straight stitch to create a long "tube". Pull the fabric tube right-side-out.

sew both ends together - how to make an infinity scarf - www.soheresmy.life

Bring the two un-sewn ends together, making sure that the seam from both ends line up. Fold approximately 2 inches of the edge of Side B inside the tube. (tip - I had to iron the fold to keep the fabric in place). Slip the end of Side A (unfolded) into Side B and pin together, leaving an opening of approximately 5 inches (or more, if needed.)
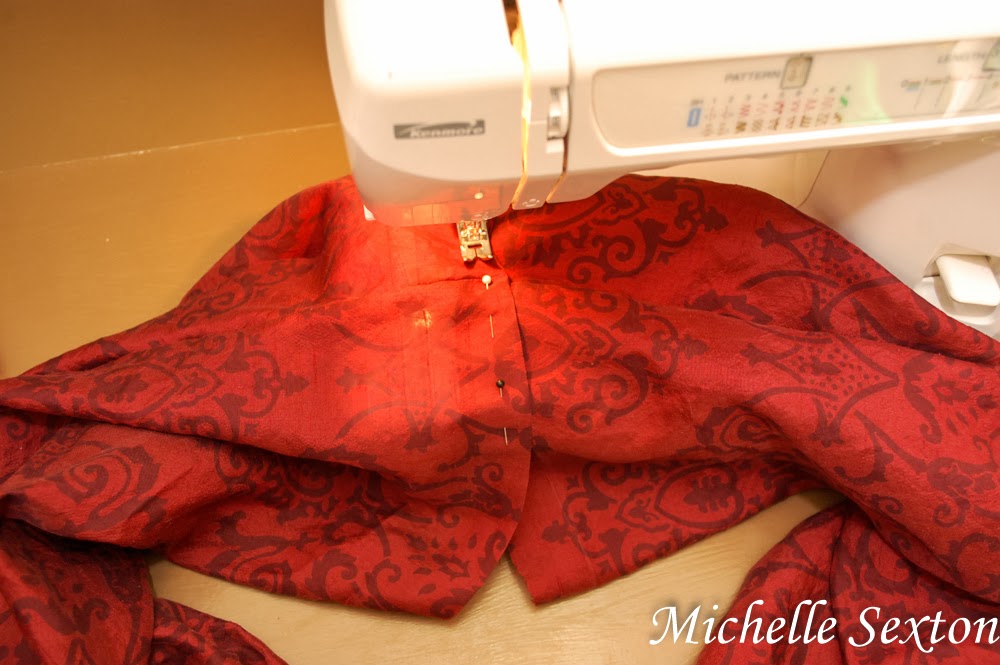
make an infinity scarf - soheresmy.life

Sew the ends together as far as possible. You won't be able to connect the entire circle using a sewing machine. Hand stitch the remainder to close the opening.
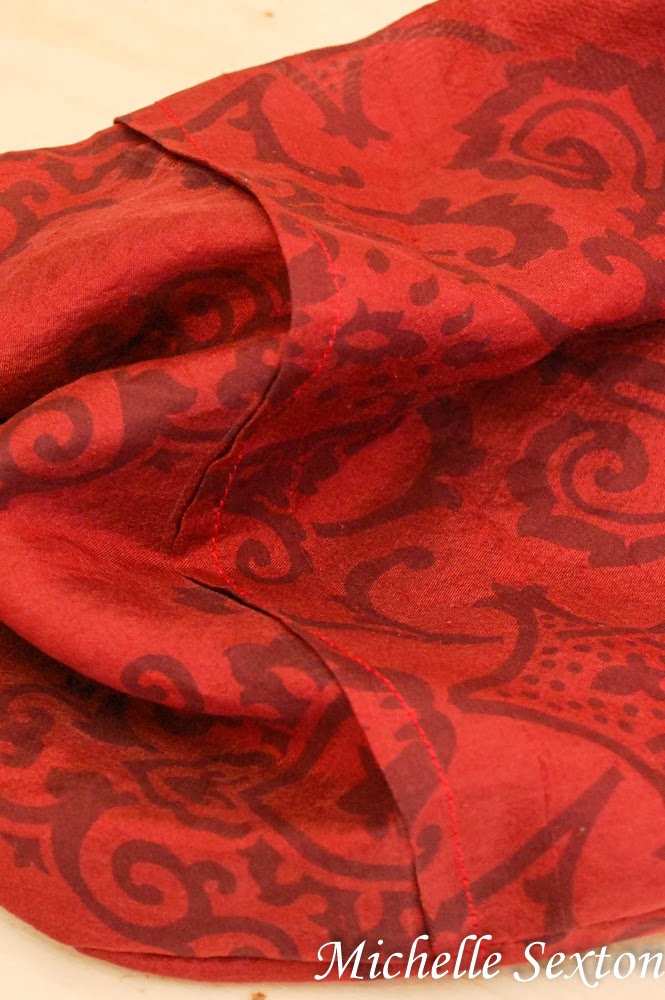
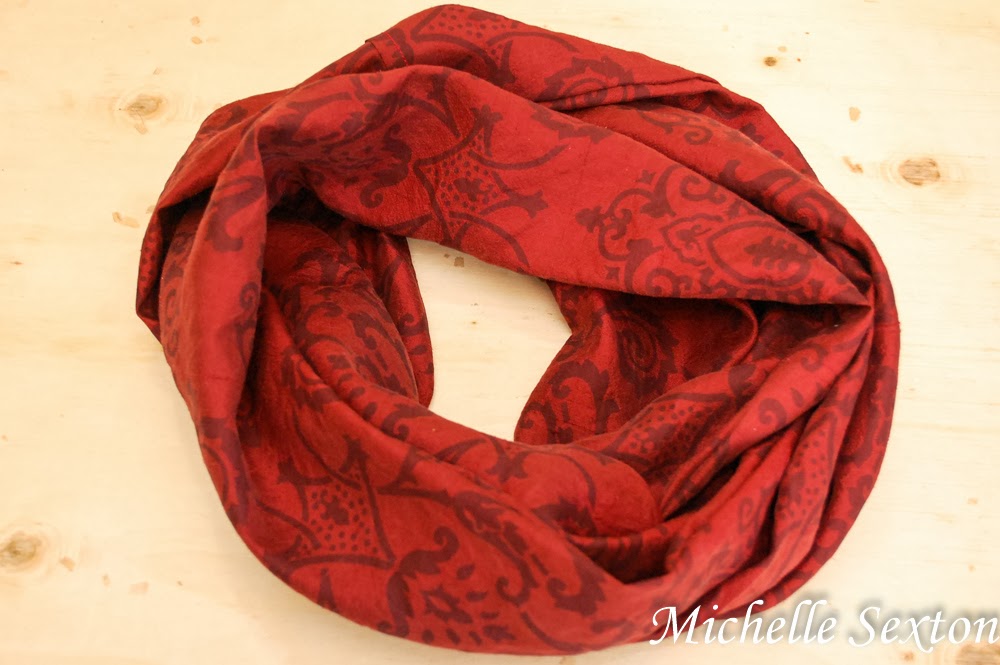
sew an infinity scarf - soheresmy.life

How to make an infinity scarf - soheresmy.life

Learn how to make an infinity scarf  - click through and learn how - soheresmy.life

That's it friends! Now, go and make one!

Wednesday, February 8, 2012

UpCycled Sweater Series Part 4 - Sweater Vest and Infinity Scarf Tutorial

It's time for Part 4 of the Up-Cycled Sweater Series!! If you've missed the previous ones, be sure to check them out. In Part One, I made leg warmers, Part Two was how to make mittens and a hat, and Part Three  was how to make arm warmers.

This time I turned a couple of sweater bodies into a sweater vest and an infinity scarf.

You may remember this sweater:
In Part 3, I cut off the arms and turned them into arm warmers/fingerless gloves. I have to tell you, I LOVE my arm warmers, but they were a little tricky to make...at least more than I anticipated. This sweater was made from 60% Cotton and 40% Acrylic. I found this to be a difficult fabric combination to work with, simply because it was so stretchy. Because of this I decided to take a simpler route for this next project.

After cutting off the sleeves, I used a seam ripper to rip the seam that held together the sleeves to the body (The seams at the shoulders). And because I am not that patient, nor do I like tedious activities (such as ripping seams), I accidentally made a couple of small holes in fabric. Oops! So I went back later and stitched them up by hand. Here's the results:
This also makes a cute sleeveless sweater for the Fall and Spring. The best part about this small little project is that there was NO HEMMING involved!!! (and if you don't tear holes in the fabric while ripping out the seams, there is no sewing either!) ;)

Then, I made an infinity scarf. Here was the sweater after the leg warmer project.


Cut off the top of the sweater, just below the armpits. Turn the body of the sweater inside out, pin the newly cut side, and hem it. I used the sewing machine...carefully.

While the sweater is still inside out, fold over the newly hemmed side, pin it, and hem it one more time. I didn't hem the bottom of the sweater (the part that sits at your waist), but if you want a more uniform look, you can repeat the folding, pinning, and hemming process at that end too.

And that's it!
Now you have a fun infinity scarf!! (By the way, this infinity scarf only took about 20 minutes to make. Bonus points for a fun, easy, and quick project!!)

There is one more part left in the sweater series. Don't miss it. It's coming soon.
:)
Liked the post? Let me notify you of new posts. Don't worry, I hate SPAM and won't abuse your email address. :)