So Here's My Life

The things we make,
the food we eat and
the shenanigans in between.

A blog about making things by
MICHELLE SEXTON

Showing posts with label child. Show all posts

Tuesday, February 18, 2014

How to Make a Beanie from a Sweater Sleeve

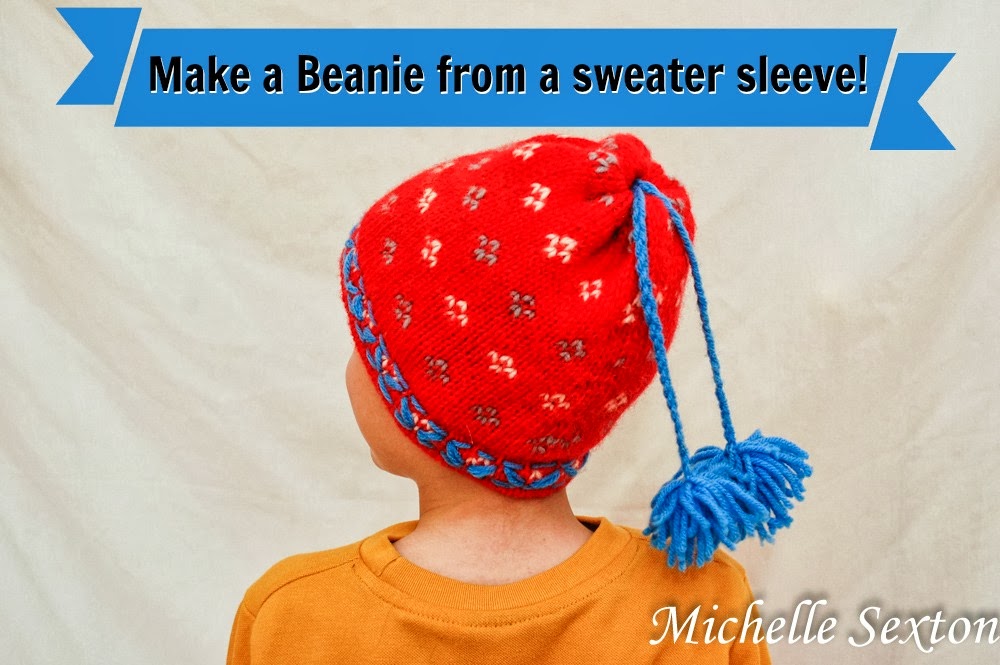
Have you had your fill of winter yet? Has Snowmageddon depleted your creative energy? Well, guess what? Here's an unexpected and easy sewing project to make for your little ones in one evening. This easy little project may just make these last days of winter a little more bearable, once you see your little ones wearing these cute little beanies on their heads.

Learn how to make a beanie from a sweater sleeve with only a minimal amount of sewing! Click through and find out how.

Make this easy beanie with only a minimal amount of sewing - click through and find out how.

These beanies were made with the leftover material from an upcycled sweater project that I shared a couple of weeks ago. The sweater originally had gigantic baggy sleeves that proclaimed, "I'm so outdated!" They just had to go. So, I cut them off and made a cute pair of boot cuffs, and still had a bit of leftover sleeve material. Instead of tossing them, I thought, "Why not make hats for the boys?"

so many uses for one sweater!

Here's the original sweater. It's a hand-knit wool sweater and a bit on the heavy side. This project is totally doable with the heavy wool sweater, but would probably work out even better on a medium-weight sweater. You'll need need at least 12 inches of a sleeve to work with (per hat).

Here's how I made these cute little beanies:
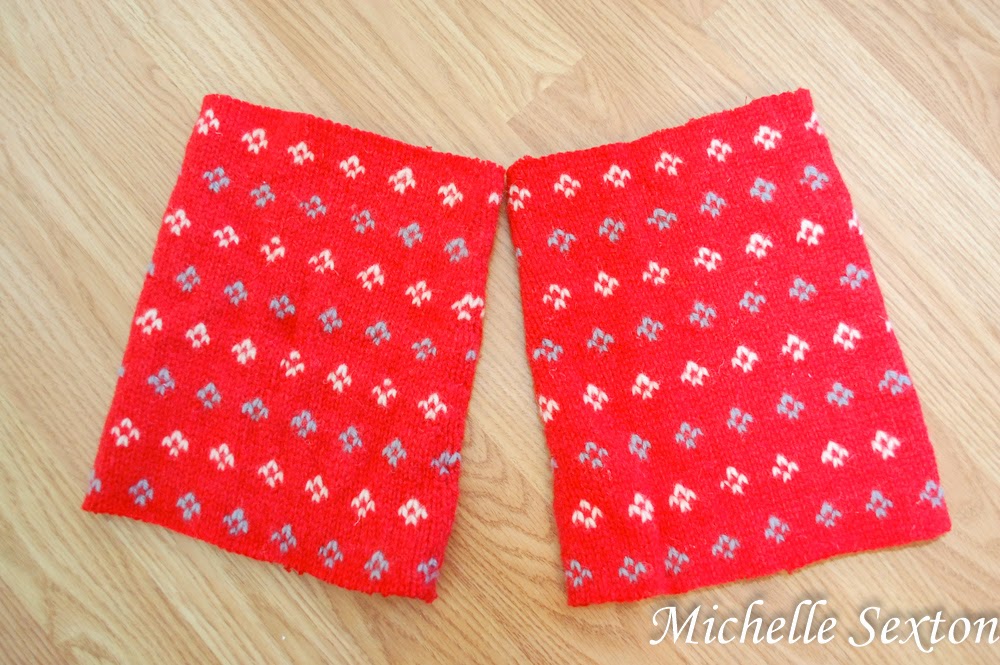
start out with two sweater sleeves

Start out by serging each trimmed end of the sleeve to prevent the sweater from unraveling as you work on it.
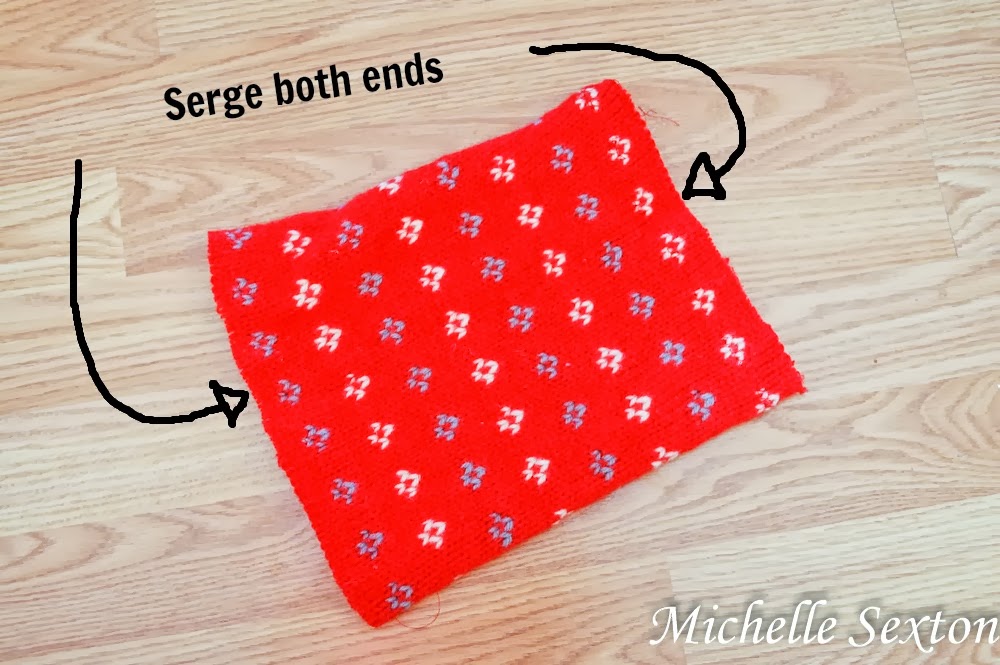
serge both ends of the sweater

pin the ends

Turn the sleeve inside out, fold one end, and pin it. (This is the top portion of the hat. So, if the sleeve has a smaller end, it would be ideal to use the smaller end here.) Side note: the photo shows both ends pinned, but you can pin each end and work on them one at a time.
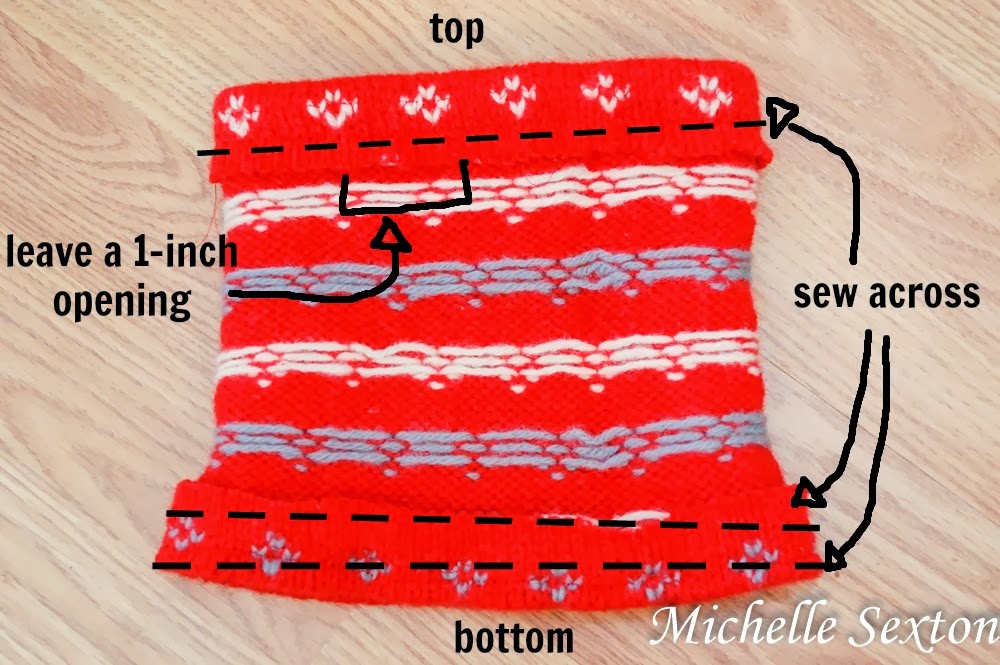
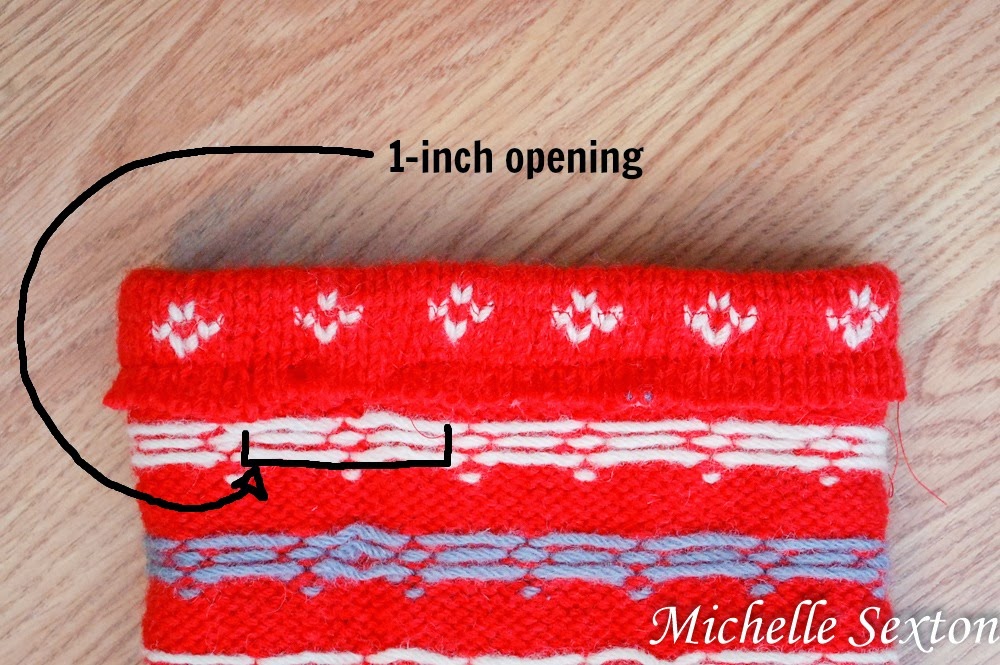
sew across each opening

leave a 1 inch opening

Sew a line about 1 inch above the fold of the sleeve, leaving a 1 inch opening between the starting and ending points. Be sure to run the sewing machine forward and backward a couple of times to prevent the stitch from unraveling (at the starting and ending points), especially since the ends are not connected. (I used a serged stitch here, but a straight stitch would be fine too.)

While the sleeve is still inside out, fold the opposite end of the sleeve over, pin, and sew two separate lines over the folded portion.  Make one about 1/4 inch above the fold and one about 1 inch above the fold to create a faux brim. This time, make sure to connect the beginning and ending points.

Guess what? That's all the sewing needed! For. Real. Gasp!
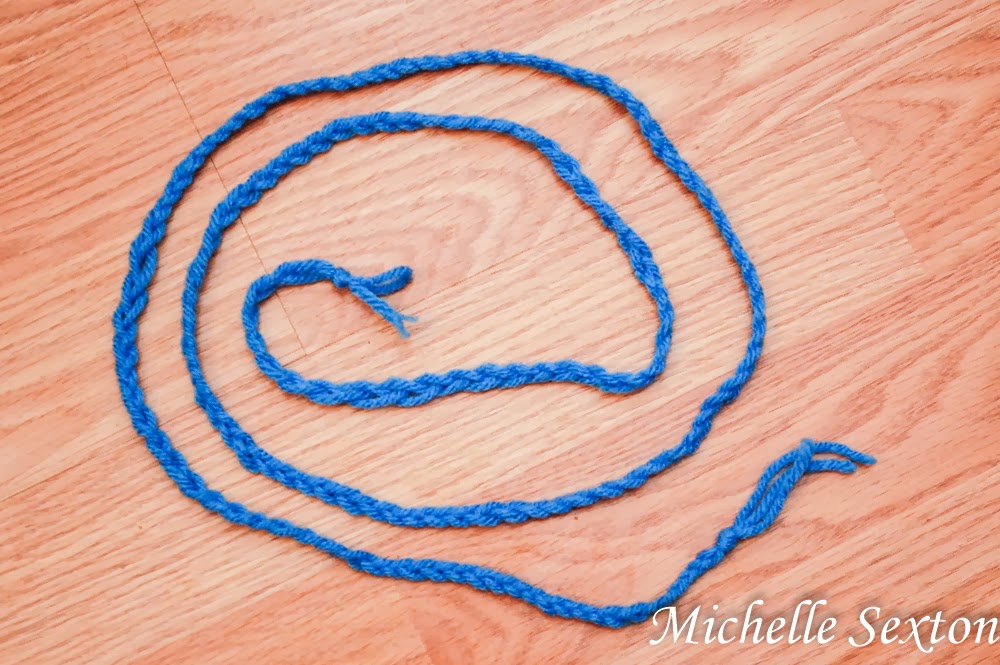
braid 3 strands of yarn together

Set aside the sleeve/hat. Braid three strands of yarn into approximately the length of 2 feet.

thread yarn through the top opening

use a crochet hook to thread yarn through top opening

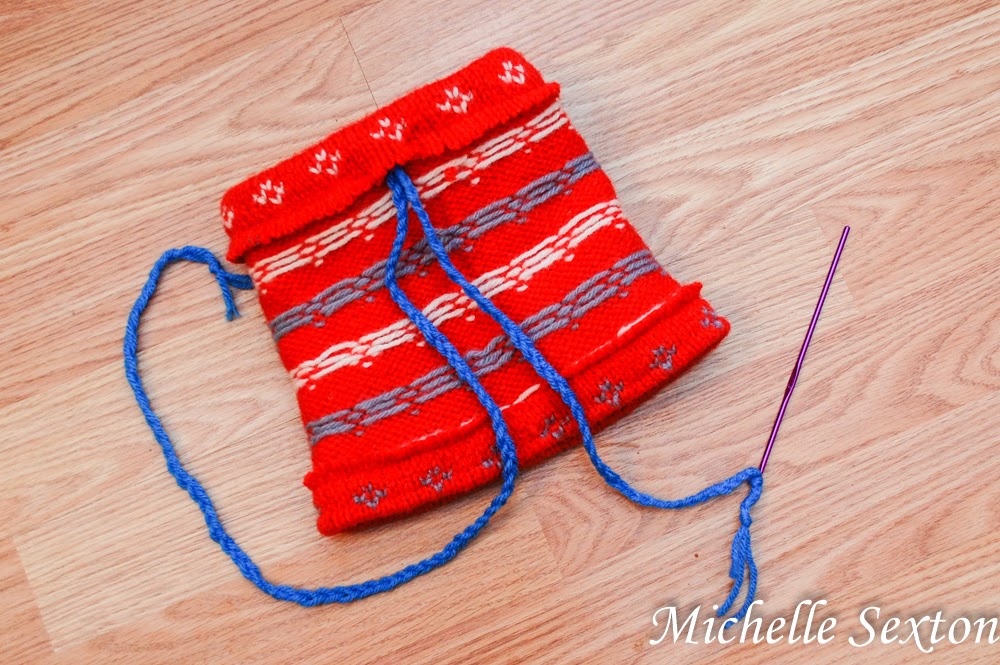
Tie one end of the braided yarn onto a small crochet needle.  Thread the yarn through the top opening of the hat (the end with the 1 inch opening) and out the other end to create a "drawstring".
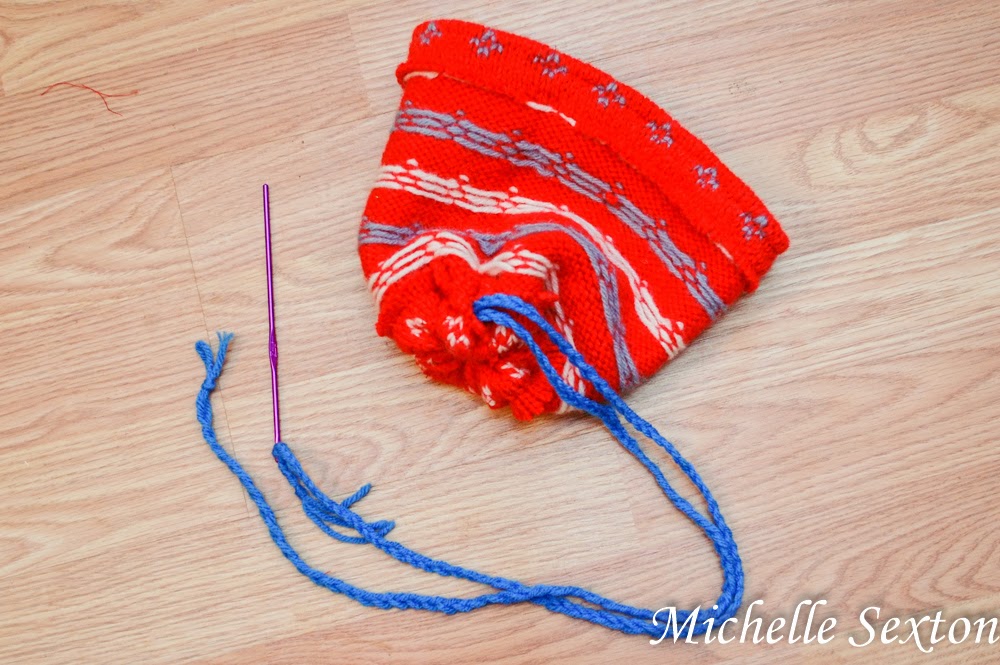
pull tight and tie a square knot

turn hat right side out and pull yarn strands through

Pull the yarn tight and tie square knot. Turn the hat right side out and pull drawstrings through the small opening at the top of the hat.
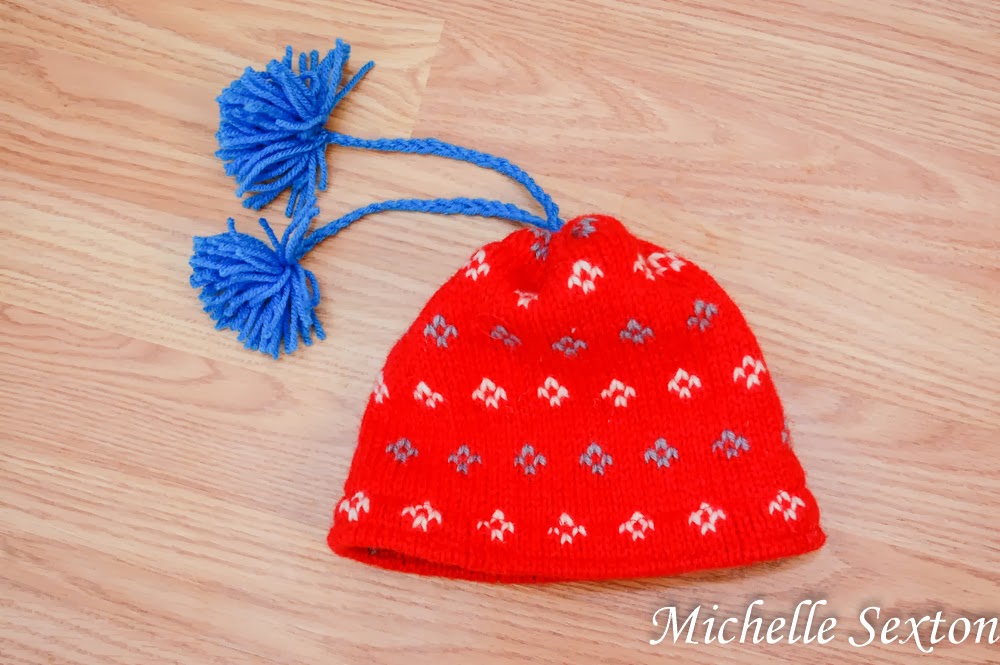
trim ends and add pom poms

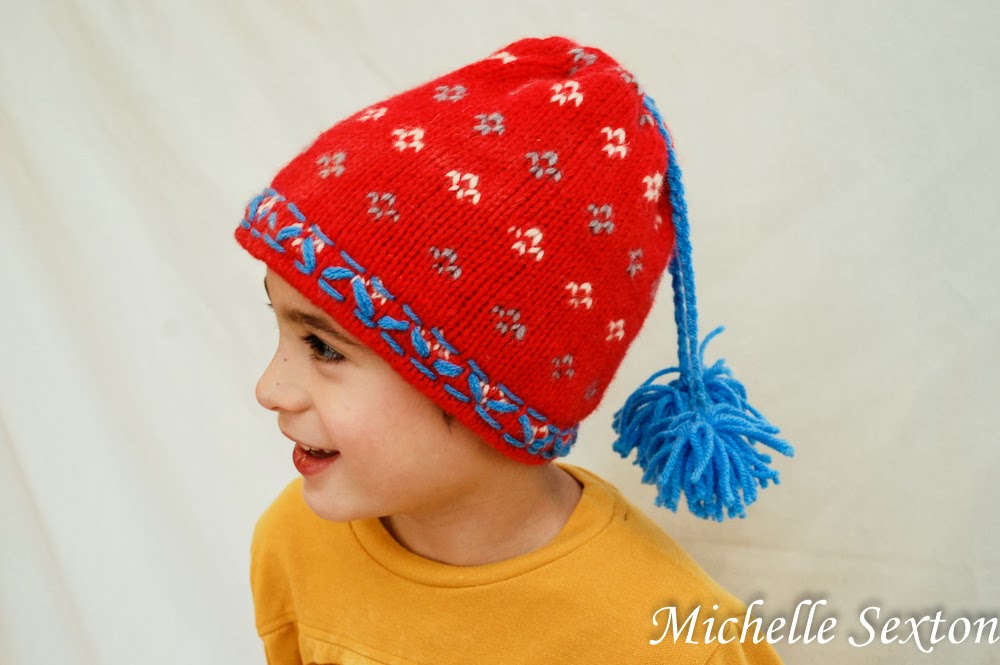
Trim the ends of the drawstrings, leaving approximately 8 inches (or more if you like), and tie off the ends. Make two pom poms and attach them to each end of the drawstring.

embroider a pattern on the brim

Double threaded a plastic needle with yarn, then "embroider" a cute pattern onto the "brim" of the hat.
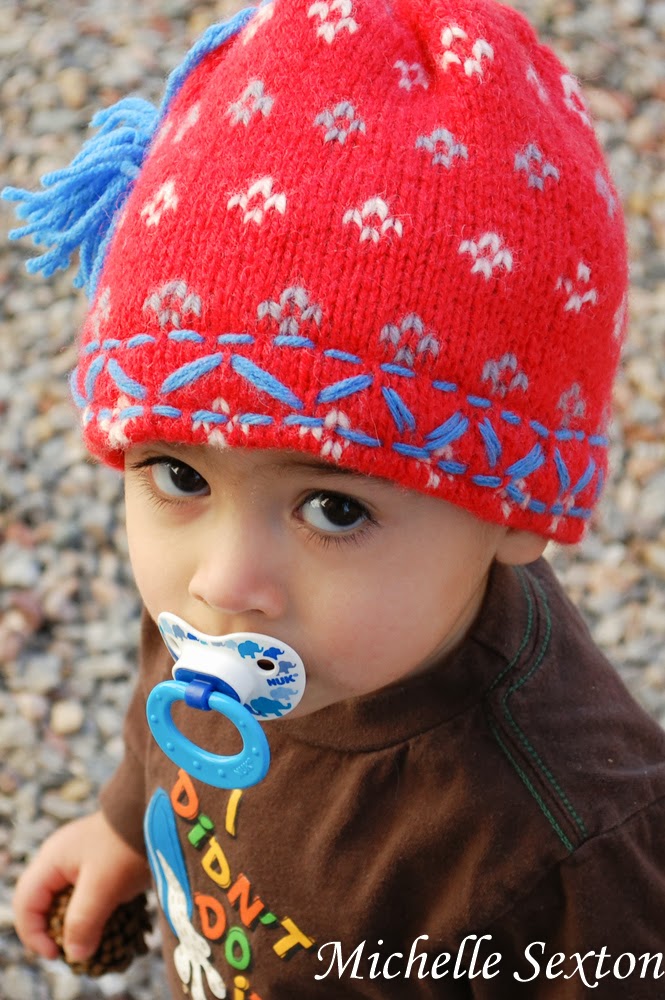
Make a beanie from a sweater sleeve with a minimal amount of sewing - click through and learn how

Easy way to convert a sweater sleeve into a beanie - click through and learn how

Wa-La! That's it! Easy-Peasy. Who would have ever thought to make a hat out of a sweater sleeve??
:)


Sunday, November 27, 2011

Mohawk Knit Hat DIY (without actually knitting)

I've spent the last couple of weeks crafting to my hearts delight. Actually, I'm stuck on the couch most of the time to let my ankle heal, so I've been working on knitting and crocheting projects. This has kept me from losing my mind while confined to couch.

Here's one of my favorite projects that I've done lately.

boy wearing a knit mohawk hat

I've seen tons of photos on Pinterest for knit and crocheted mohawk hats for kids. I've been wanting to make one for my son, but I'm not that good at crocheting, and I have no idea how to knit. But one night while laying in bed and thinking about those hats, I figured out how to make one - with a knitting loom! (I've come up with some of my best ideas while laying in bed. Seriously!)

knitting loom and yarn
A knitting loom is a round circular frame, that allows you to "knit" by weaving the yarn around the pegs. I love this thing! I have a package with 4 different size looms and also includes a hook and large plastic needle. I've made so many fun things with these looms. Last year I made a couple of infinity neck scarves with them.

Anyway I started this project using the green loom, which has a 7.5 inch diameter. I used the red yarn for the brim, and the "Mohawk" and the blue yarn for the hat. The actual instructions for using the loom and weaving the yarn around it are included with the loom. I got my loom at Hobby Lobby.

broken kniiting
The brim was the trickiest part of the hat. It took me three times to get it right. The first two times I wove the yarn too tight and actually broke the yarn and then ended up cutting the broken brim off the loom. Oops.

Making the Mohawk hair was easy, but a little time consuming. I made several small long and loose pom poms and hand stitched them down the center of the hat.

Here's how to make a pom pom:
making a pom pom using cardboard
 Using a 2.5 inch piece of cardboard, wrap the yarn around the cardboard approximately 20 times.

cut yarn on cardboard for pom pom
After wrapping yarn, cut yarn leaving about inches to spare.

threading yarn through the loop
With a large needle, thread the long end of the yarn underneath the wrapped yarn, and tie a tight double knot at the bottom. (Note: if your knot is not tight enough, the yarn will fall out once it is made into a pom pom.

cut yarn for pom pom
Next cut the wrapped yarn on the opposite end of the knot.

almost complete pom pom
And there you go - a pom pom. Now make a bunch more. Use the long end to hand stitch the pom poms down the center of the hat to create the Mohawk.

DIY Mohawk hat
Here was the final result. It was cute, but I wasn't satisfied. I wanted the brim to be longer (up and down). And when I put it on The Toddler's head, it was a bit tight. So keeping this in mind, I made him another hat using the 9.5 inch knitting loom with yellow and green yarn. The yellow brim was approximately 20 rows of stitches, and the green part was 22 rows of stitches.

boy wearing a knit mohawk hat

boy playing with a knit mohawk hat

boy with hands up on face wearing a knit mohawk hat

I'm much more satisfied with the second hat I made, and The Toddler loves it! He wears it all the time. It's such a great feeling when I make something for him that he actually loves. :)

Total time for making a hat : about 8 hours.
Total cost for me: free - I had both the yarn and the looms.

Liked the post? Let me notify you of new posts. Don't worry, I hate SPAM and won't abuse your email address. :)