So Here's My Life

The things we make,
the food we eat and
the shenanigans in between.

A blog about making things by
MICHELLE SEXTON

Showing posts with label wear. Show all posts

Tuesday, February 18, 2014

How to Make a Beanie from a Sweater Sleeve

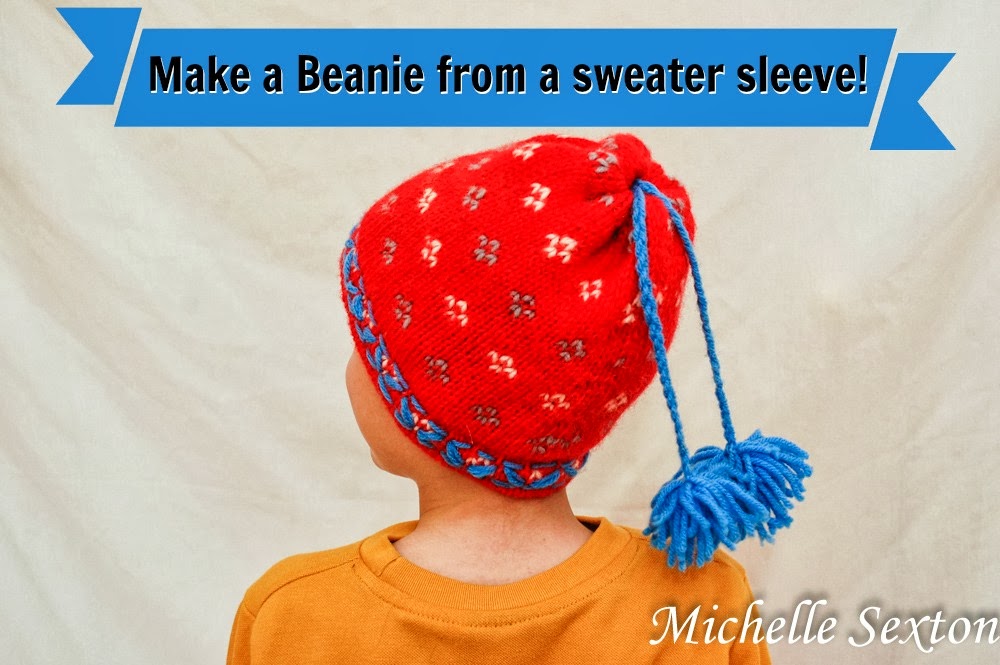
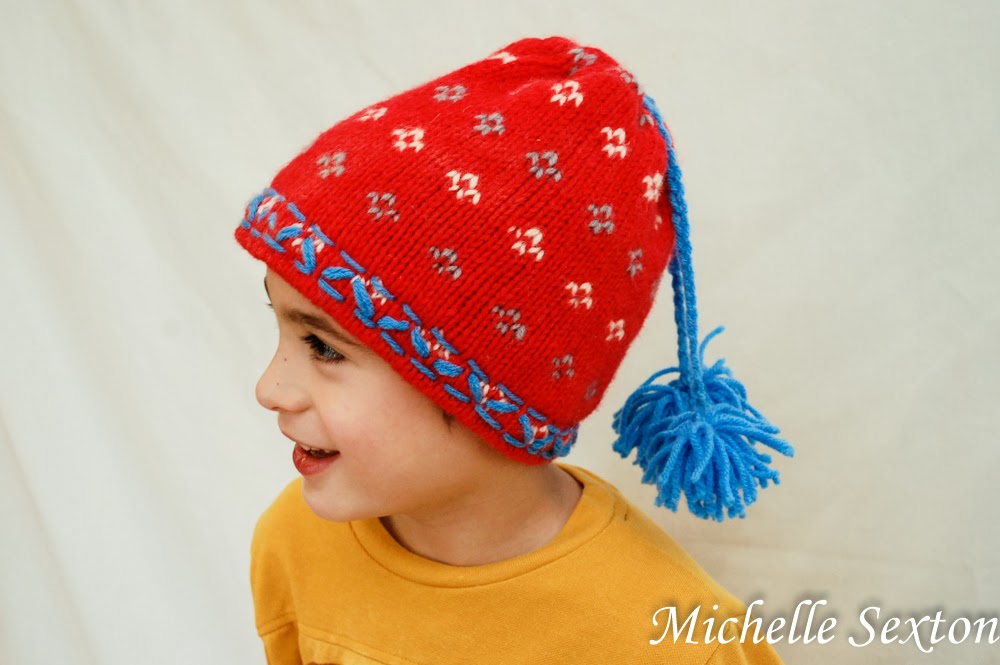
Have you had your fill of winter yet? Has Snowmageddon depleted your creative energy? Well, guess what? Here's an unexpected and easy sewing project to make for your little ones in one evening. This easy little project may just make these last days of winter a little more bearable, once you see your little ones wearing these cute little beanies on their heads.

Learn how to make a beanie from a sweater sleeve with only a minimal amount of sewing! Click through and find out how.

Make this easy beanie with only a minimal amount of sewing - click through and find out how.

These beanies were made with the leftover material from an upcycled sweater project that I shared a couple of weeks ago. The sweater originally had gigantic baggy sleeves that proclaimed, "I'm so outdated!" They just had to go. So, I cut them off and made a cute pair of boot cuffs, and still had a bit of leftover sleeve material. Instead of tossing them, I thought, "Why not make hats for the boys?"

so many uses for one sweater!

Here's the original sweater. It's a hand-knit wool sweater and a bit on the heavy side. This project is totally doable with the heavy wool sweater, but would probably work out even better on a medium-weight sweater. You'll need need at least 12 inches of a sleeve to work with (per hat).

Here's how I made these cute little beanies:
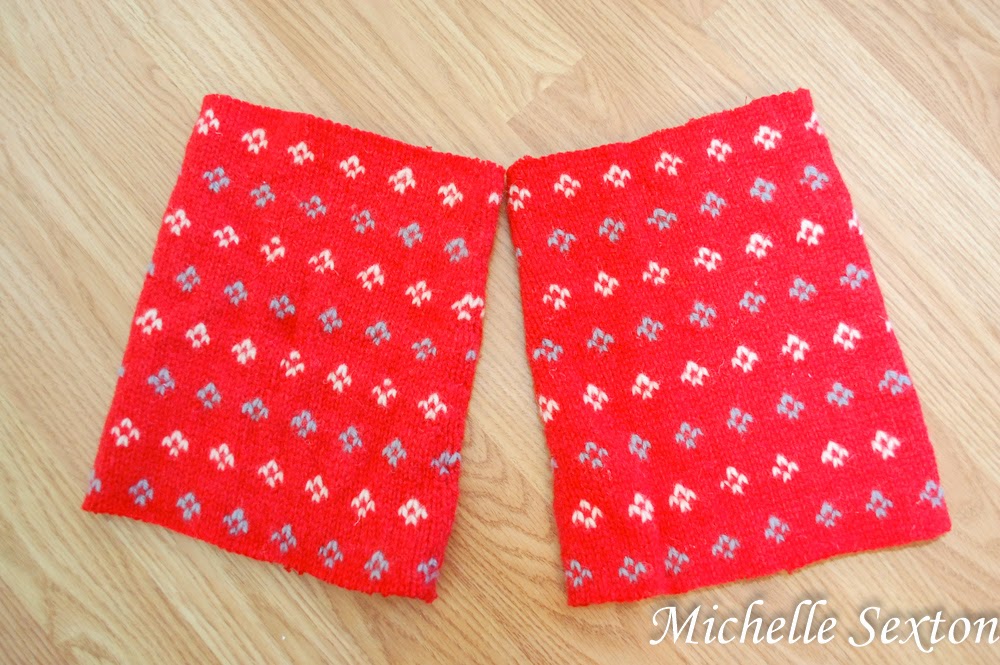
start out with two sweater sleeves

Start out by serging each trimmed end of the sleeve to prevent the sweater from unraveling as you work on it.
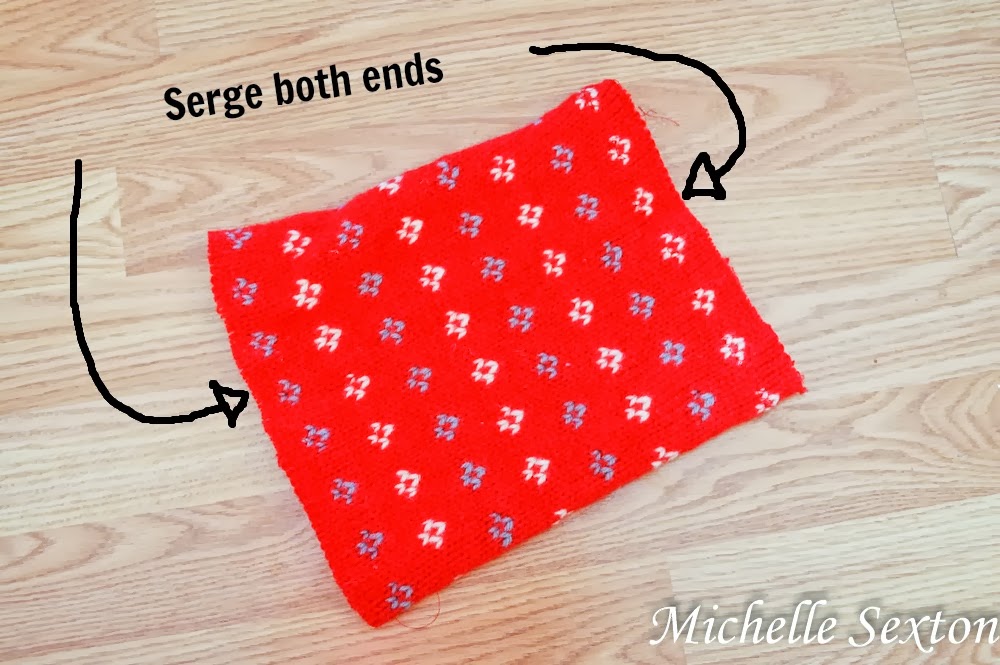
serge both ends of the sweater

pin the ends

Turn the sleeve inside out, fold one end, and pin it. (This is the top portion of the hat. So, if the sleeve has a smaller end, it would be ideal to use the smaller end here.) Side note: the photo shows both ends pinned, but you can pin each end and work on them one at a time.
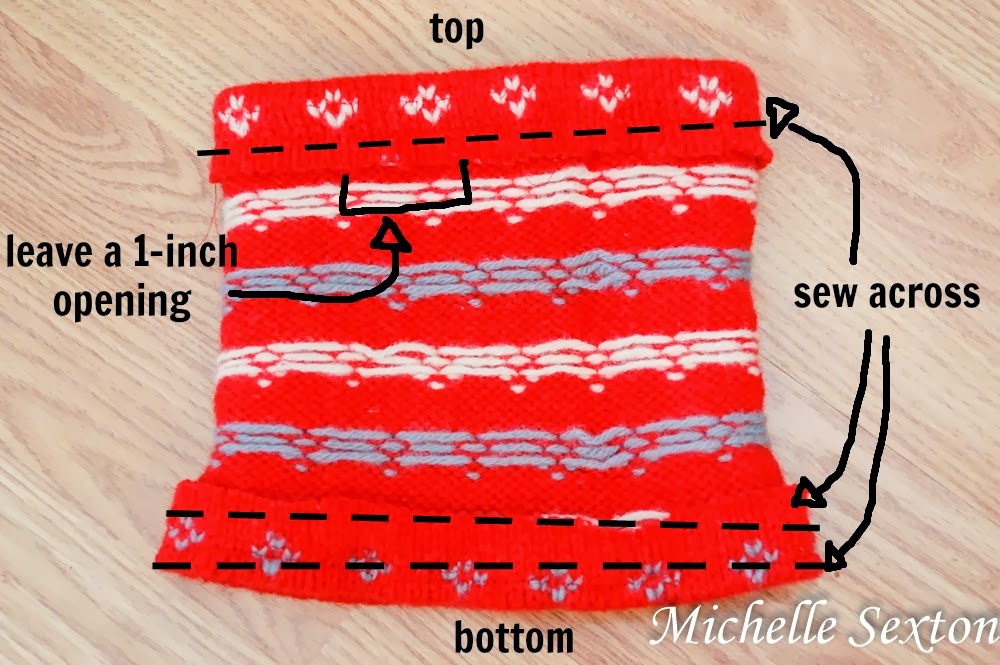
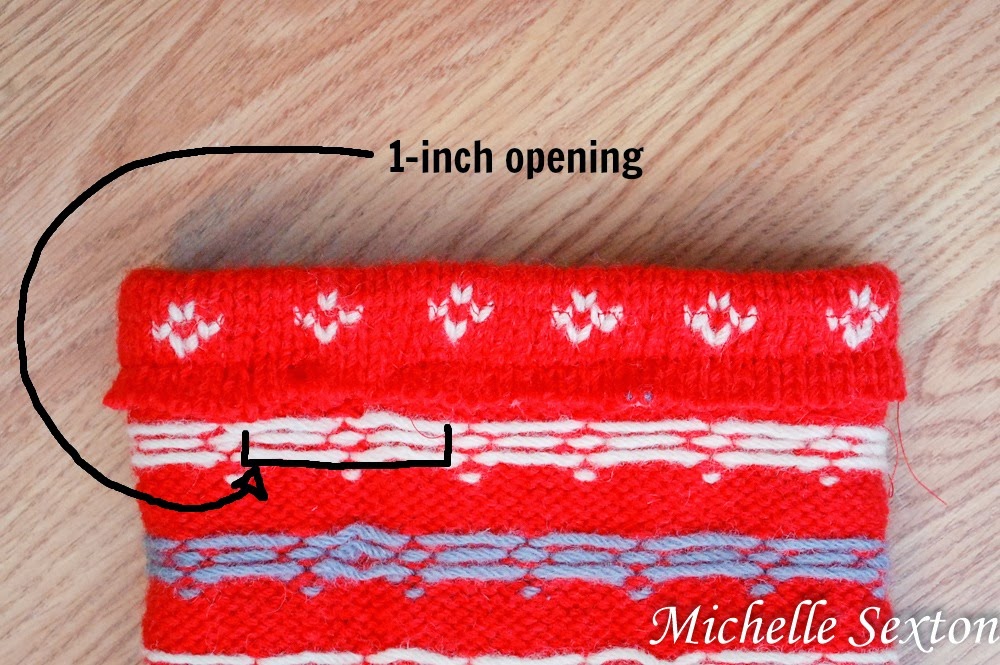
sew across each opening

leave a 1 inch opening

Sew a line about 1 inch above the fold of the sleeve, leaving a 1 inch opening between the starting and ending points. Be sure to run the sewing machine forward and backward a couple of times to prevent the stitch from unraveling (at the starting and ending points), especially since the ends are not connected. (I used a serged stitch here, but a straight stitch would be fine too.)

While the sleeve is still inside out, fold the opposite end of the sleeve over, pin, and sew two separate lines over the folded portion.  Make one about 1/4 inch above the fold and one about 1 inch above the fold to create a faux brim. This time, make sure to connect the beginning and ending points.

Guess what? That's all the sewing needed! For. Real. Gasp!
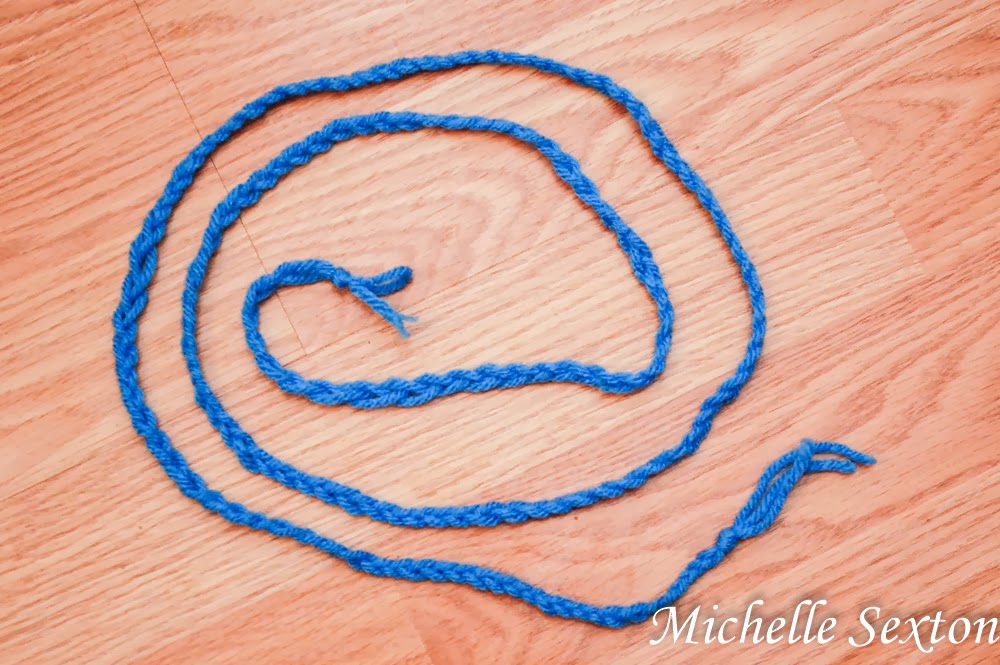
braid 3 strands of yarn together

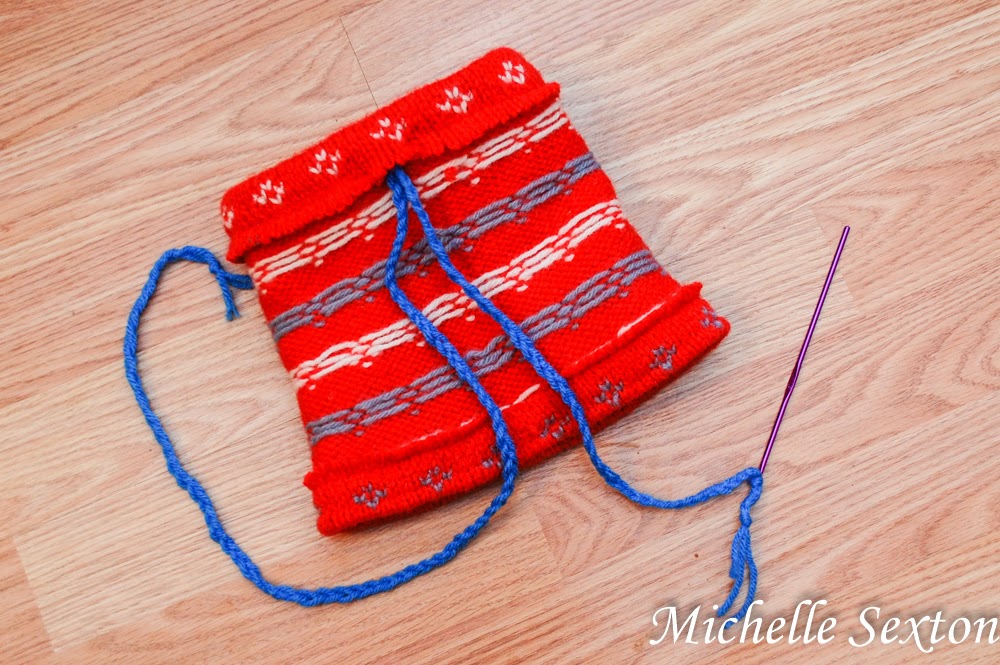
Set aside the sleeve/hat. Braid three strands of yarn into approximately the length of 2 feet.

thread yarn through the top opening

use a crochet hook to thread yarn through top opening

Tie one end of the braided yarn onto a small crochet needle.  Thread the yarn through the top opening of the hat (the end with the 1 inch opening) and out the other end to create a "drawstring".
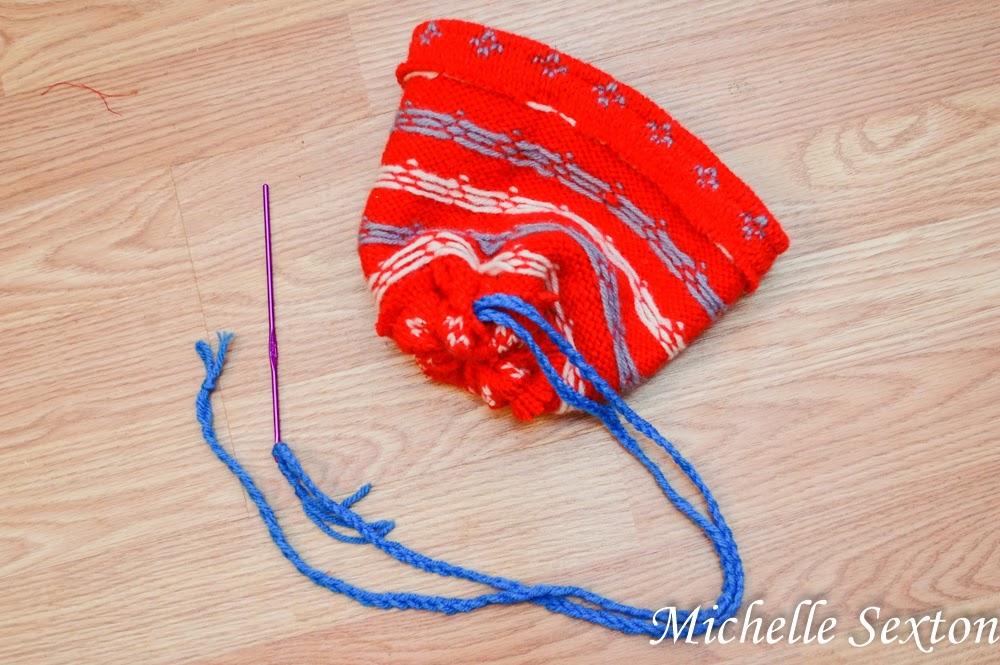
pull tight and tie a square knot

turn hat right side out and pull yarn strands through

Pull the yarn tight and tie square knot. Turn the hat right side out and pull drawstrings through the small opening at the top of the hat.
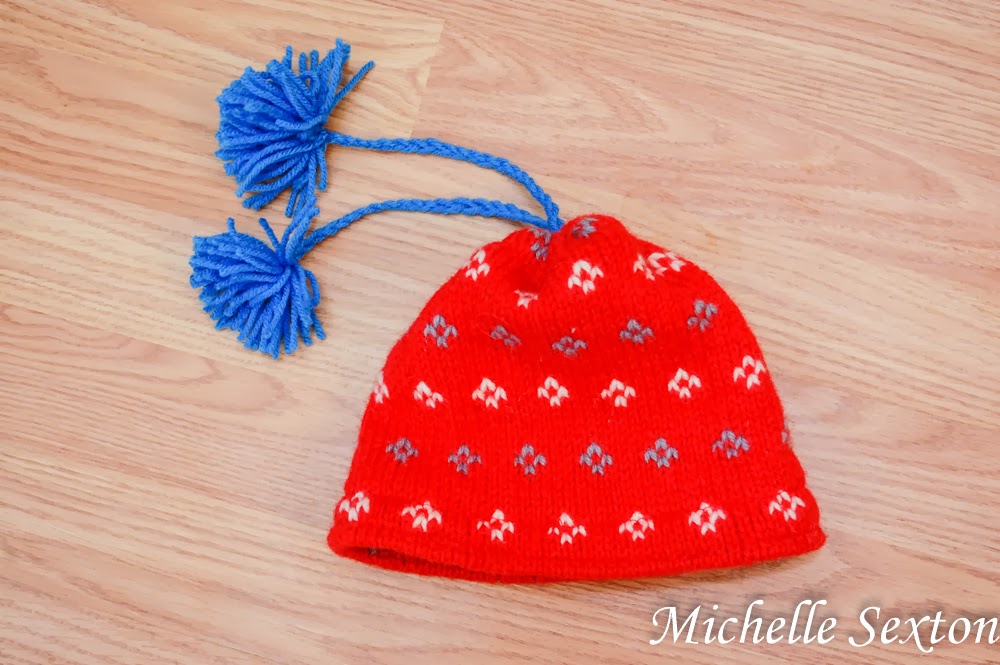
trim ends and add pom poms

Trim the ends of the drawstrings, leaving approximately 8 inches (or more if you like), and tie off the ends. Make two pom poms and attach them to each end of the drawstring.

embroider a pattern on the brim

Double threaded a plastic needle with yarn, then "embroider" a cute pattern onto the "brim" of the hat.

Make a beanie from a sweater sleeve with a minimal amount of sewing - click through and learn how

Easy way to convert a sweater sleeve into a beanie - click through and learn how

Wa-La! That's it! Easy-Peasy. Who would have ever thought to make a hat out of a sweater sleeve??
:)


Thursday, January 9, 2014

Easy No-Sew Headband DIY

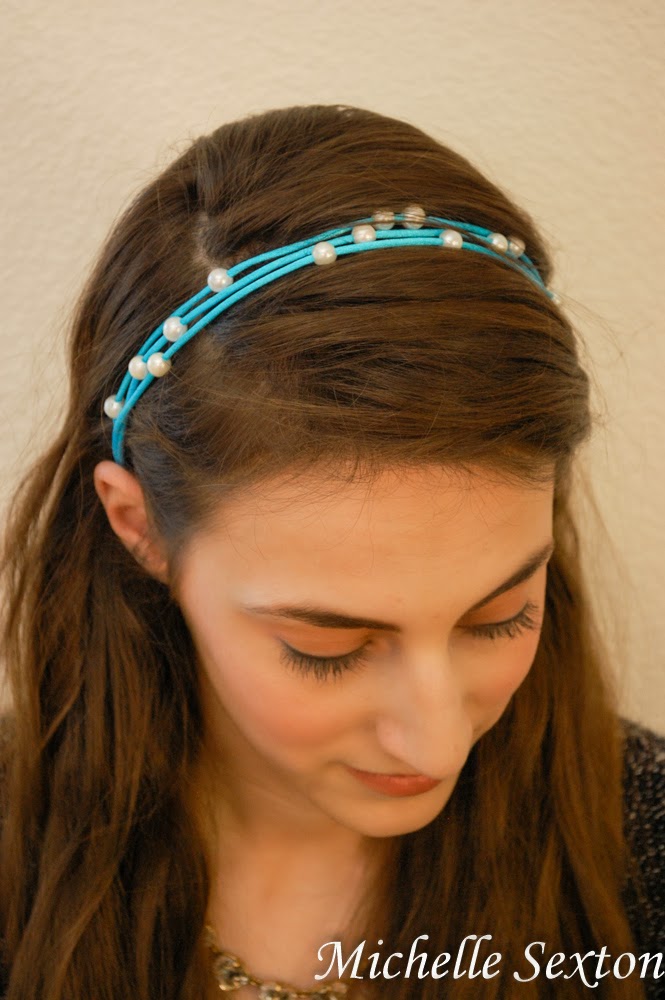
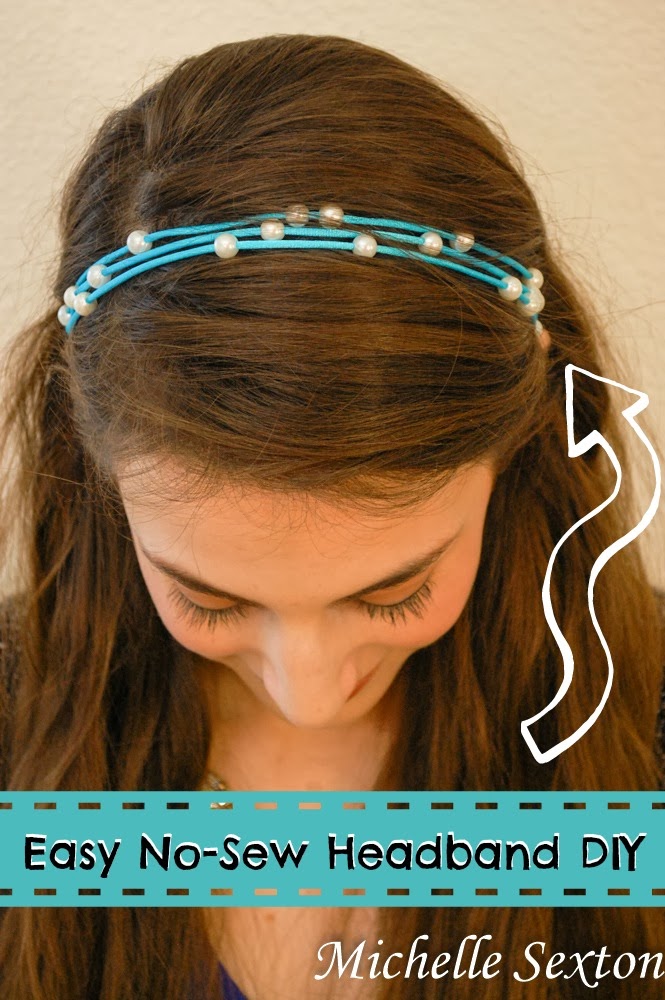
It's been a while since we've actually made something that doesn't include a printable - not that I'm complaining or anything. I LOVE printables, but I think it's time to make something crafty that we can wear. So, here's what I've got - a No-Sew Headband. I've had this project in my head for a couple of months, but didn't take the time to work on it until recently. What I love about this headband is that it's cute, it's an easy way to dress up an outfit, and it's super quick to make. There's no sewing involved and it takes 15 minutes to make or less...depending on how many times you get distracted during this project. ;)

My crafty friend, Sarah, is the one in the pictures. I had her wear the headband so I could do the photos. (Have I ever told you how bad I am at taking selfies? Really bad. It takes FOREVER to get a good photo. It's much easier to have someone else be in the picture. And then, I don't have to make the effort to NOT look frumpy for a photo. Ha, ha!) If you want to find out more about Sarah, you can find her on Undiscovered Virtues.

Here's a quick and easy No-Sew Headband DIY that takes 15 minutes or less to make. Click through for instructions.

Supplies Needed:
-satin cord (around 75 inches - depending on the size of your head)
-faux pearl beads
-scissors
-small strip of elastic (about 5 inches)
-lighter

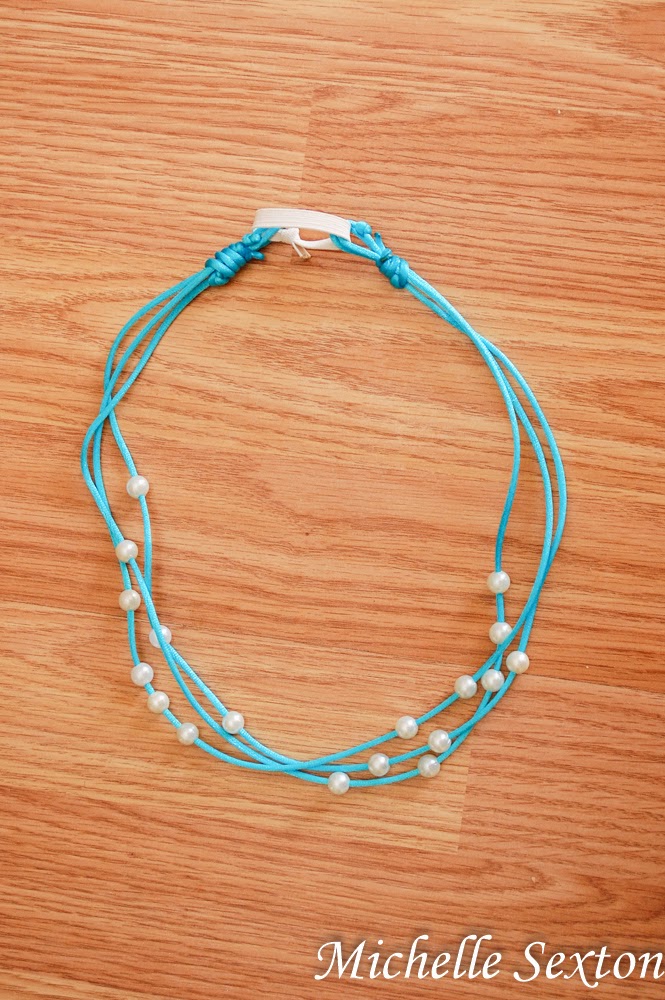
To start out, you need enough satin cord to wrap around your head three times (from the base of your head to the top of your head) plus an additional foot just to be safe. Then, thread the beads onto the cord. (I used 18 beads, 6 for each section.)

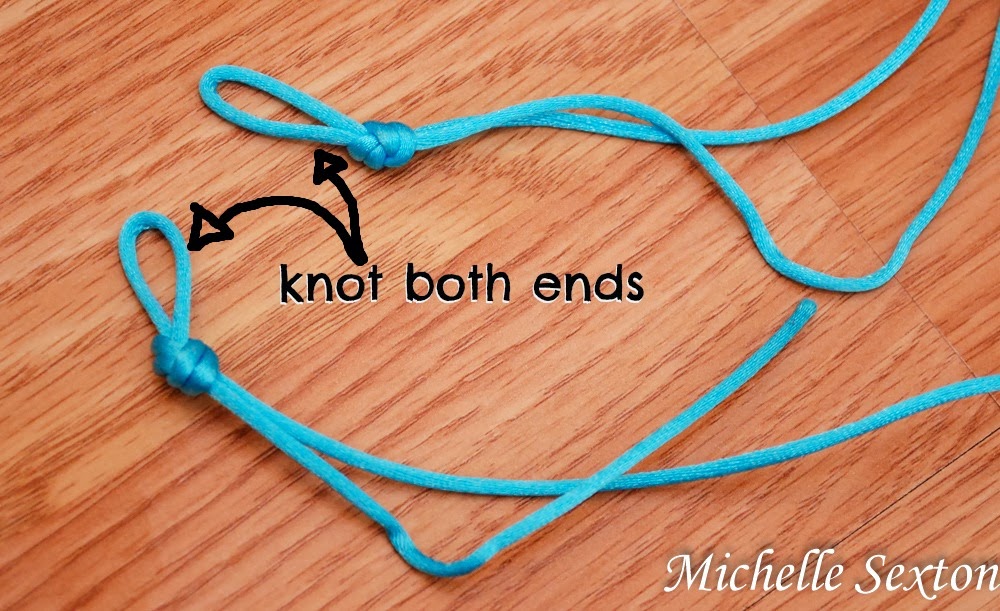
fold over and tie a knot to form a loop on each end.

At each end of the cord, form a loop and tie a knot.

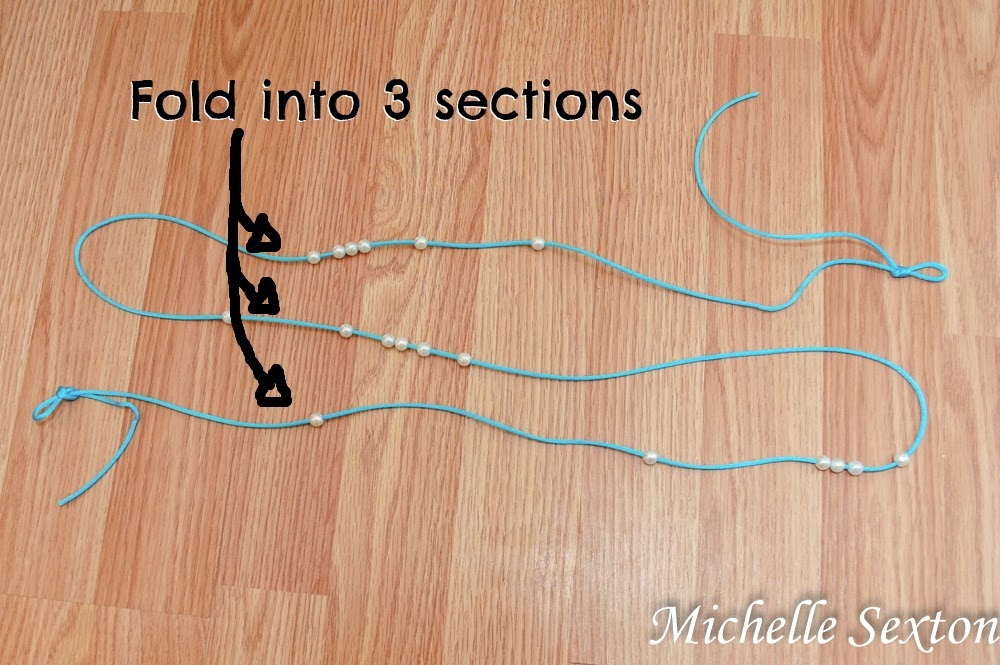
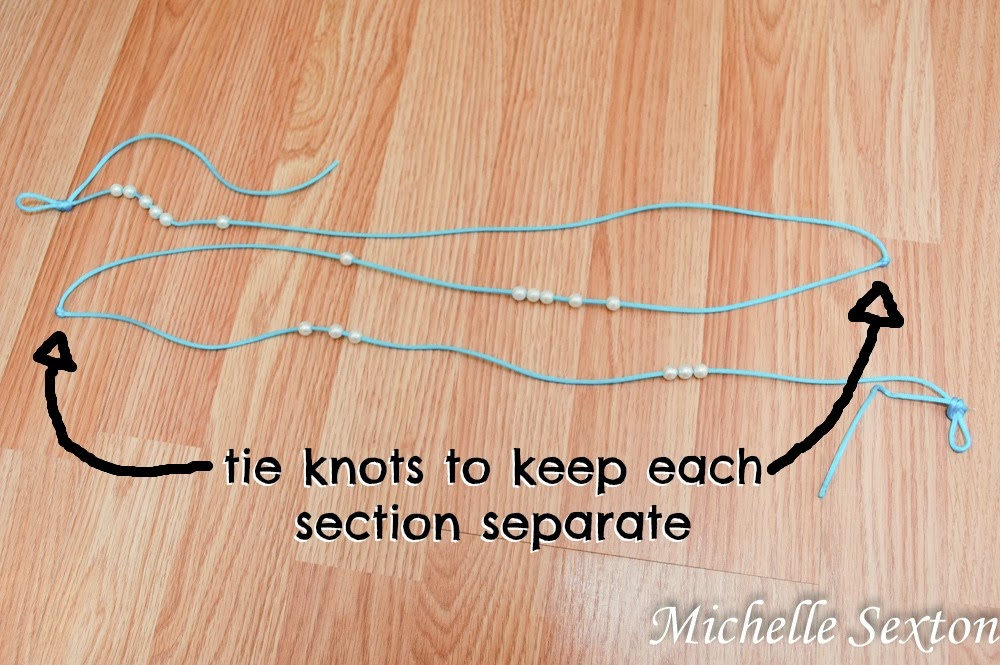
Fold the cord into 3 sections to create an "S" shape

Next, fold the cord into 3 sections, (creating an "S" Shape) making sure to distribute an even amount of beads in each section (6 beads per section).

tie a knot to form a corner

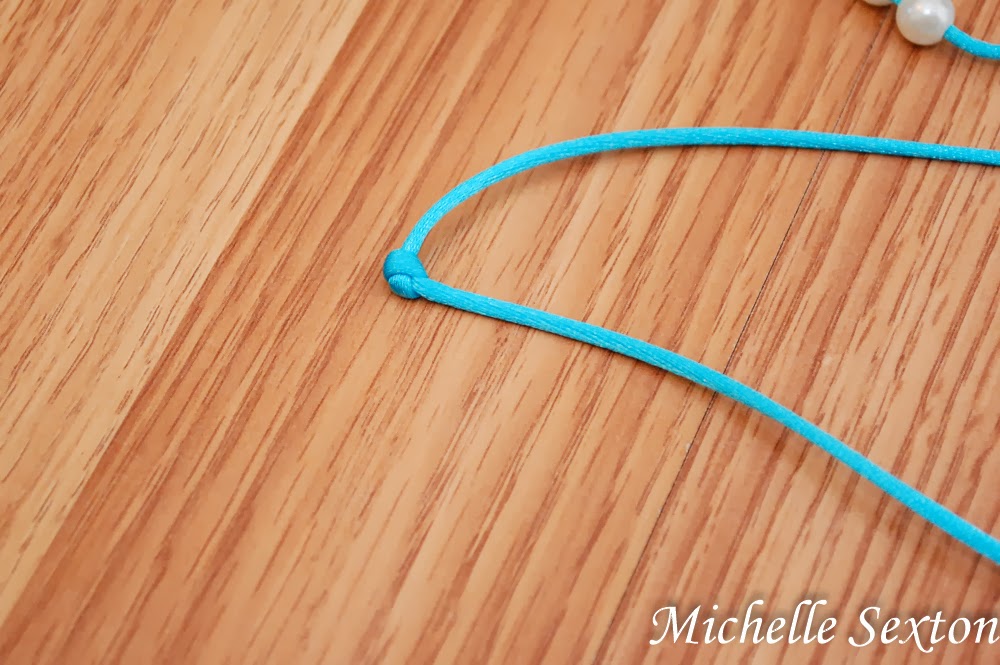
Tie knots to keep each section separate.

Tie a knot at the end of each section to create a knotted "corner". Keeping the sections in the "S" shape (as shown in the photo above), gather the sections together, adding a knotted "corner" to the closest looped end. Repeat these steps on the opposite side. 

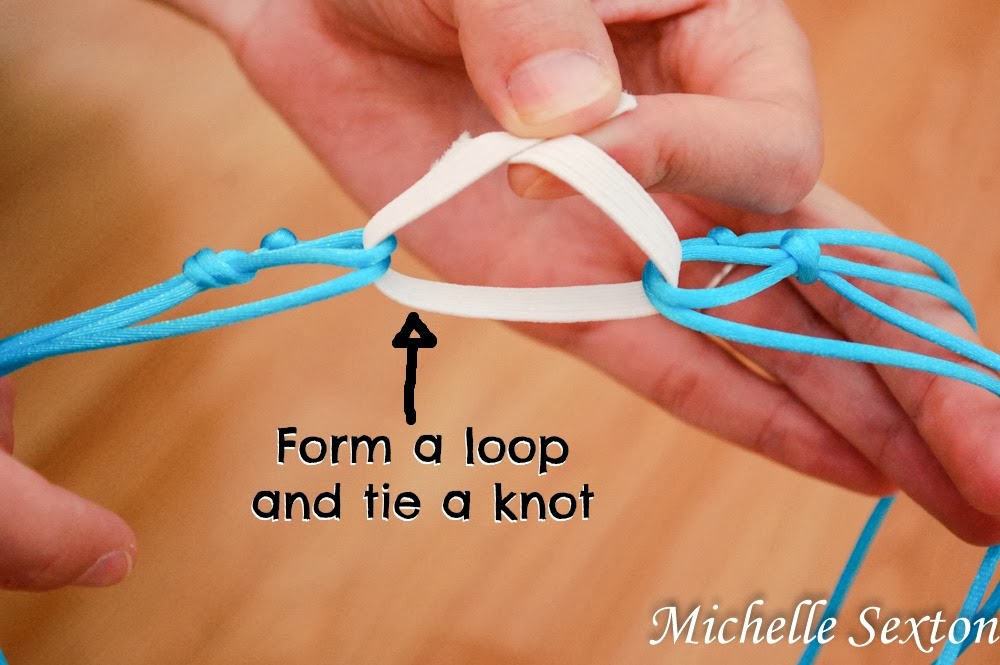
Form a loop and tie a knot

easy headband DIY  - No Sew

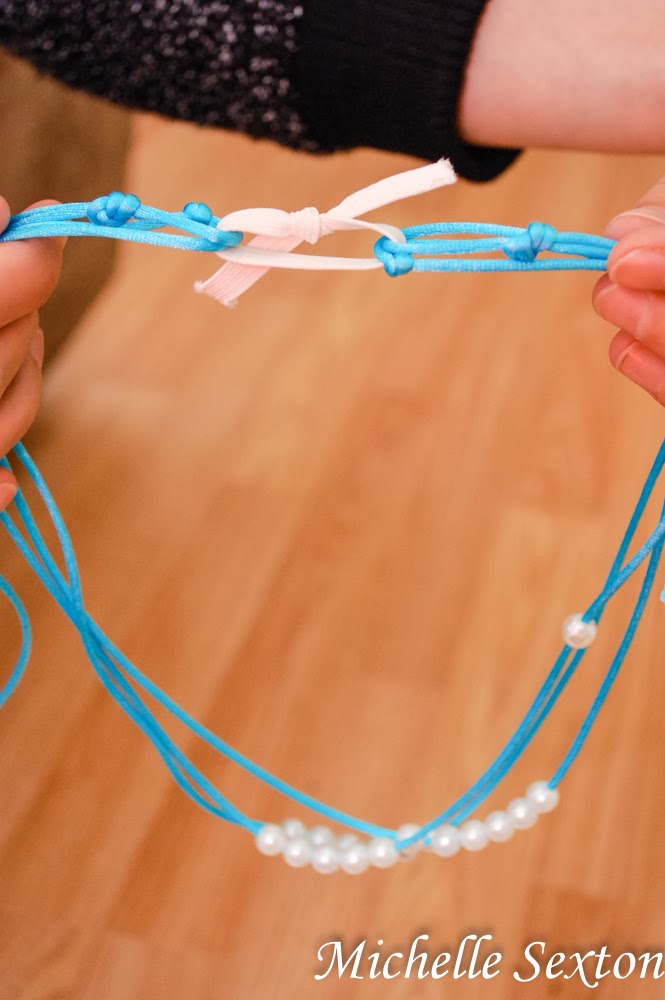
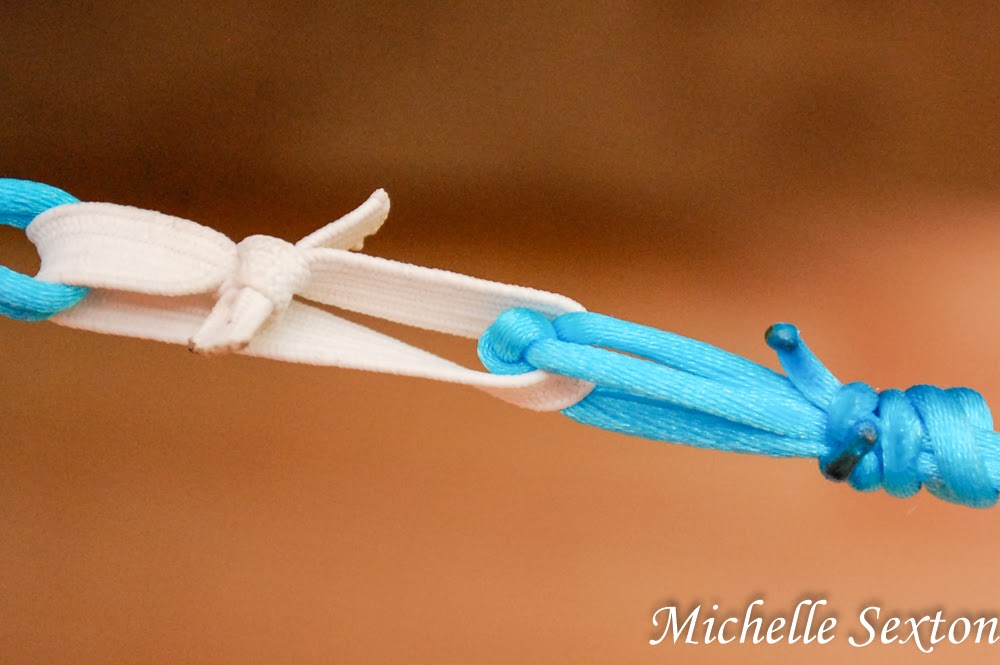
Thread the strip of elastic through each gathered end (each gathered end should have a knotted corner and a looped end) to form a loop, then tie a knot in the elastic to secure it.

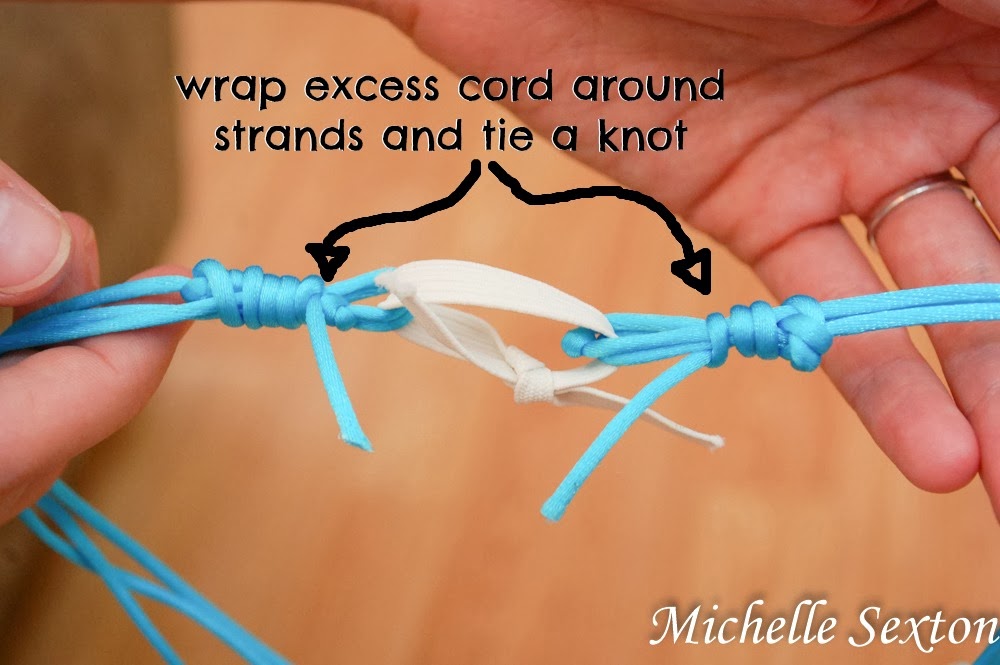
wrap excess strands around ends

Using the excess cord leftover from the looped end, wrap the cord around the strands and tie a knot. Pull as tight as possible.

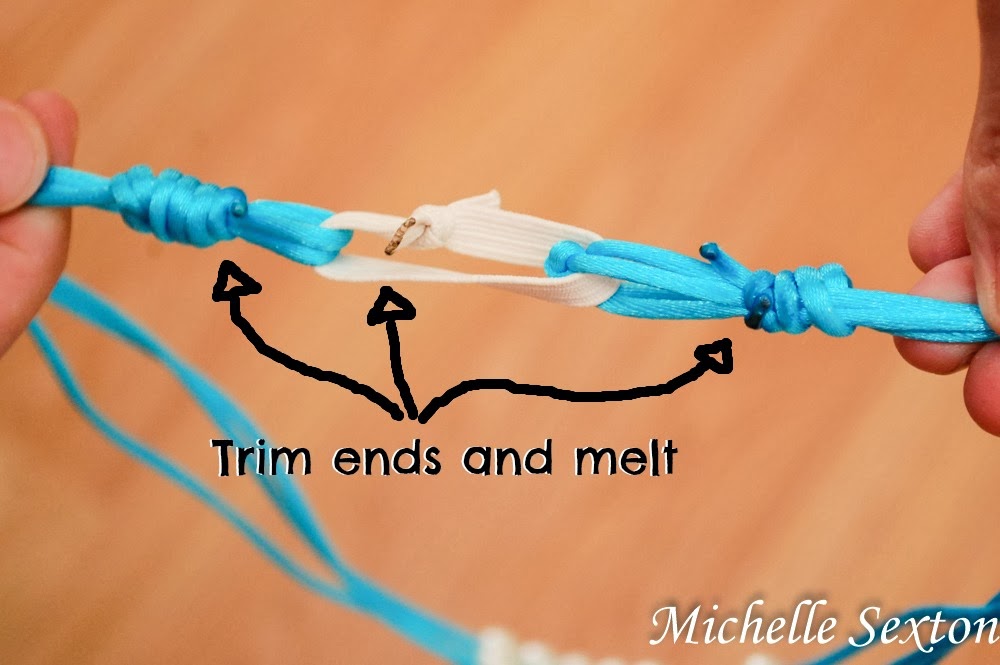
trim the ends and melt

easy no sew DIY Headband

melt ends of trimmed elastic and cord

Trim the ends of the elastic, as well as the cord. Using the lighter, carefully melt the trimmed end of the elastic and cord, including the knot from the wrapped ends of the cord, to ensure nothing comes unraveled. 

Easy No-Sew Headband DIY - takes 15 minutes or less to make

A quick and easy DIY. No-Sew headband only takes 15 minutes or less to make!

Wear and enjoy the accessory that you created!