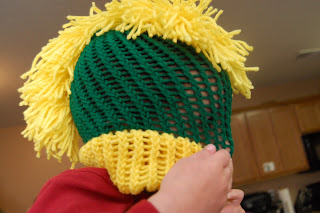
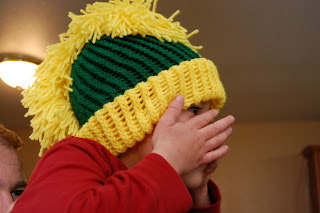
Here's one of my favorite projects that I've done lately.
I've seen tons of photos on Pinterest for knit and crocheted mohawk hats for kids. I've been wanting to make one for my son, but I'm not that good at crocheting, and I have no idea how to knit. But one night while laying in bed and thinking about those hats, I figured out how to make one - with a knitting loom! (I've come up with some of my best ideas while laying in bed. Seriously!)

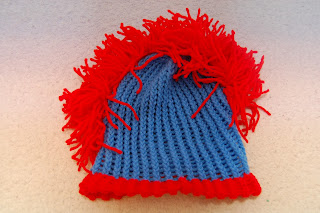
Anyway I started this project using the green loom, which has a 7.5 inch diameter. I used the red yarn for the brim, and the "Mohawk" and the blue yarn for the hat. The actual instructions for using the loom and weaving the yarn around it are included with the loom. I got my loom at Hobby Lobby.
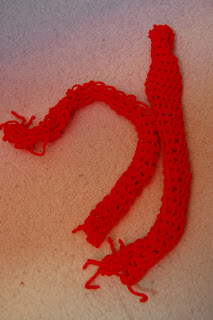
The brim was the trickiest part of the hat. It took me three times to get it right. The first two times I wove the yarn too tight and actually broke the yarn and then ended up cutting the broken brim off the loom. Oops.
Making the Mohawk hair was easy, but a little time consuming. I made several small long and loose pom poms and hand stitched them down the center of the hat.
Here's how to make a pom pom:
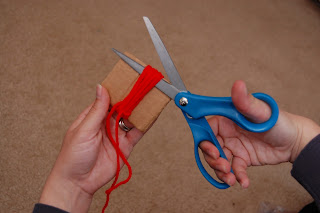
Using a 2.5 inch piece of cardboard, wrap the yarn around the cardboard approximately 20 times.
After wrapping yarn, cut yarn leaving about inches to spare.
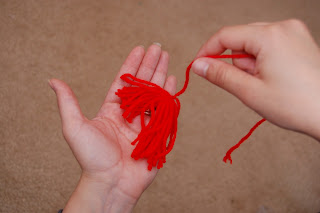
With a large needle, thread the long end of the yarn underneath the wrapped yarn, and tie a tight double knot at the bottom. (Note: if your knot is not tight enough, the yarn will fall out once it is made into a pom pom.
Next cut the wrapped yarn on the opposite end of the knot.
And there you go - a pom pom. Now make a bunch more. Use the long end to hand stitch the pom poms down the center of the hat to create the Mohawk.
I'm much more satisfied with the second hat I made, and The Toddler loves it! He wears it all the time. It's such a great feeling when I make something for him that he actually loves. :)
Total time for making a hat : about 8 hours.
Total cost for me: free - I had both the yarn and the looms.
Liked the post? Let me notify you of new posts. Don't worry, I hate SPAM and won't abuse your email address. :)





1 comment:
OMG, I am so going to have to make one of these Mohawk hats for my little guy. I too have recently found these knitting hoops to be so much fun and easy to use. They also make a long skinny one that I have used to make scarfs. Great job!
Post a Comment